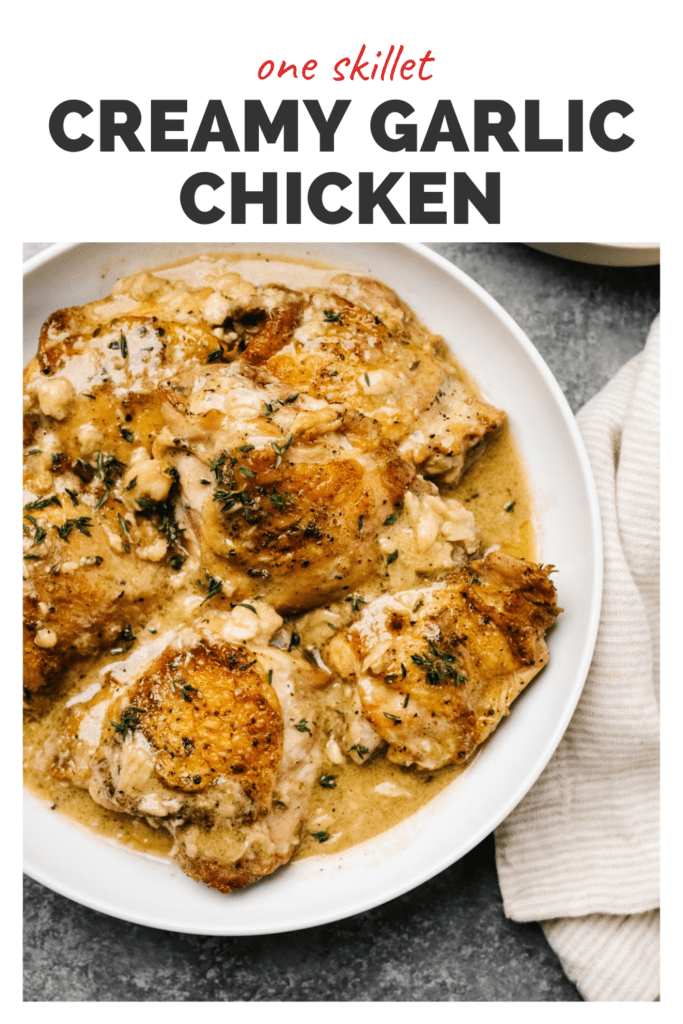
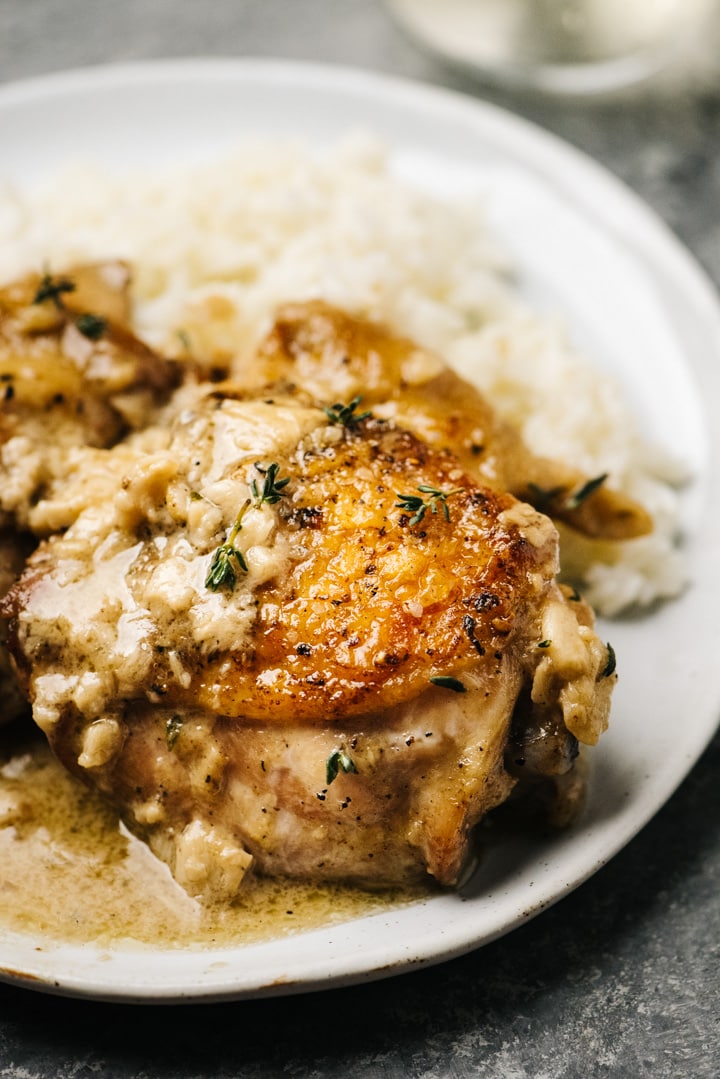
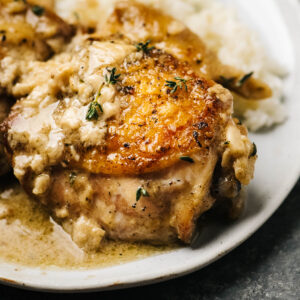
Creamy Garlic Chicken isn't just for garlic lovers. It's for lovers of flavor in general, chicken lovers, one-pan meal lovers, and people who love to lick their plates clean. Use bone-in, skin-on chicken of your choice and a minimum of 25 whole, peeled cloves. Finish this chicken skillet recipe with cream for a bold, decadent sauce and serve it your way!
Jump to:
One of my sons made an observation while I was working on this chicken dish that, I'll be honest, took me aback. "You suuuuure do like cooking chicken in your skillet, Mom." (You know how kids say those things in that tone. Like, it's an objective statement, but it feels sooooo loaded: "You suuuuuure can see your butt in those jeans, Mom.")
Now, I have recently cooked quite a bit of creamy garlic chicken to test clove thresholds. But he made me wonder, "Do I cook that much chicken in a skillet, though?" Then I looked at my chicken recipe legacy and... yeah, the boy ain't wrong.
I've got Crispy Chicken Thighs with Burst Tomatoes (in a skillet), Easy Artichoke Chicken (in a skillet), One Pan Sun-Dried Tomato Chicken (you guessed it - in a skillet). There's a whole damn bird in a skillet. And I put even more chicken skillet recipes down below! (Those are the ones with creamy pan sauces. Mmmm.)
That's because cooking chicken in a skillet means it cooks quickly and evenly; easily transfers to the oven for finishing; and always, always, always gets you beautiful skin - all in one pan!
So, yeah, Son. Champ. Sport. You're right. I very clearly do like cooking chicken in a skillet. You have keen observational skills. Congratulations. You win. What's your prize? It's more chicken in a skillet...
Calling All Garlic Lovers!
If you hear "garlic chicken," and your head automatically goes to Chinese food, put down the takeout menu. I'm sorry if I triggered you. If you hear "garlic chicken," and think "40 cloves" then you're on the right track. But here's the dirty little secret Big Garlic doesn't want you to know...
You don't need 40 cloves of garlic to make perfect creamy garlic chicken.

Now you could use 40 cloves of garlic to make this chicken with garlic sauce (one thing I will never, ever stand in the way of is a garlic lovers love of garlic), but you don't need to. What you do need are whole, peeled garlic cloves - not minced or chopped - and not from a jar. Get it fresh.
Two heads will yield more than enough to give garlic chicken just the right punch of flavor. Your baseline is ~25 cloves. If you want more, go up to four heads. (I have. It's great!) If you can, opt for heads with visibly larger cloves. Not those paltry ones that come in a li'l mesh bag.
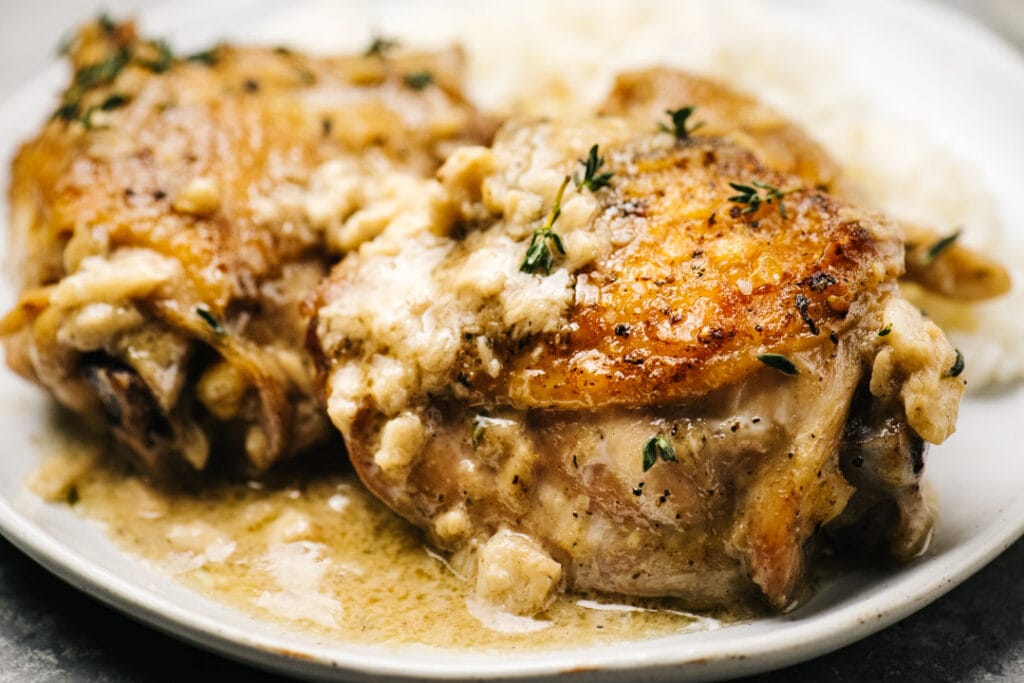
Bottom line, no matter how much you use, when cooked properly, garlic cloves get mellow, sweet and buttery, never sharp or bitter.
Even if you're garlic-shy, you can stick with 25 cloves and not worry your head will explode. But frankly, there are worse ways to go than from a garlic-related flavor bomb...
How to Make Creamy Garlic Chicken
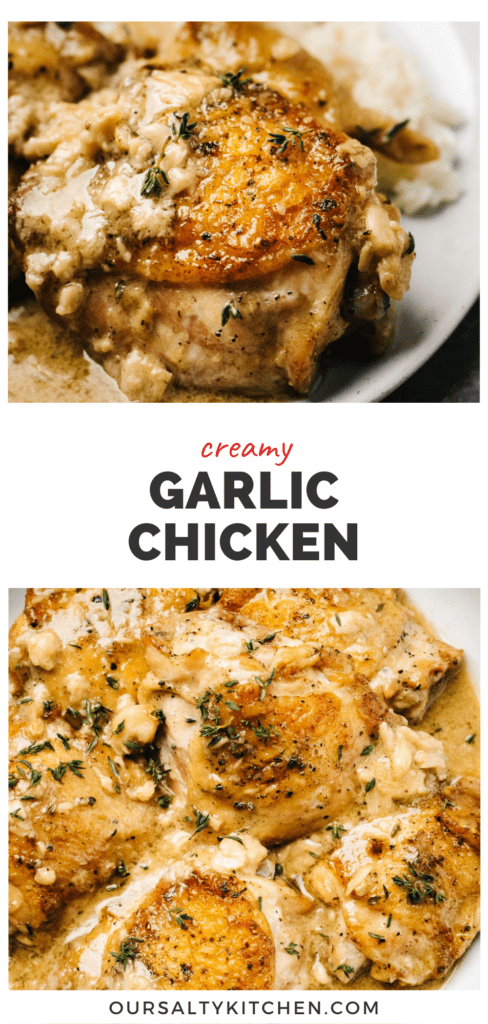
Creamy Garlic Chicken is a 25-clove salute to your taste buds. This one-pan chicken skillet boasts crispy skin, creamy sauce, and crazy amounts of flavor. Follow along to make sure your garlic gets mellow and buttery, not bitter. Pair it with practically any super simple side for a complete meal.
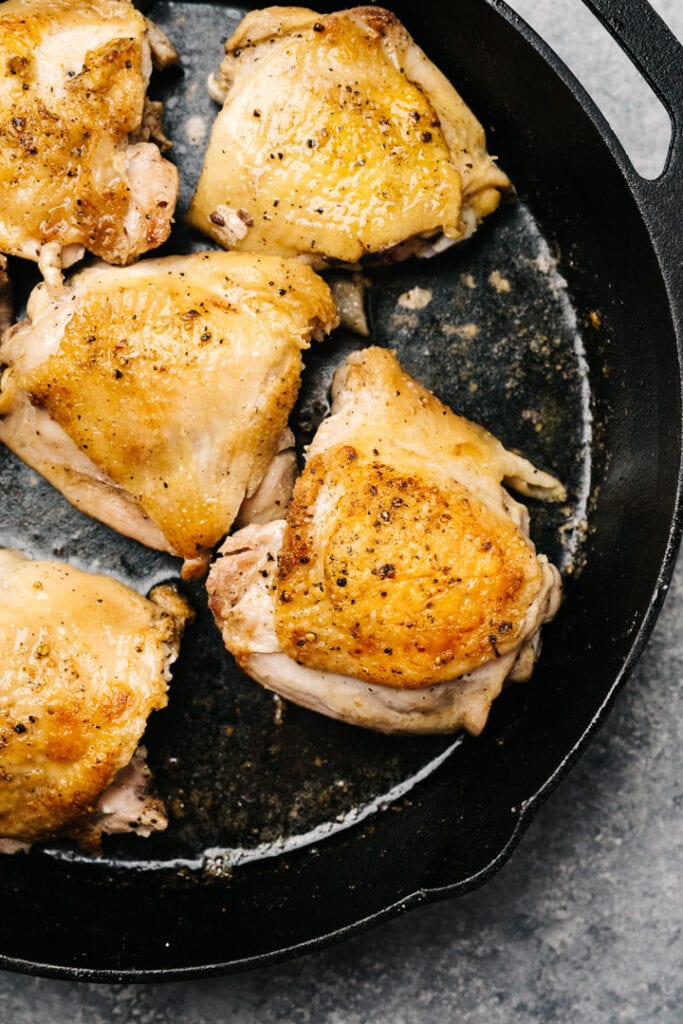
- Pat the chicken pieces dry, then season with salt and pepper.
- Sear the chicken skin side down in oil and butter in an oven-proof skillet. Cook until the skin is golden brown and easily releases from the skillet, then remove and set aside.
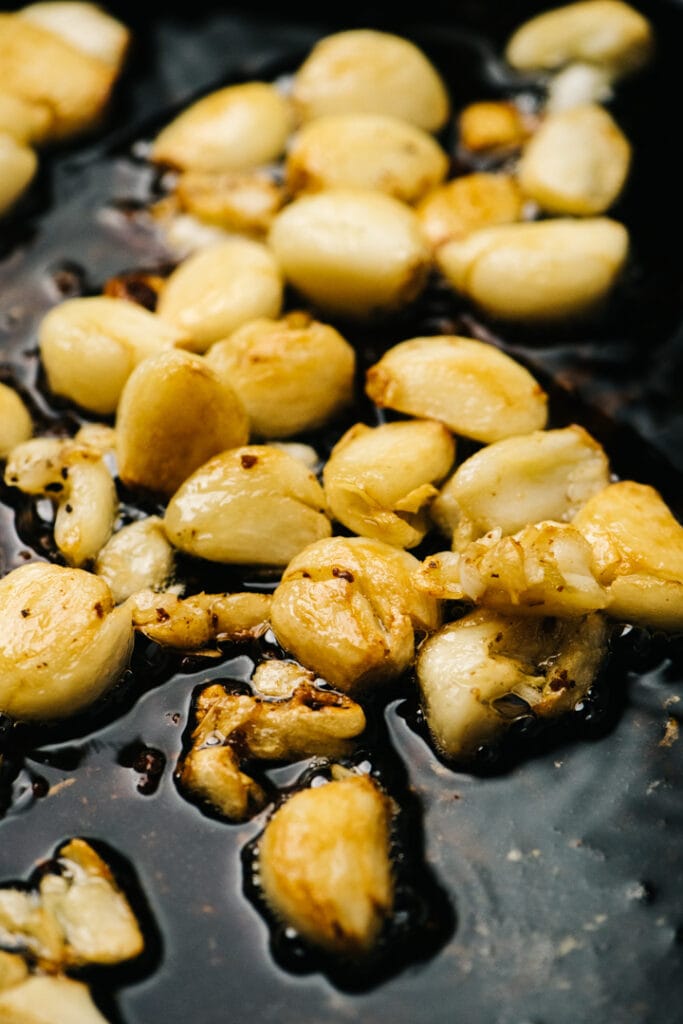
- Add the garlic cloves to the skillet and saute 5-6 minutes, or until browned in spots.
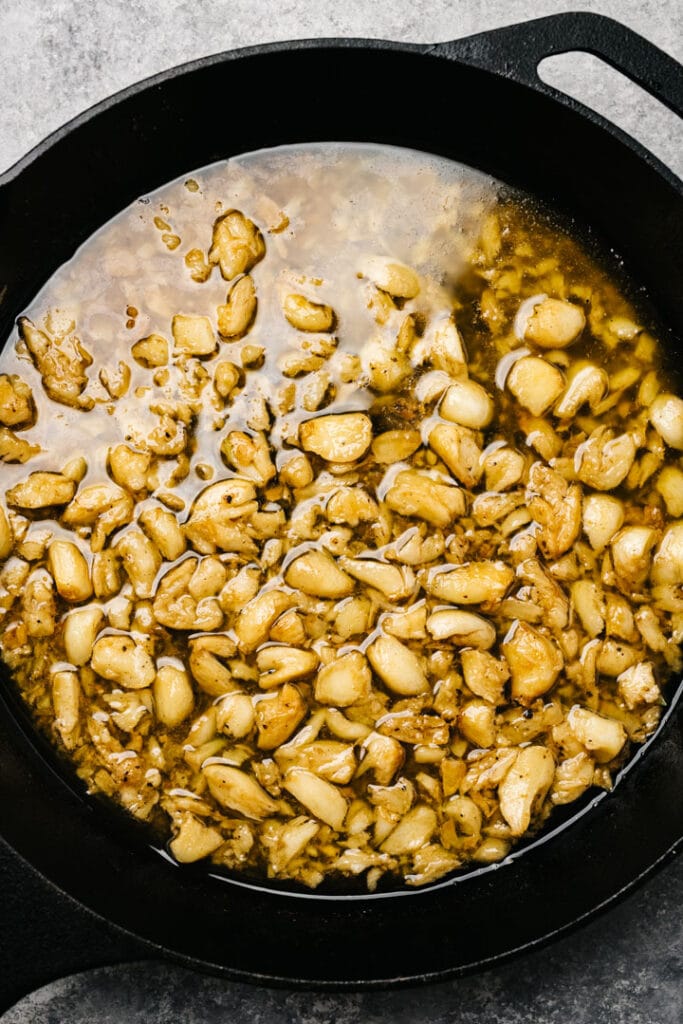
- Deglaze the pan with wine, and when doing so, gently mash the cloves with the back of a wood spoon. Continue cooking and mashing until the wine is reduced by about a third.
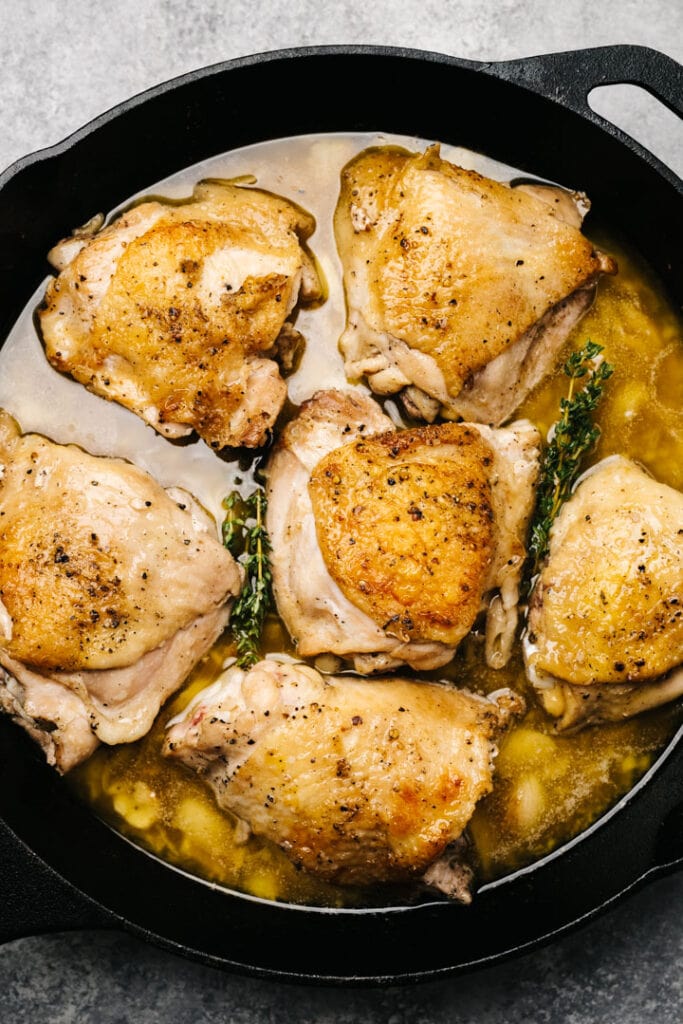
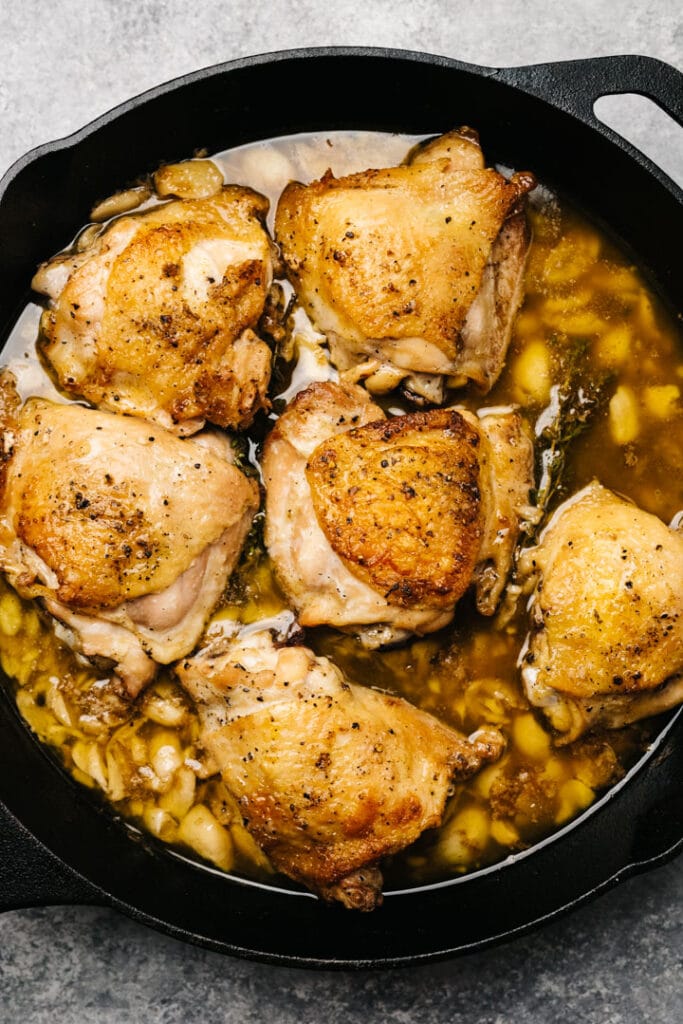
- Add chicken stock and fresh thyme to the garlic and wine, then nestle the chicken into the pan liquids. Bring the liquids to a simmer, then transfer to the oven.
- Bake in a 350°F oven for 25 minutes. The chicken will be a deep golden brown and the pan sauce will have reduced by about half. Check the temperature of the chicken to make sure it's at least 165°F.
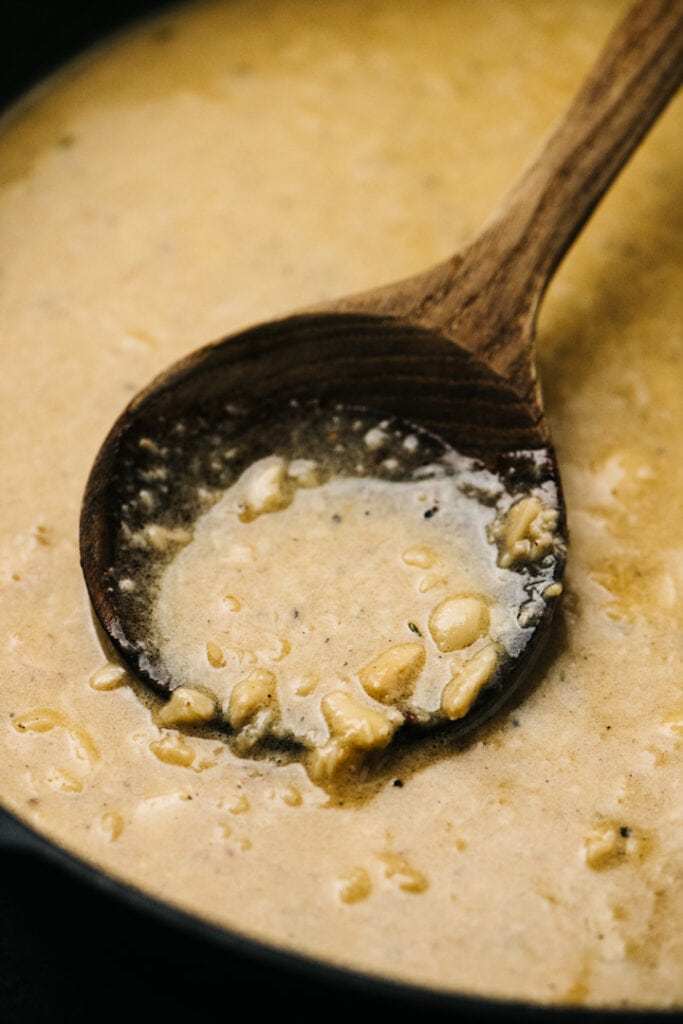
- Return the skillet to the stove burner and remove the chicken pieces. Whisk half a cup of the pan sauce with flour until very smooth, then pour into the skillet along with some heavy cream. Simmer 3-5 minutes, or until thickened to your preference. Be sure to taste the sauce for seasoning and adjust with salt and pepper if needed.
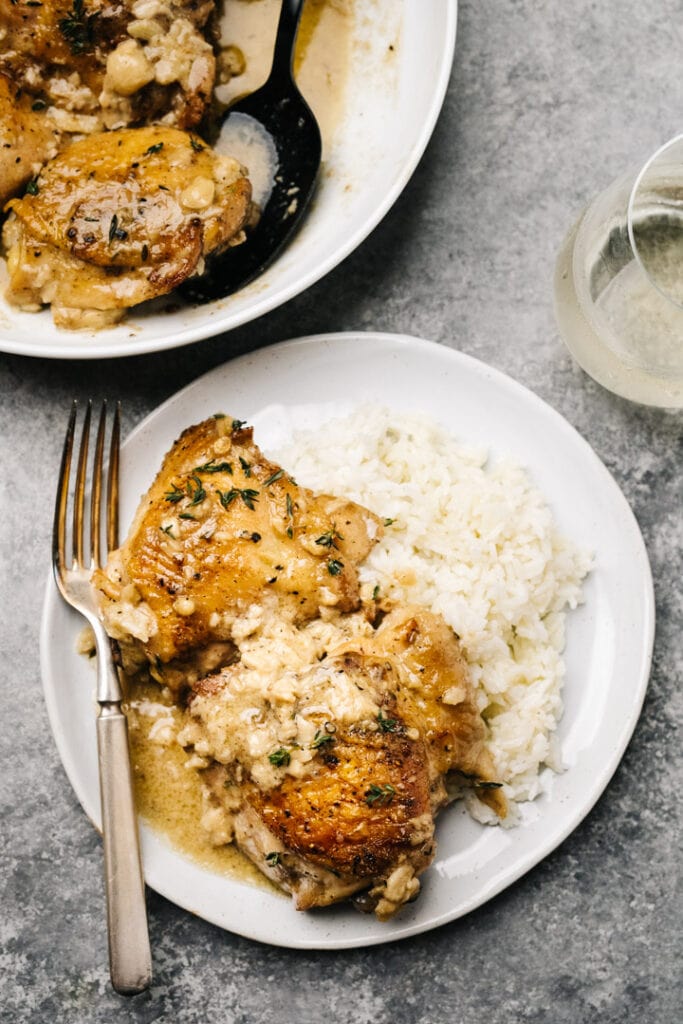
- Portion the chicken onto plates, top with plenty of sauce, and serve right away. Enjoy!
Searing Chicken the Right Way
- Use the recommended amount of fat according to recipe. Use tongs to swipe chicken pieces through the fat to coat the skin before leaving it undisturbed to sear.
- Adjust the heat as you sear so the oil in the pan sizzles, but doesn't splatter.
- Searing chicken properly takes longer than you think - about ten minutes over medium to medium-high heat.
- The skin should be very well browned - you don't want a kiss of color, but deep, golden hues.
- You'll know the chicken is properly seared once it easily releases from the bottom of the skillet - if it sticks, it's not quite ready, so continue cooking a few more minutes.
- Do brown the skin even if you will discard it later - this browning process, called the Maillard reaction, will infuse the sauce with flavor. The skin also helps prevent the meat from becoming dry during the oven braising portion.
Chef's Tips!
- This recipe relies on bone-in, skin-on chicken. Chicken thighs are listed in the recipe card, but any bone-in chicken pieces work, including breast or legs. Cook time may vary slightly, especially if using chicken breasts, which are thicker than chicken thighs, so....
- Always check the internal temperature of chicken using an instant read thermometer to determine doneness - the thermometer should read at least 165°F when inserted into the thickest part of the chicken.
- You'll need an oven-proof skillet that can go from stove-top to oven. We like cast iron, but any all-metal pan works. Do make sure to use oven mitts when removing from the oven!
What to Serve with Creamy Garlic Chicken
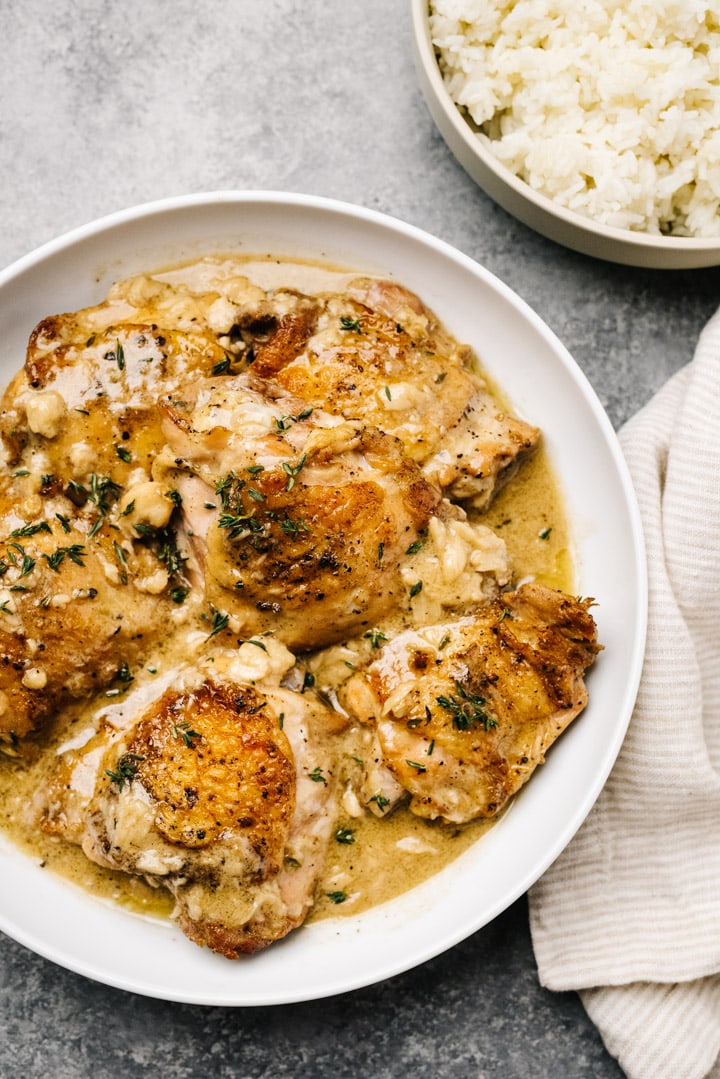
This one-pan garlic chicken has A LOT of flavor, so keep it simple - no need to compete. Choose from:
- A favorite vegetable, like roasted asparagus or crispy brussels sprouts, garlic green beans, roasted broccolini, steamed broccoli, sautéed spinach or kale, or braised swiss chard.
- Your favorite starchy side, like roasted potatoes, rice, quinoa or thin pasta, like spaghetti or angel hair.
- Low-carb side swaps like cauliflower rice or mashed cauliflower, or use the instructions in this recipe for zucchini noodles (zoodles).
Storing and Reheating Creamy Garlic Chicken
To Store: store chicken and leftover sauce separately, in airtight containers, in the refrigerator. Properly stored, cooked chicken will last 3-4 days, but the sauce should be used within 1-2 days.
To Reheat: the best way to reheat the sauce is to warm in a small saucepan over low heat on the stove. Whisk in 1-2 tablespoons of milk to reconstitute if it's thickened too much after cooling.
Reheat chicken using your preferred method. I like to toss mine in the air fryer at 350-375°F for 3-5 minutes, depending on size of the piece, because it's quick, easy, and helps re-crisp the skin. You can also reheat in a 350°F oven for about 10 minutes.
More Creamy Chicken One-Skillet Meals
- Creamy Mushroom Bacon Chicken
- Creamy Lemon Chicken
- Italian Basil Chicken with Creamy Pan Sauce
- Creamy Pesto Chicken
- Creamy Rosemary Garlic Chicken
Did you make this creamy garlic chicken? I'd love to know how it turned out! Leave a comment and a rating below.
While you're at it, let's be friends - follow me on Pinterest and Instagram for the latest and greatest.
Creamy Garlic Chicken Thighs
Description
Ingredients
- 2-3 lb bone-in skin-on chicken thighs, see Note 1
- 1 teaspoon kosher salt
- 1 teaspoon ground pepper
- 2 tablespoon olive oil
- 1 tablespoon butter
- 2-3 heads garlic, 25-40 cloves, peeled and lightly smashed
- ¾ c white wine
- ¾ c chicken broth
- 2 sprigs fresh thyme
- 1 tablespoon flour
- ¼ c heavy cream
Instructions
- Heat the oven to 350°F. Pat the chicken very dry, then season all over with salt and pepper.
- Heat the olive oil over and butter over medium heat in an ovenproof skillet (we prefer seasoned cast iron) until the butter melts, then foams. Place the chicken skin side down in a single layer; sear, undisturbed, until the skin crisps and turns golden brown, 12-14 minutes. Remove with tongs and set aside.
- Add the garlic cloves. Cook, stirring occasionally, until the cloves turn golden brown in spots, about 6 minutes.
- Pour in the wine to deglaze the skillet - scrape the bottom of the skillet with a wood spoon to release the flavored browned bits. While doing so, lightly mash the garlic cloves with the back of the wood spoon. Stir and mash until the bottom of the skillet is clean, the wine is reduced by about a third, and all the garlic is lightly mashed, about 3 minutes.
- Pour in the chicken stock, then add the fresh thyme. Nestle the chicken into the liquid. Increase the heat to medium high and bring the liquid to a simmer. Once simmering, transfer the chicken to the oven.
- Bake 25 minutes, until the chicken is a deep golden brown and the liquids have reduced by half. Check the internal temperature to ensure it registers at least 165°F using an instant read thermometer.
- Place the skillet back onto the burner. Remove the chicken from the skillet and tent with foil to keep warm. Transfer ½ cup of the sauce to a large mixing cup. Whisk the flour into the ½ cup sauce, then add the heavy cream. Pour the mixture into the skillet. Bring the sauce to a simmer over medium high heat and cook 3 minutes or until the sauce is thickened to your liking. Taste for seasoning and adjust with salt and pepper if needed.
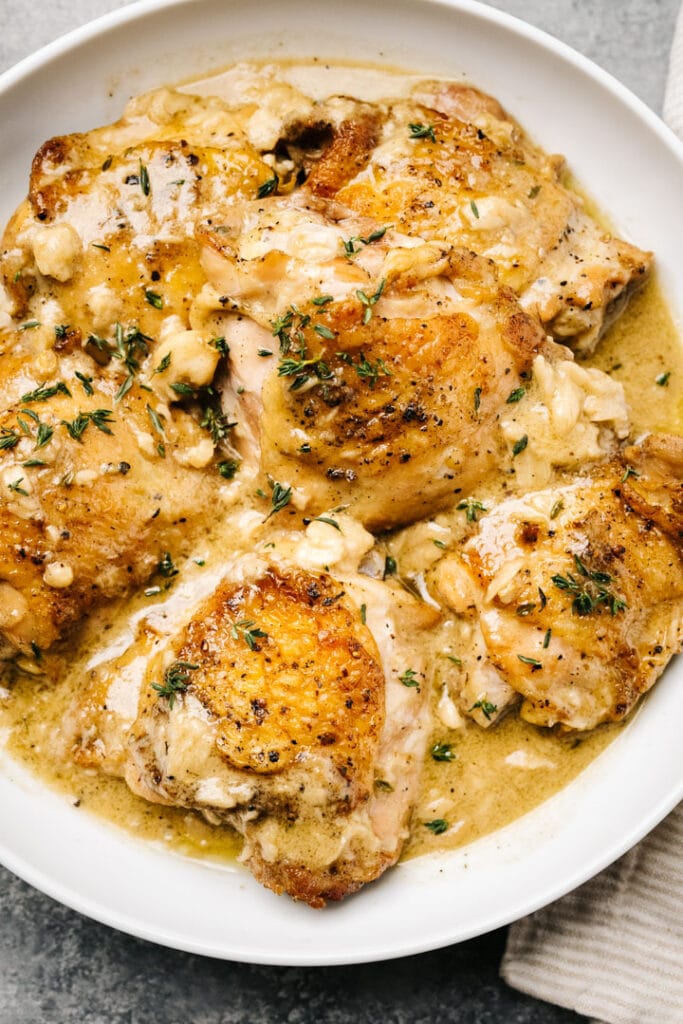
- Portion the chicken onto plates, then top generously with the sauce. Garnish with more fresh thyme if desired, and enjoy!

Comments
No Comments