There's nothing quite like the perfection of a classic whole roasted chicken - whether you're savoring it for supper or mastering the art of making it. This Herb Roasted Chicken recipe is formidable, but the steps are surprisingly simple. Time and patience are as much your friends as herbs and butter are. You'll need a full day for the dry brine, but trust us, the results are more than worth the wait.
Jump to:
For far too long I've treated whole roasted chicken as fodder for other meals, from chicken salads to chicken soups. But no more!
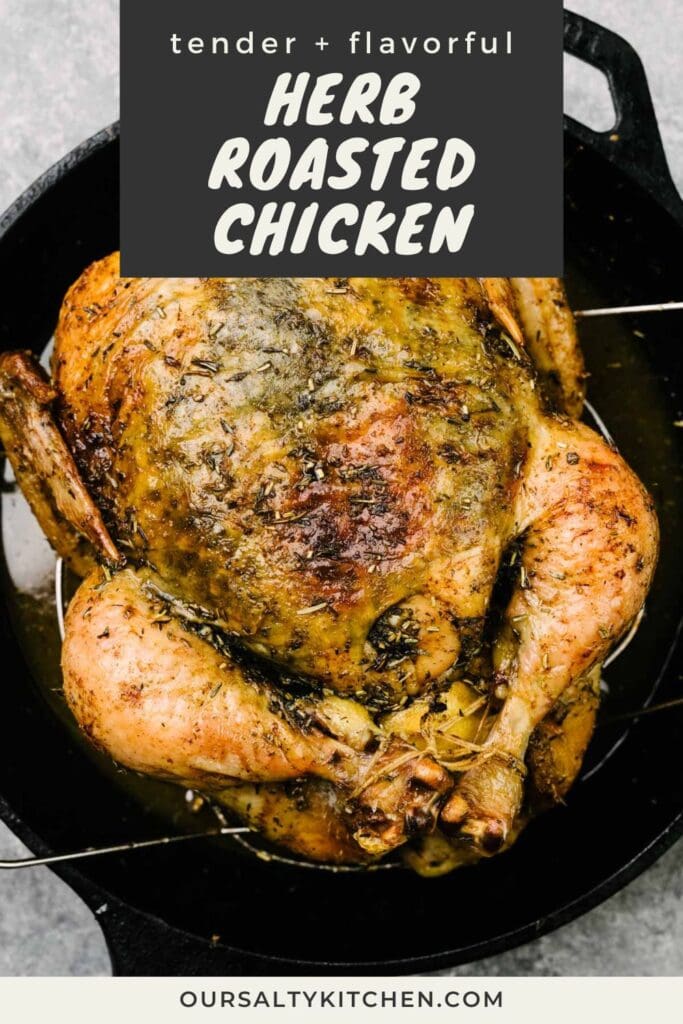
This is the proverbial holy grail of roasters - an herb crusted chicken with meat so juicy and skin so crispy that it'll make you want to "slap your mama." (As the saying goes, of course. We do not condone violence here, only nonsensical outbursts when a whole chicken recipe turns out so good that you...ya' know...want to "slap your mama.")
This herb roasted chicken is so flavorful and beautiful that... You know what? Before I tell you, scroll down and just look at that bird - look at it! - then come back. You back? Great. If you tell me that you didn't reflexively paw at your screen trying to rip off a piece of that skin, you're a liar.
It's a work of art. And one so flavorful and beautiful that you could, dare I say, never make another turkey again and only serve Thanksgiving chicken from here on out. Now, you won't if you have upwards of 20 loud New Jerseyans to feed, but for an intimate Friendsgiving or romantic holiday for two in a rustic cabin where no children can find you? This is your pièce de résistance.
It's not really even how you cook this particular chicken that separates it from other whole chicken recipes. It's how you prep it. And I'm not going to lie - it takes a lot of time and patience, and more seasoning than you have ever used in your life for what is essentially a single-food dish. But the end result is the best roasted chicken you've ever had. And if it's not, well, you can come slap this mama.
Double the Herbs for Double Deliciousness
If there's one opportunity I always take, it's doubling down on flavor. This whole roaster recipe calls for both fresh and dried herbs for an extra herby chicken experience!
✔️ Fresh herb butter (under the skin): combine softened butter with kosher salt, garlic, lemon zest, and fresh minced herbs (sage, rosemary, and thyme). Spread the herb butter under the skin.
✔️ Dried herbs (over the skin): dried herbs can withstand heat better than fresh. Combine olive oil with dried herbs to coat the skin and lock in flavor.
Dry Brining Makes the Crispiest, Most Tender Whole Roasted Chicken
If you've ever made a whole bird (chicken, turkey, or other) you've probably come across the phrase "brining". When brining, the chicken is soaked in a solution of salt, water, and often other seasonings for an extended period of time - usually 24-72 hours. Over time, the salt will infuse the meat and skin, adding flavor and making the meat more tender and juicy.
Dry brining is an alternative to a wet brine, and in our opinion, much more flavorful and sanitary.
What is Dry Brining?
Dry brining means seasoning meat with salt (and often other spices) before cooking - but without a liquid. The result is the same - crispier skin, more flavor, and extra tender meat - but without the hassle of preparing a brine and dealing with the solution after.
Why It's Better
✔️ It's cleaner. When you dry brine, the salt is added directly to the chicken, instead of prepared in a water solution. You don't have to worry about where to store several gallons of brining solution, and you're not left with a sloppy vat of liquid bacteria to clean up.
✔️ It's extra flavorful. Sprinkling the salt directly onto the skin draws out some of the natural water content, which helps the other herbs and spices to penetrate deeper.
✔️ It creates crispy skin. Let's be honest, crispy skin is one of the best benefits of roasting a whole chicken. As the salt penetrates the skin, it draws out moisture, creating super duper crispy skin.
How to Dry Brine
Dry brining is incredibly easy, mostly mess-free, and easier to do if you have limited fridge space. Here's our quick guide to dry brining:
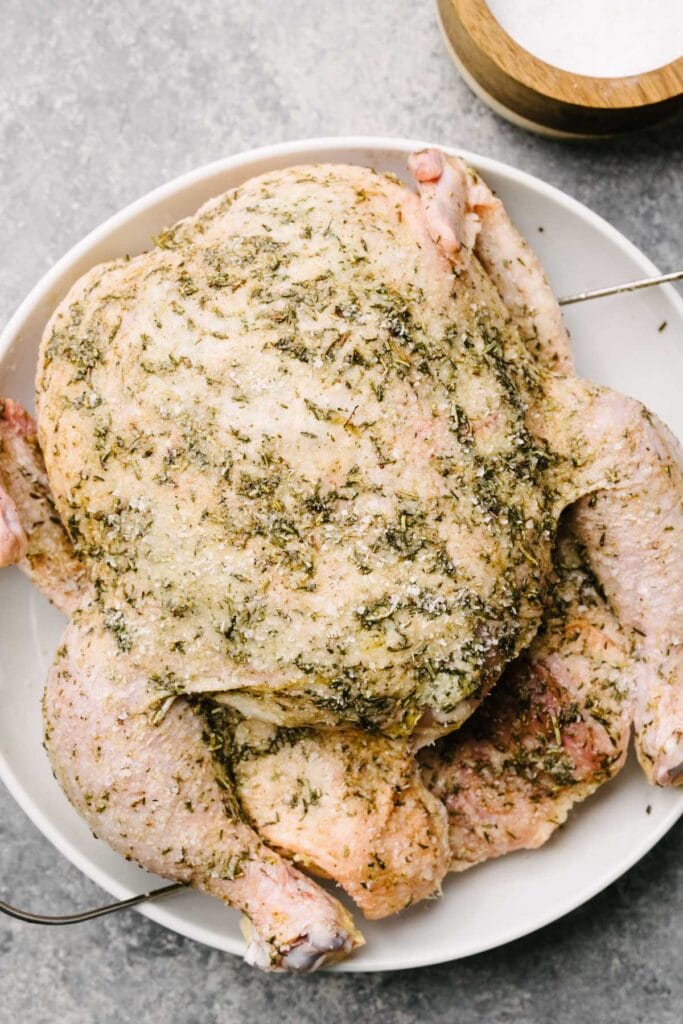
- Coat with Salt: Pat the bird very dry, then evenly sprinkle (don't cake!) your bird with kosher salt. Get it everywhere - chicken armpits, too - but make sure parts with more meat get more salt. You can add other seasoning, but just salting will go a long way. For this herbed chicken, we dry brine with a combination of salt and dried herbs.
- Chill: Dry brining creates decent results in as little as an hour. But for best results, place the chicken in the fridge, uncovered, and chill for 24-72 hours.
- Return to Room Temp: Remove the chicken from the fridge 30-60 minutes before roasting to allow the bird to come to room temperature. This will help the chicken roast evenly, and more quickly.
How Much Salt Should I Use?
Use one-half to one teaspoon of kosher salt per pound of meat. For a 4-pound chicken, use at least 2 teaspoons kosher salt and up to 4.
We use about about three teaspoons of kosher salt for a 4-pound chicken - one teaspoon in the herb butter, under the skin, and two teaspoons sprinkled all over the skin and in the cavity.
SaltYourMeat.com has a calculator to help determine how much salt you should use to dry brine your whole chicken.
How to Make Herb Roasted Chicken
This recipe for herb roasted chicken may appear daunting at first glance, but half of your work is done a day in advance to prep this showstopper of a bird. After a 24-hour dry brine with herbs and an herb butter rub, your whole chicken is ready to roast!
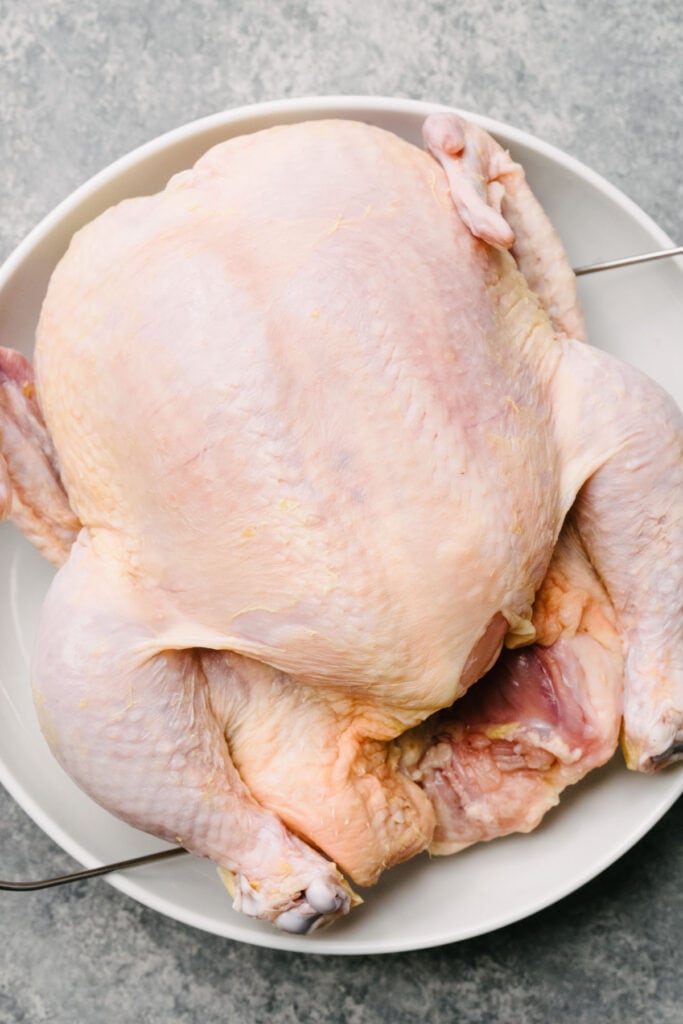
- Prep chicken for dry brine. Remove the giblets then pat the chicken very dry using paper towels. Place onto a trivet and nest into a shallow dish or roasting pan.
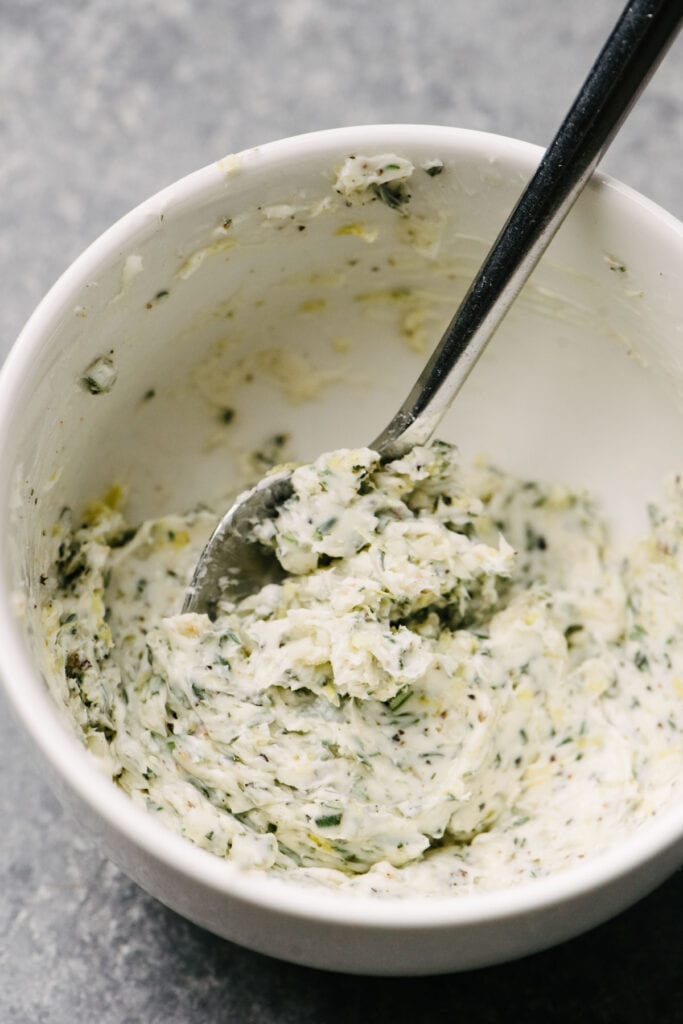
- Make the herb butter. Combine softened butter with garlic, fresh herbs, salt, and pepper in a small bowl and mix until well combined.
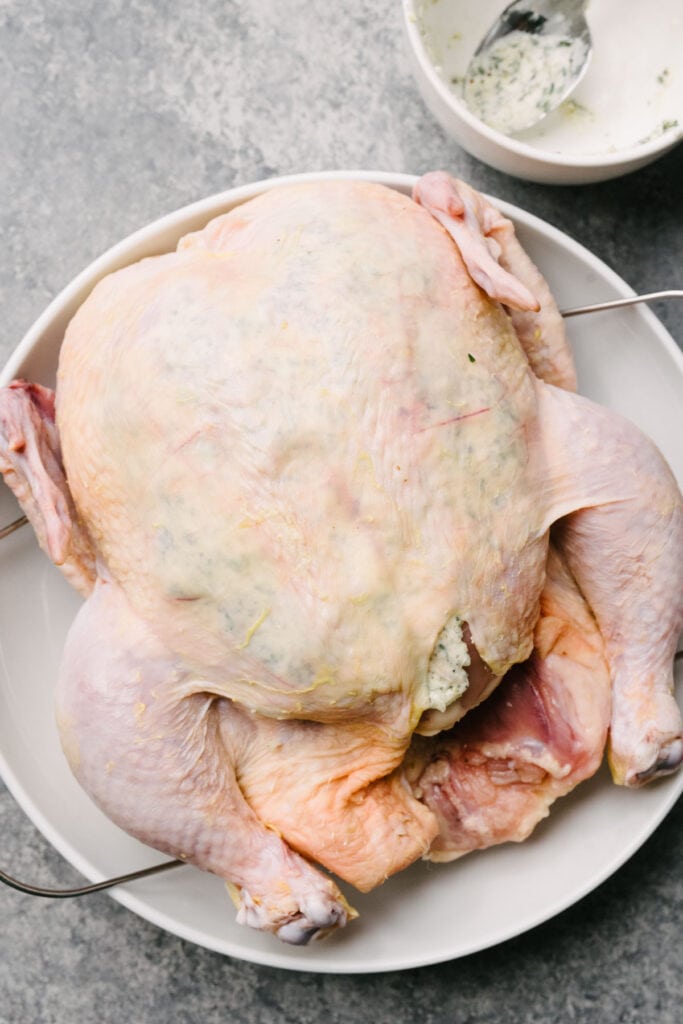
- Season under the skin. Separate the skin from the breast meat, then rub the herb butter evenly under the skin.
- Coat with dry brine. Generously sprinkle the outside of the chicken with kosher salt, then with dried herbs.
- Chill. Place the chicken into the fridge - uncovered - and chill at least 24 hours and up to 48.
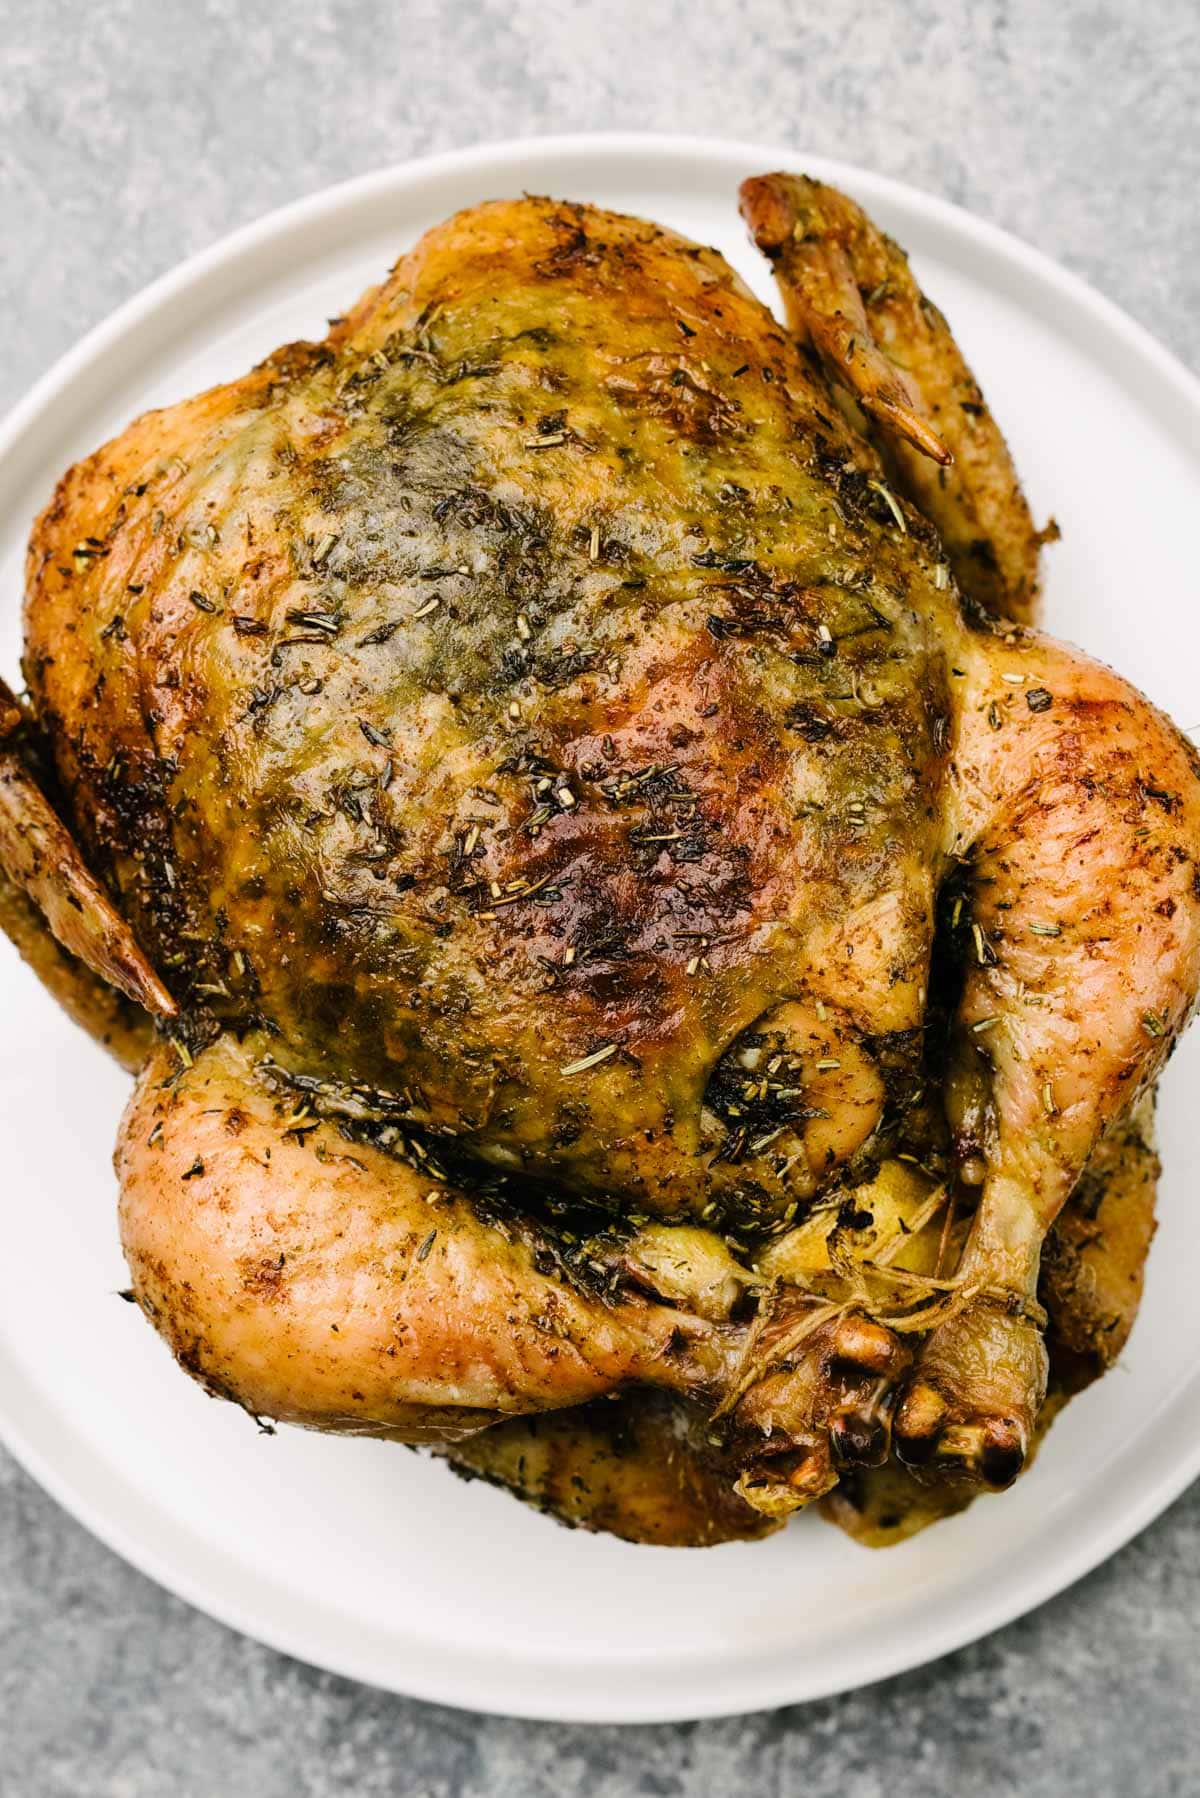
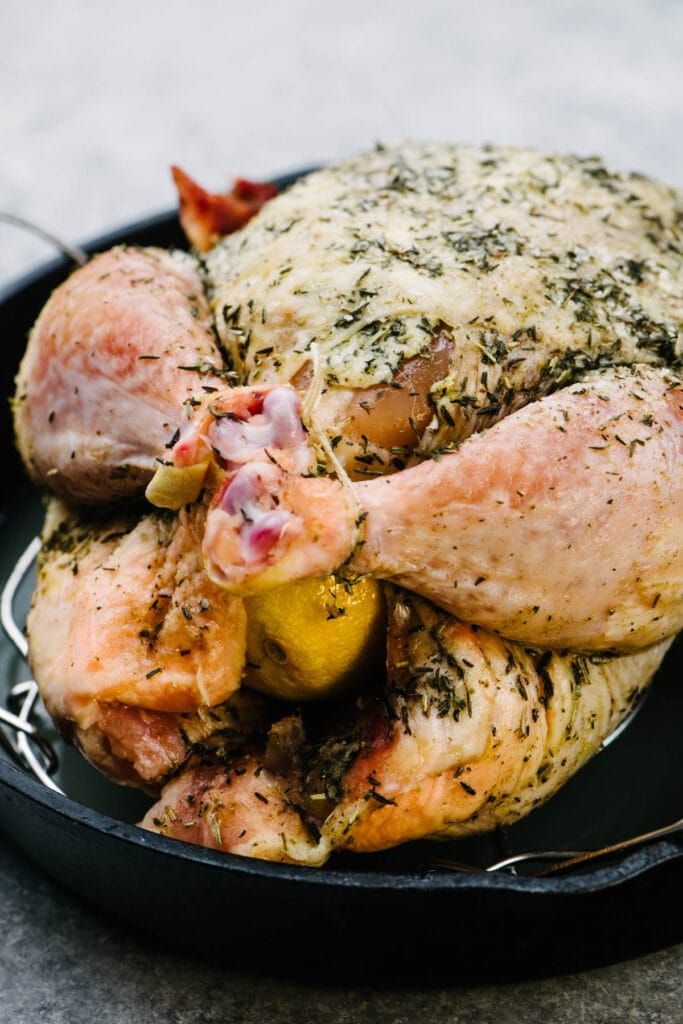
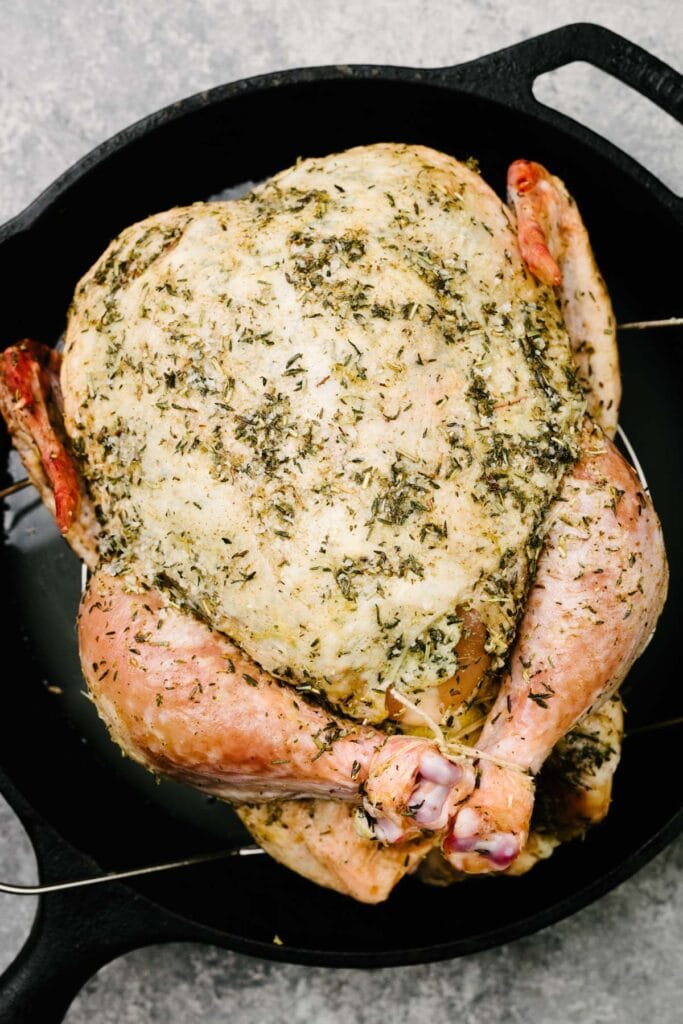
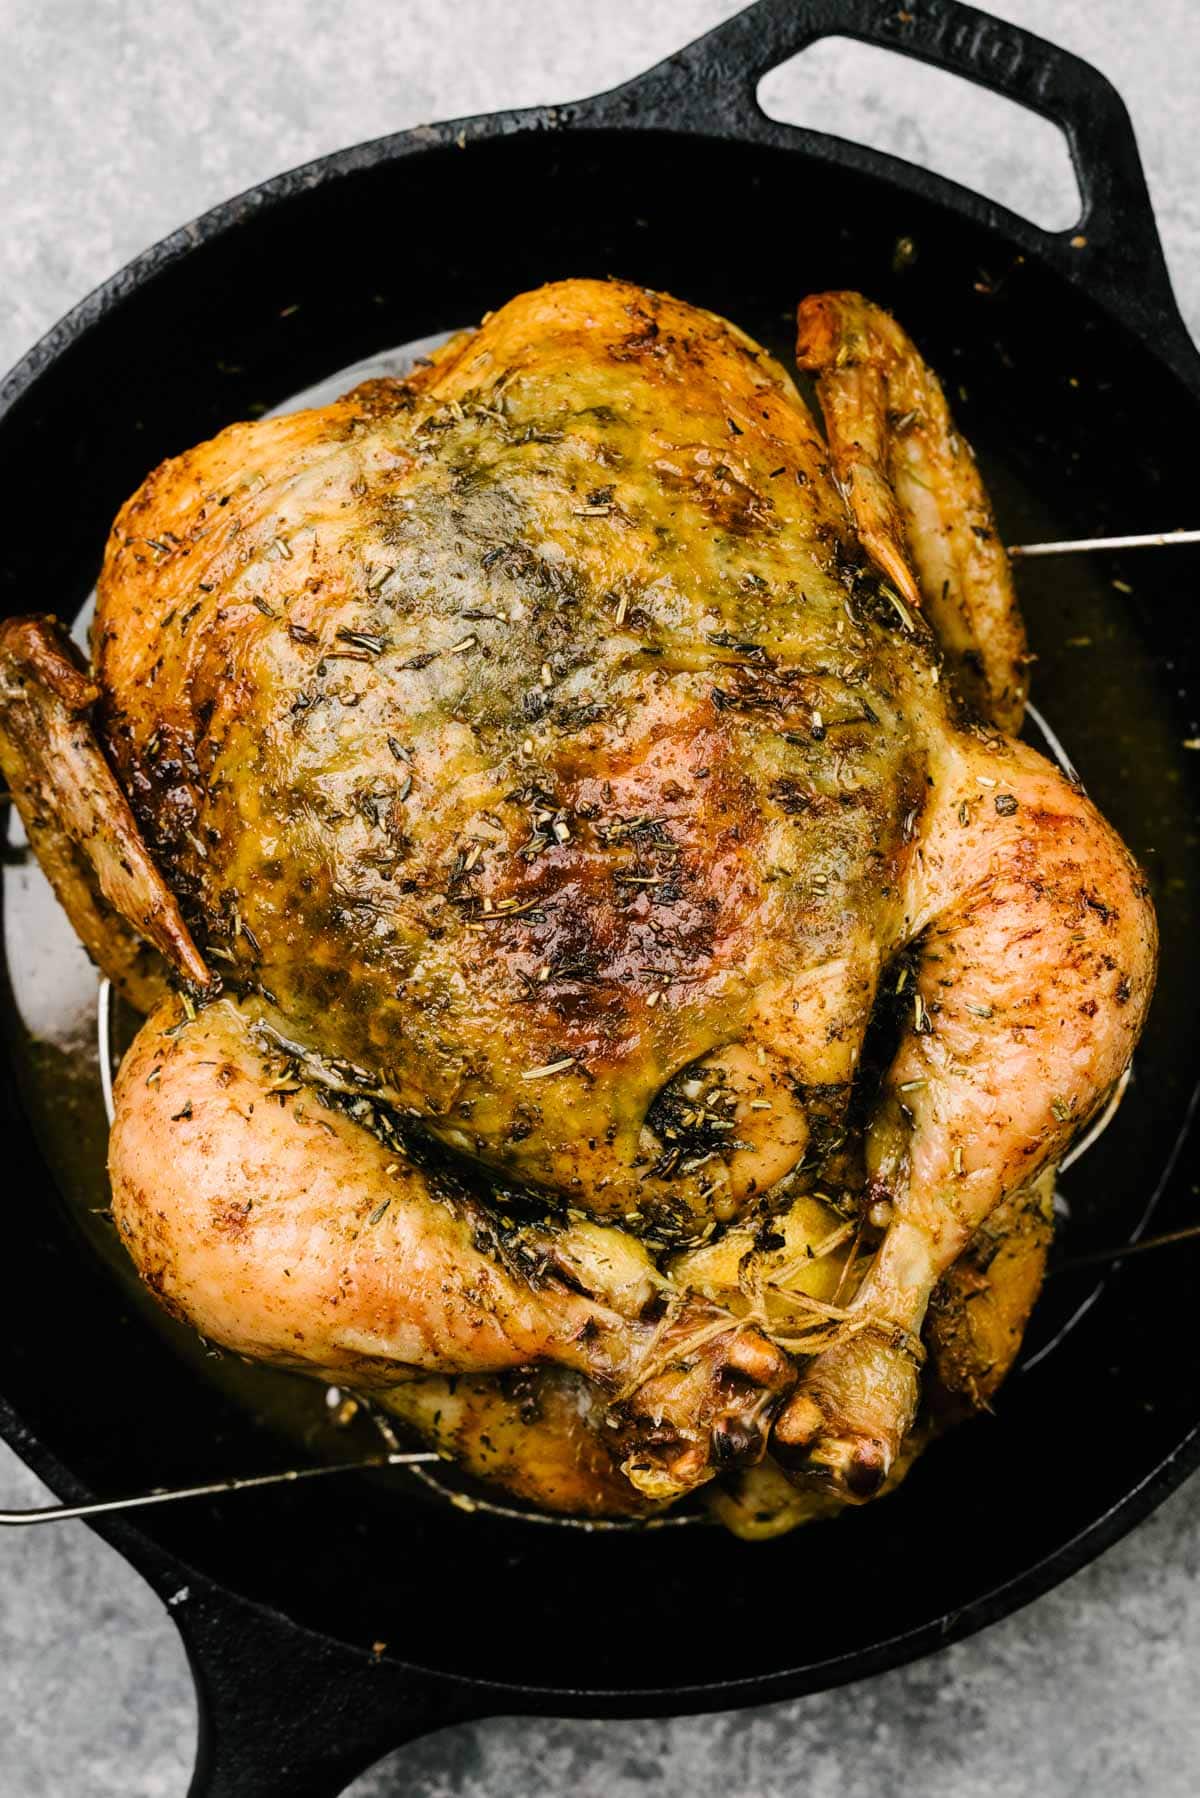
- Prep for roasting. Remove the chicken from the fridge and bring to room temperature. Stuff the cavity with lemon halves, then truss the the bird. Transfer the chicken to a roasting pan or cast iron skillet, then add wine and broth right into the pan or skillet.
- Roast. Transfer the chicken to the oven and roast for 20-22 minutes per pound, or until the temperature registers 160-162°F when you insert a thermometer into the thickest part of the breast.
- Rest. Remove the pan from the oven, transfer the chicken to a cutting board, and tent with foil to keep warm. Rest 10 minutes while you make the gravy.
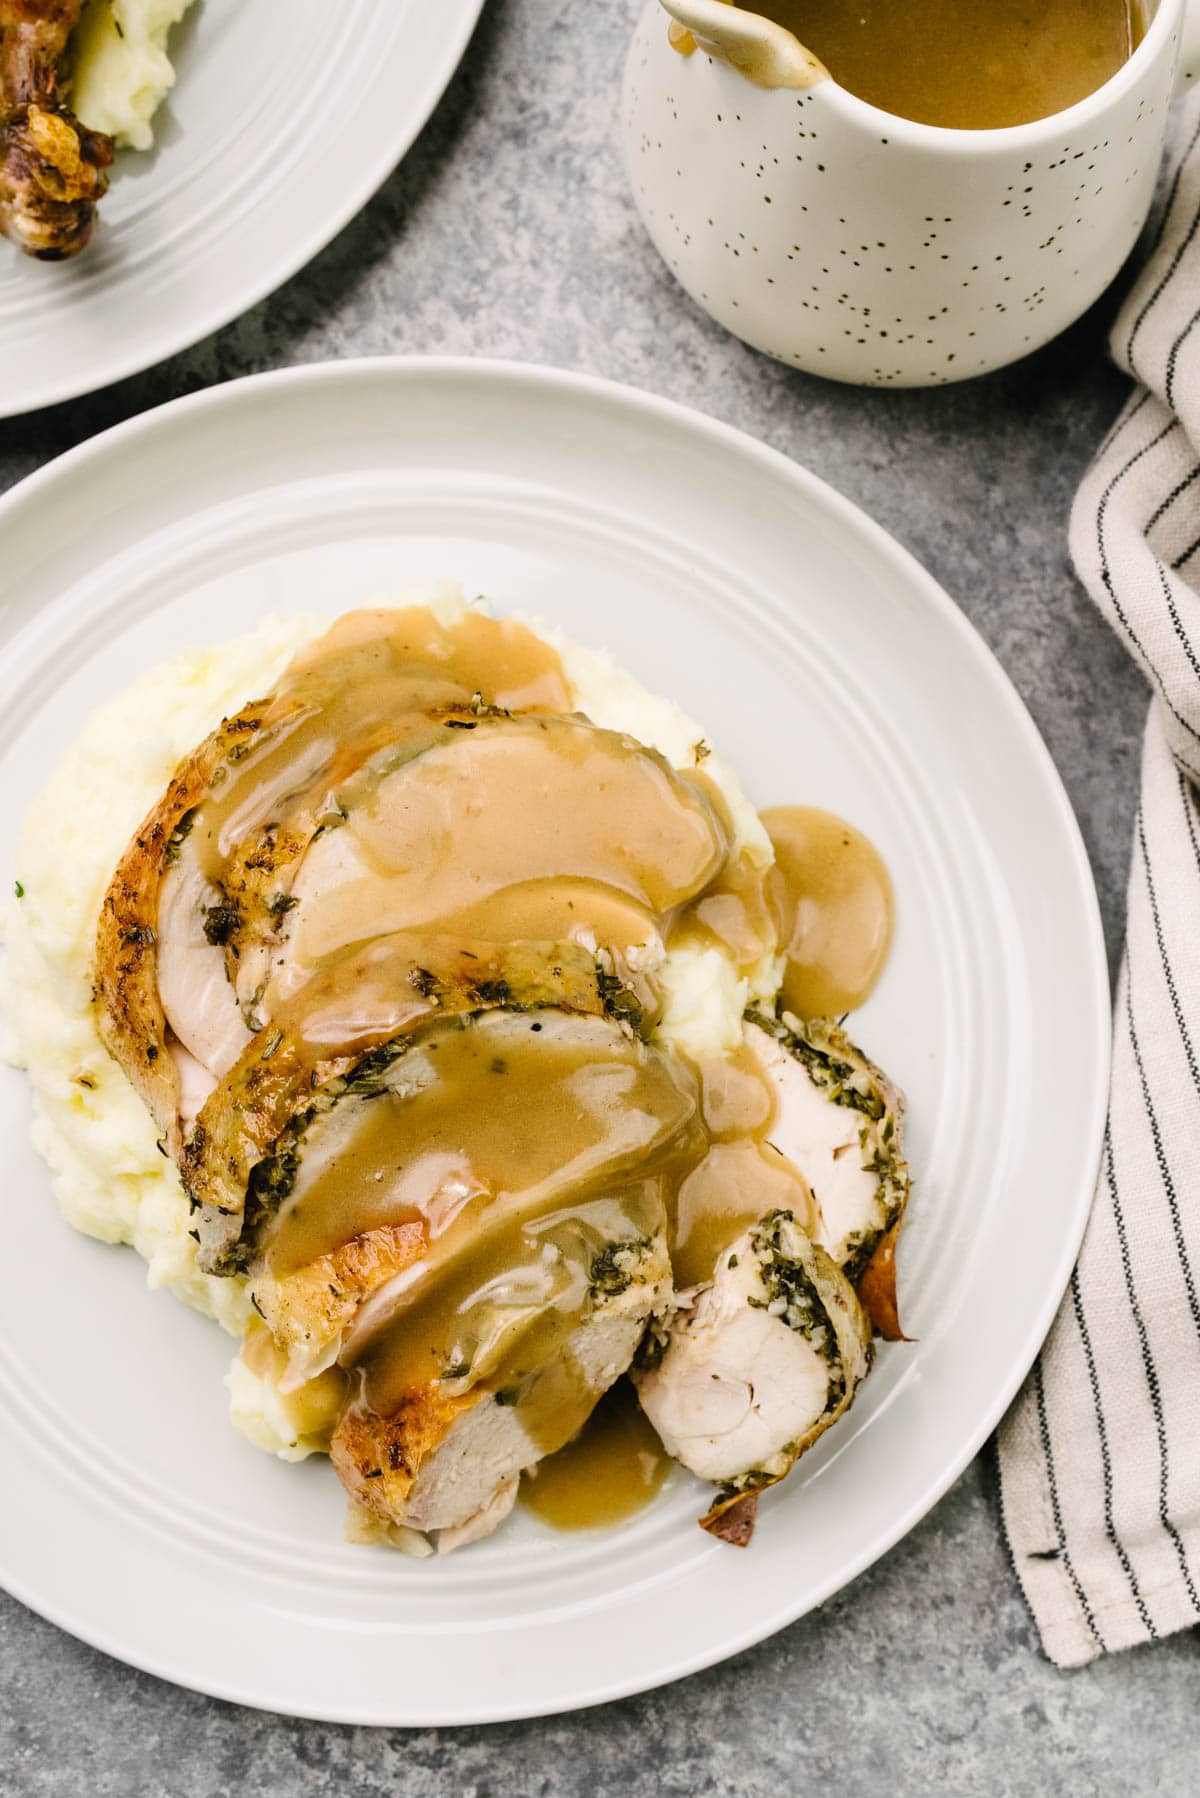
- Make the gravy. Strain the pan drippings and skim the fat, if desired. Melt butter in a saucepan, then whisk in flour to create the roux. Slowly pour the drippings into the roux while whisking constantly. Simmer the gravy until thickened to your liking.
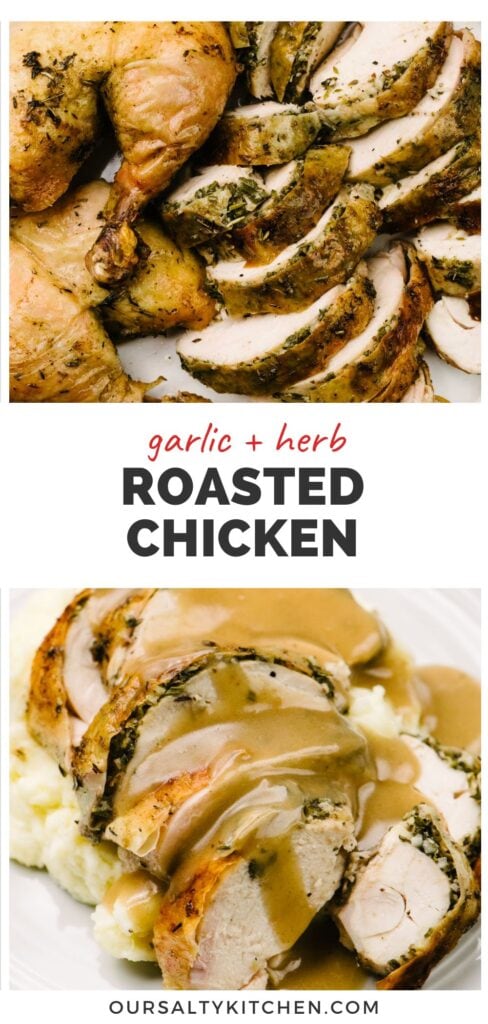
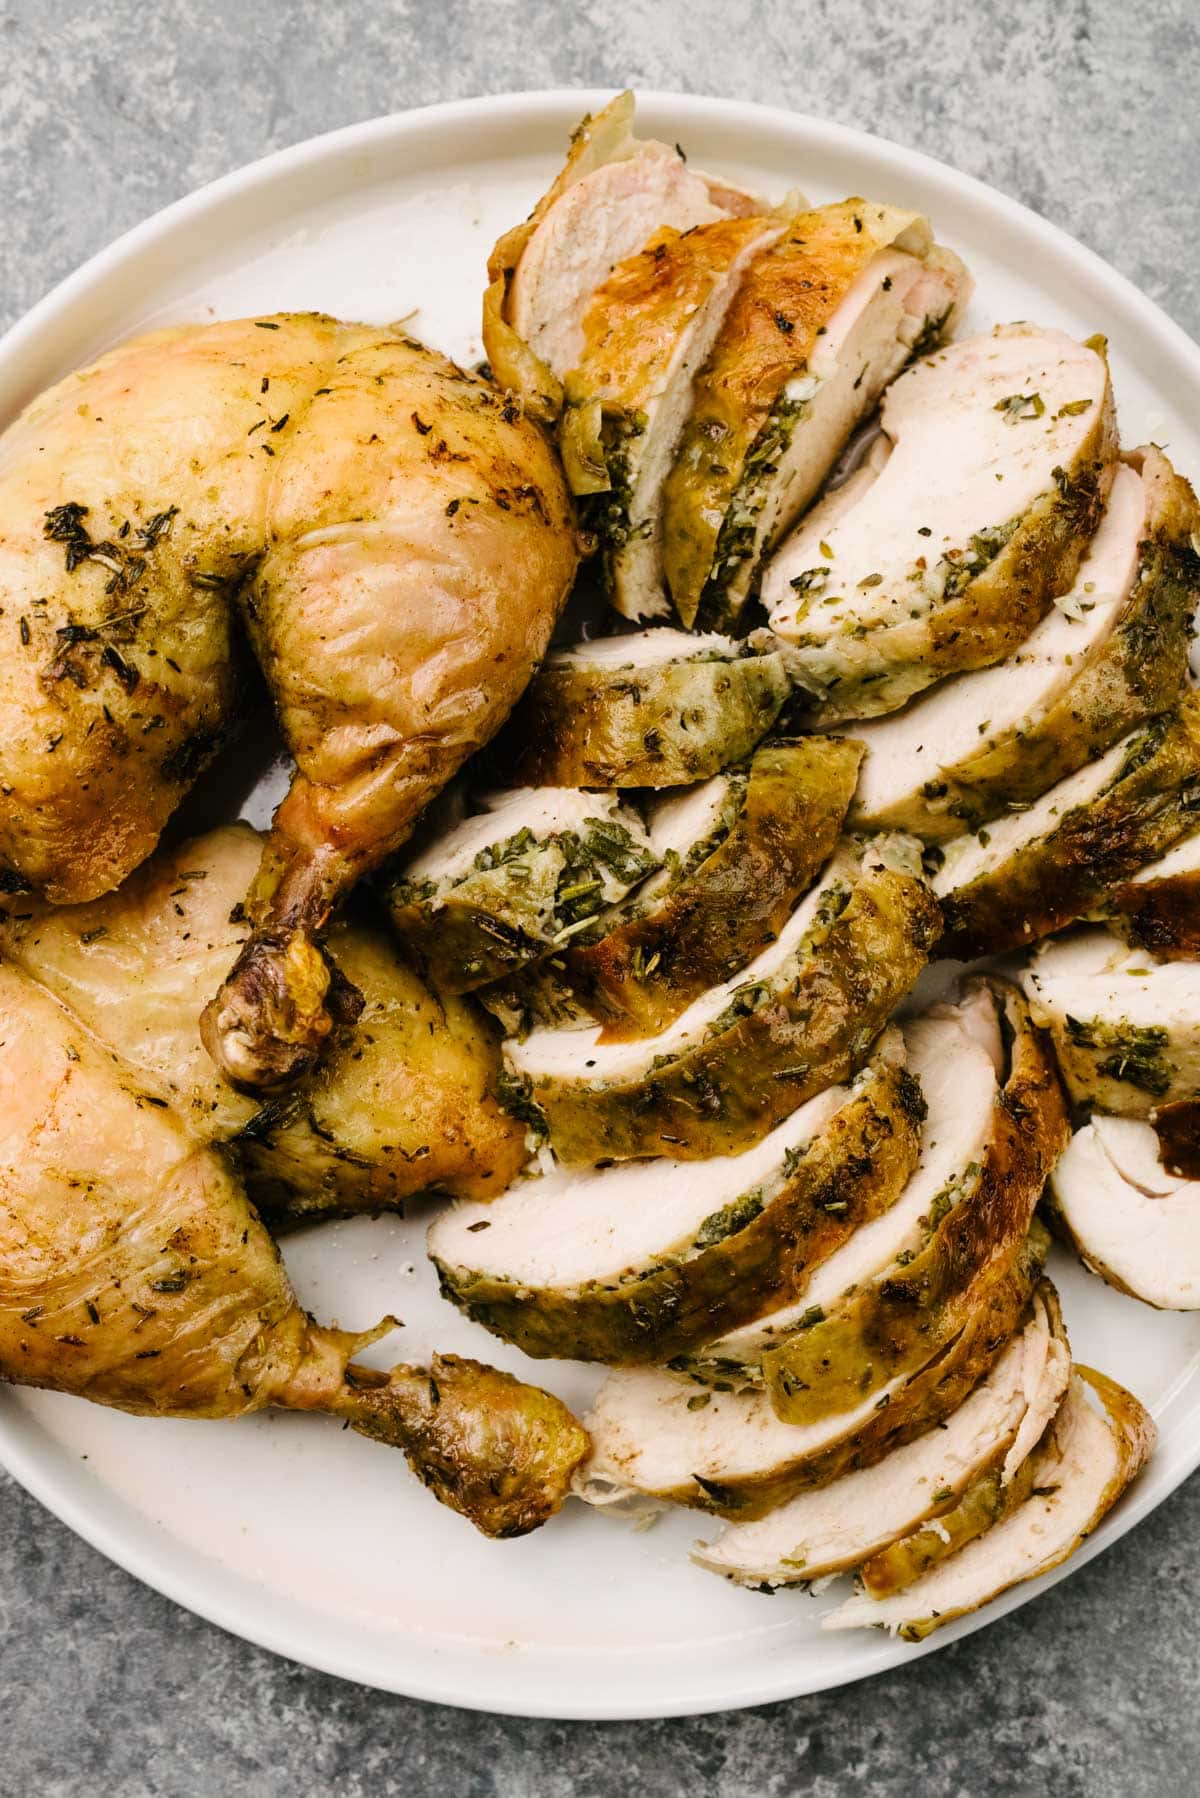
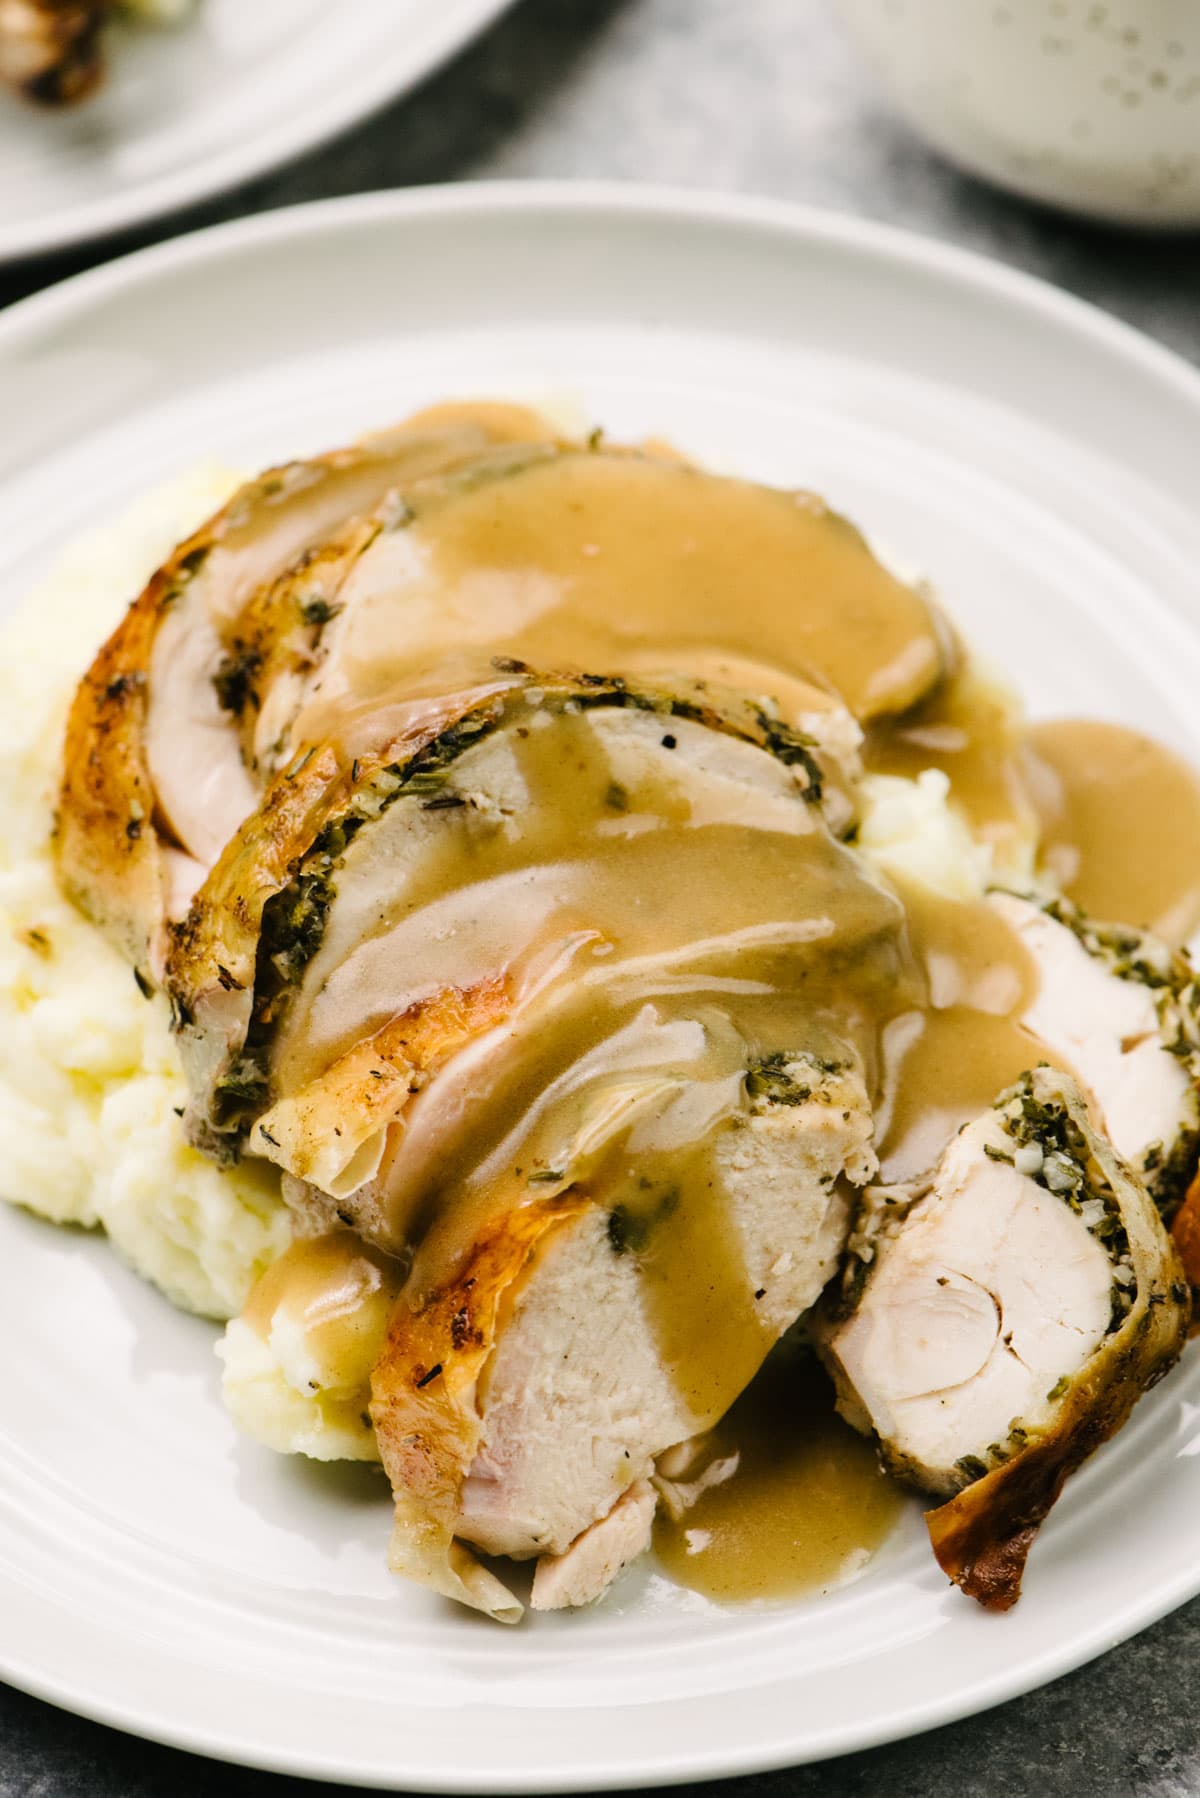
- Serve. Carve the roast and serve with plenty of gravy. Enjoy!
Whole Chicken Internal Temperature
Always test a whole chicken for doneness using the breast meat thermometer reading. We pull our chicken from the oven once the thermometer registers 160-162°F with the probe inserted into the thickest part of the breast without hitting bone.
There are two main reasons you want to focus on the temperature of the breast, and not the dark meat:
- The thighs and legs will cook more quickly than the breast meat, and will therefore reach a safe internal temperature more quickly. Dark meat in the thigh and legs is often tastier and more tender at a higher internal temperature (we prefer an internal temperature of 180-185°F for dark meat).
- Breast meat is ideal at an internal temperature 165°F, and that is also the safest temperature for chicken consumption. The internal temperature will continue to rise at the chicken rests, so removing it from the oven right at 160-162°F will result in a perfectly cooked whole chicken for both white and dark meat pieces.
Recipe Notes and Tips
- Place the chicken into a shallow bowl or on a quarter sheet pan for the dry brining stage. It will take up much less space in the the fridge than a roasting pan.
- Mind your salt elsewhere. Dry brining will introduce all the salt you need in your bird. Use unsalted butter, low sodium chicken broth, and do not add salt to the gravy until you're ready to taste for seasoning.
- Roast at a consistent temperature of 350°F, rather than starting high and going low. This middle-ground consistent temperature will prevent the herbs from burning. Additionally, the dry brine does the heavy lifting for creating crispy, golden brown skin, so there's no need to start at a higher temperature.
- Don't skip the liquids! Our recipe calls for adding both wine and broth to the roasting pan. The wine will season the drippings, and the additional (low sodium) broth will both dilute the salt content and add volume to the drippings.
- Truss that bird! It’s not just for looks! Trussing your bird ensures even cooking. Need help? Our trusty French friend, Jacques Pepin, has you covered. Watch here.
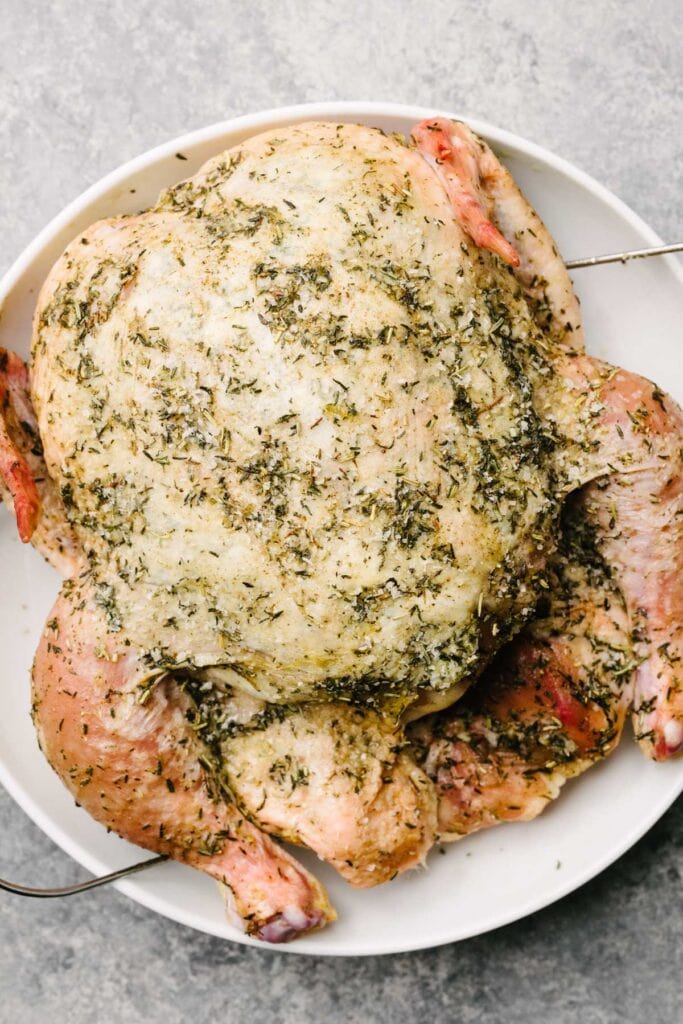
- Dry brined chickens look a little weird. If you notice that the skin looks extra pink and appears puckered or desiccated when you remove your chicken from the refrigerator after the dry brine, fear not! This is perfectly normal.
- Brined chickens may cook more quickly. The point of a brine is to lock moisture into the bird, so a brined whole chicken often cooks more quickly than an unbrined one. Time your roast at 20 minutes per pound to start. You can always add more time if needed, according to the reading on your thermometer.
What to Serve with Herb Crusted Chicken
Create tasty meal combinations from this hand-picked selection of sides. They're all perfect matches, whether you're serving up your whole roaster as a Thanksgiving chicken or for Sunday dinner with the family.
✔️ Potatoes: if you want crispy potatoes (like, who doesn't?) try our air fryer potatoes! The oven will be committed to a 350°F temperature for quite awhile, and 350°F does not a crispy potato make. The air fryer is the perfect alternative. If you're lucky enough to have a double oven, try our crispy rosemary potatoes or roasted potatoes and carrots.
✔️ Starches for Sopping: sop up even more of that gravy by serving your roasted chicken the classic way, with mashed potatoes, or the fancy way, with risotto.
✔️ Stovetop Vegetable Sides: since the oven is in use and most roasted vegetables don't turn out well at the required roasting temperature for this chicken (350°F), choose veggie sides that can be prepared on the stovetop. Try glazed carrots, creamed corn, garlicky green beans, or maple bacon Brussels sprouts.
✔️ Roasted Vegetables: Quick cooking roasted vegetables, like 15-minute baked asparagus, lemon garlic asparagus, or garlic parmesan asparagus are also a terrific choice, as they'll cook start to finish while the chicken rests. Just be sure to prep them while the chicken is cooking!
✔️ Salads: a hearty green salad is a must for Sunday dinner or a holiday! Our Italian tossed salad is always a crowd pleaser, but for extra crunch, try butter lettuce salad or Brussels sprouts salad.
Did you make this herb roasted chicken? I'd love to know how i turned out! Leave a comment and a rating below.
While you're at it, let's be friends - follow me on Pinterest and Instagram for the latest and greatest.
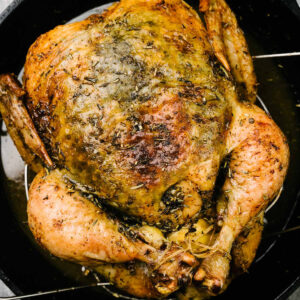
Perfect Herb Roasted Chicken
Description
Ingredients
- 4-5 pound whole chicken
- 1 whole lemon, halved
- ½ cup dry white wine
- ½ cup low sodium chicken broth
Dry Brine
- 2 teaspoons kosher salt
- 1 teaspoon dried thyme
- ½ teaspoon dried sage
- ½ teaspoon dried rosemary
Herb Butter
- 4 tablespoons unsalted butter, at room temperature
- 2 cloves garlic, finely minced
- 2 teaspoons fresh thyme leaves
- 1 teaspoon fresh rosemary, finely chopped
- 1 teaspoon fresh sage, finely chopped
- 1 teaspoon kosher salt
- ½ teaspoon ground pepper
- 1 teaspoon lemon zest
For the Gravy
- 3 tablespoons unsalted butter
- 3 tablespoons all purpose flour
- 2-3 cups pan drippings
Instructions
- Remove the chicken from its packaging. Discard the giblets or reserve for another purpose. Pat the chicken very dry, inside and out, using paper towels. Nest a trivet or roasting rack into a shallow bowl or roasting pan, then place the chicken onto the trivet/rack breast side up. See Note 1.
- Make the herb butter. Combine the butter, garlic, fresh thyme, fresh rosemary, fresh sage, kosher salt, pepper, and lemon zest in a small bowl and mix until very well combined.
- Gently side a spoon between the skin and the breast meat to separate the skin from the meat. A spoon works best as it provides just enough pressure to gently pull the skin away from the meat.
- Using the same spoon, scoop portions of the herb butter under the skin, evenly dividing the butter between each breast. Then, gently press down on the top of the skin with your fingers to evenly distribute the herb butter underneath the skin.
- Coat with dry brine. Evenly sprinkle the outside of the chicken with the kosher salt, gently pressing to help the salt adhere. Then sprinkle the chicken with the dried thyme, sage, and rosemary.
- Transfer the chicken to the fridge, uncovered, and chill for 24 hours.
- Thirty minutes before cooking, remove the chicken from the fridge and set on the counter to come to room temperature. You’ll notice that the skin looks extra pink, and may appear puckered or desiccated. This is normal!
- Heat the oven to 350°F with a rack positioned in the lower third. See Note 2.
- Stuff the cavity with the lemon halves, then truss the chicken. Transfer the chicken and trivet or rack to a 10” cast iron skillet or roasting pan. Pour the chicken broth and white wine into the skillet or pan; this will season the gravy and create more liquid for the drippings.
- Transfer the chicken to the oven and roast for 20-22 minutes per pound, or until the internal temperature registers 160°F when you insert a thermometer into the thickest part of the breast. See Note 3. Start with 20 minutes per pound, as a brined chicken often cooks more quickly than an unbrined chicken.
- Remove the chicken from the oven. Gently lift the chicken using the edges of the rack or trivet and transfer to a cutting board. Loosely tent the chicken with foil to keep warm.
- Strain the drippings through a fine mesh strainer into a medium bowl or 4-cup measuring cup. Skim the fat if desired. See Note 4.
- Make the gravy. Heat a 3-quart pot over medium heat, add the butter, and heat until it melts then foams. Sprinkle the flour over the melted butter. Use a rubber spatula to work the flour into the butter, mixing until smooth; continue cooking until the roux turns golden brown, 2-3 minutes.
- Slowly pour in 2 cups strained drippings, whisking while you pour in a steady stream. Increase the heat to high, bring to a boil, then reduce to a simmer. Cook, whisking occasionally, until the gravy is thickened to your liking, 2-5 minutes. Taste for seasoning and adjust with salt and pepper to taste. See Note 5.
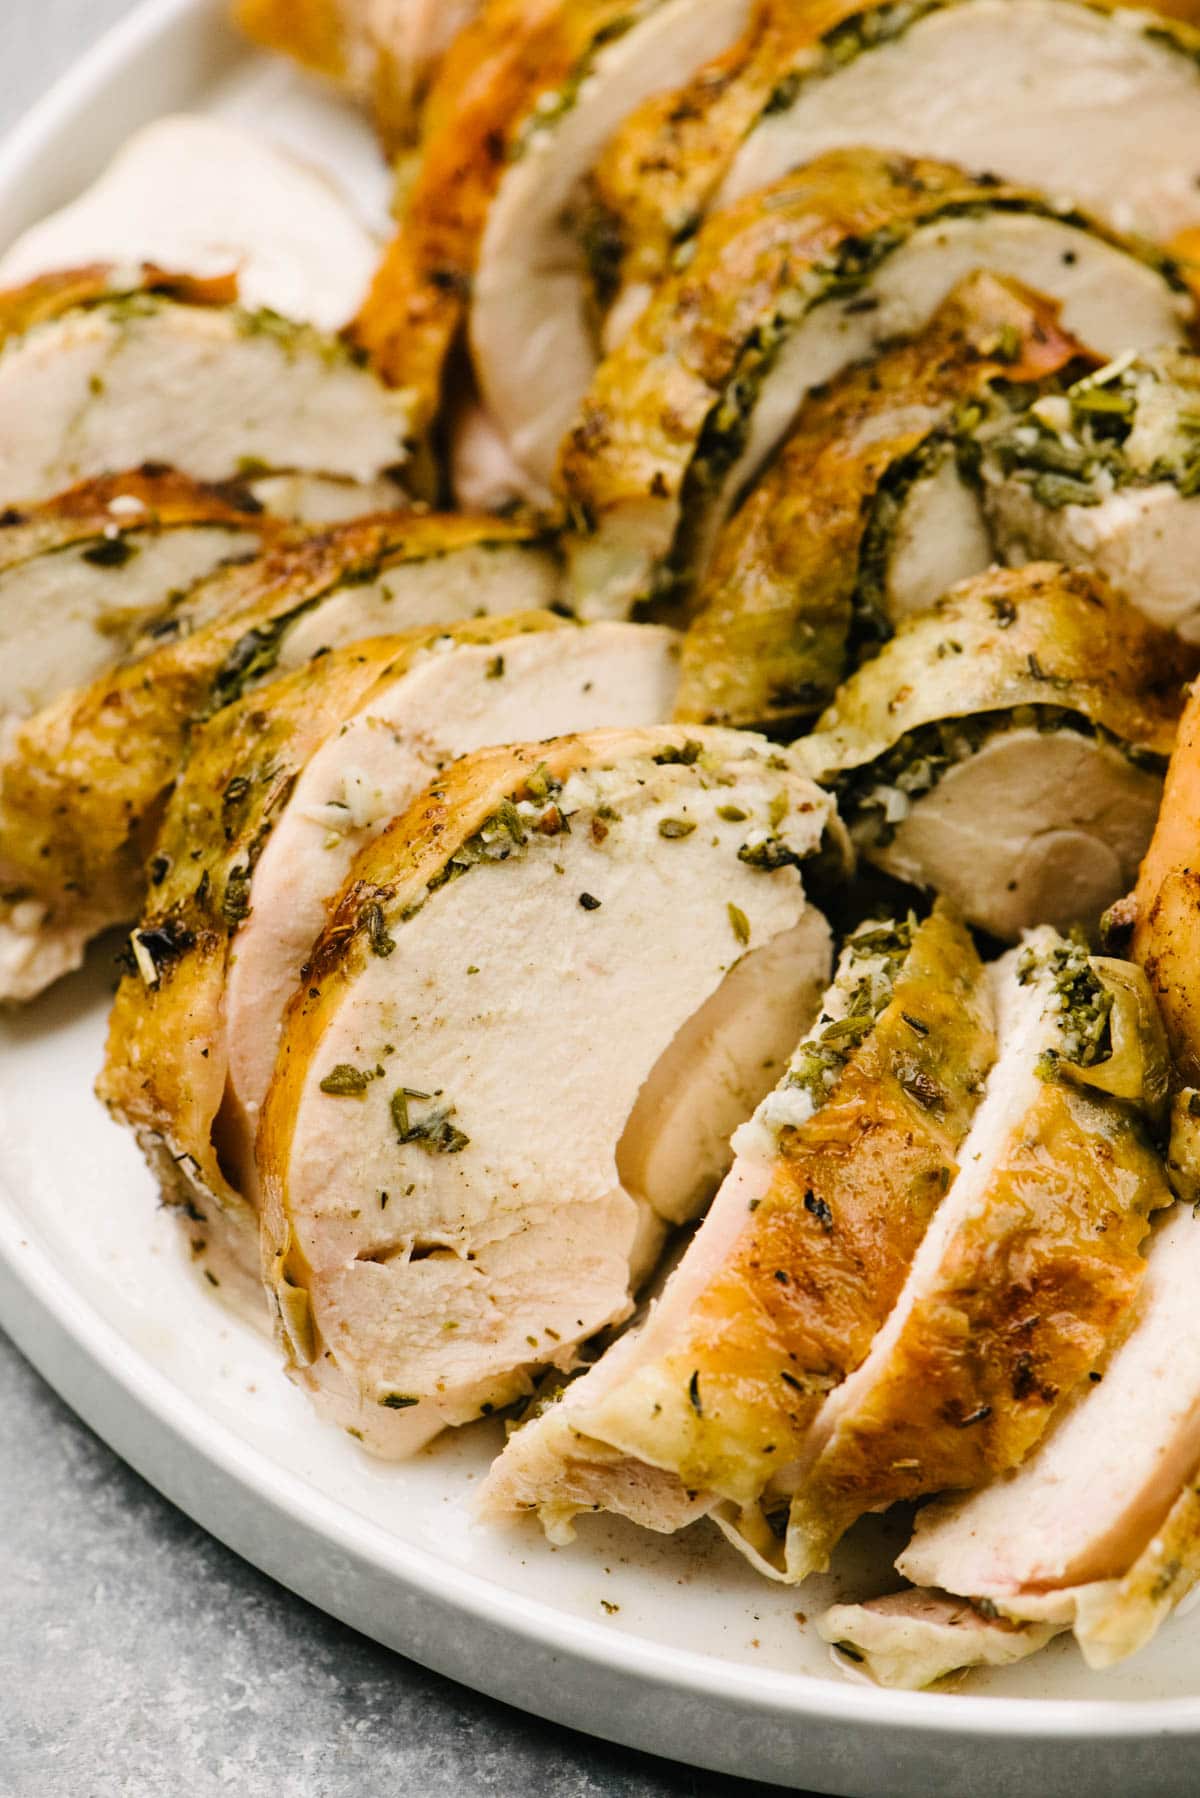
- Carve the chicken, first removing the legs and thighs, and then removing and slicing the breast. Serve right away with gravy, and enjoy!
Recipe Notes
- Note 1. I prefer to use a shallow dish or even a 10” cast iron skillet for the dry brine because it fits more comfortably in the refrigerator.
- Note 2. We prefer a consistent 350°F roast, as opposed to a higher start and lower roast, to prevent the herb crust from burning.
- Note 3. Always test a whole chicken for doneness using the breast meat thermometer reading. The thighs and legs will cook more quickly than the breast meat, and will therefore reach a safe internal temperature more quickly. That’s okay! Dark meat in the thigh and legs are often tastier and more tender at a higher internal temperature (we prefer an internal temperature of 180-185°F for dark meat). Breast meat is ideal at an internal temperature 165°F, and that is also the safest temperature for chicken consumption. The internal temperature will continue to rise at the chicken rests, so removing it from the oven right at 160-162°F will result in a perfectly cooked whole chicken for both white and dark meat pieces.
- Note 4. To skim the fat, lay a paper towel over the liquid until it just touches the surface. The paper towel will absorb the layer of fat on top of the dripping. Discard the paper towel once it’s saturated and repeat as needed until the fat is skimmed.
- Note 5. If your chicken doesn’t produce enough drippings, supplement with chicken stock.

Comments
No Comments