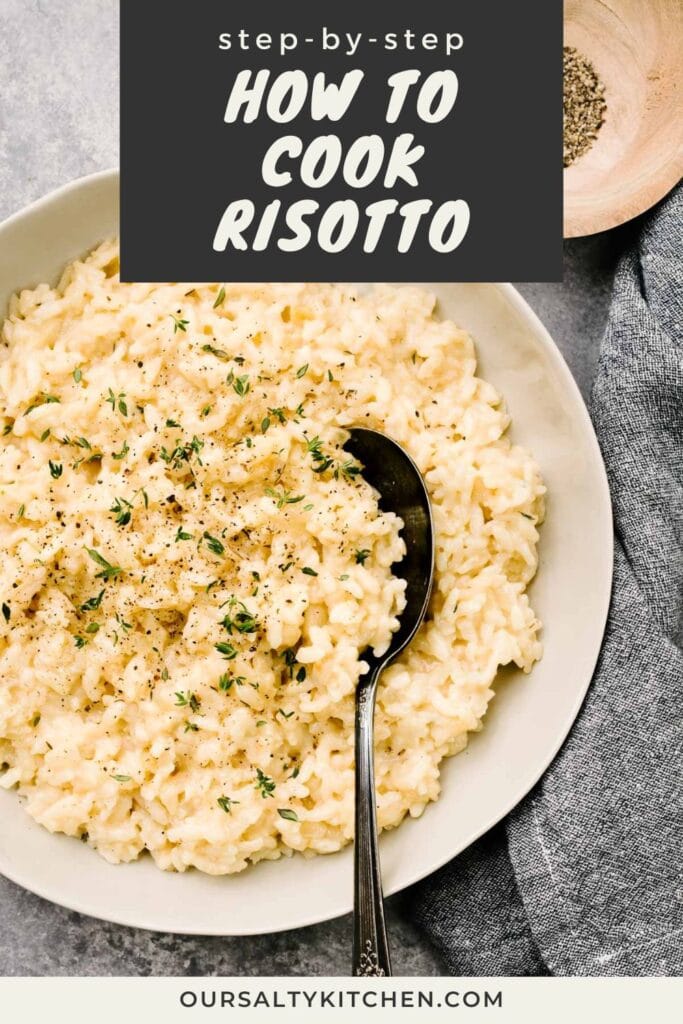
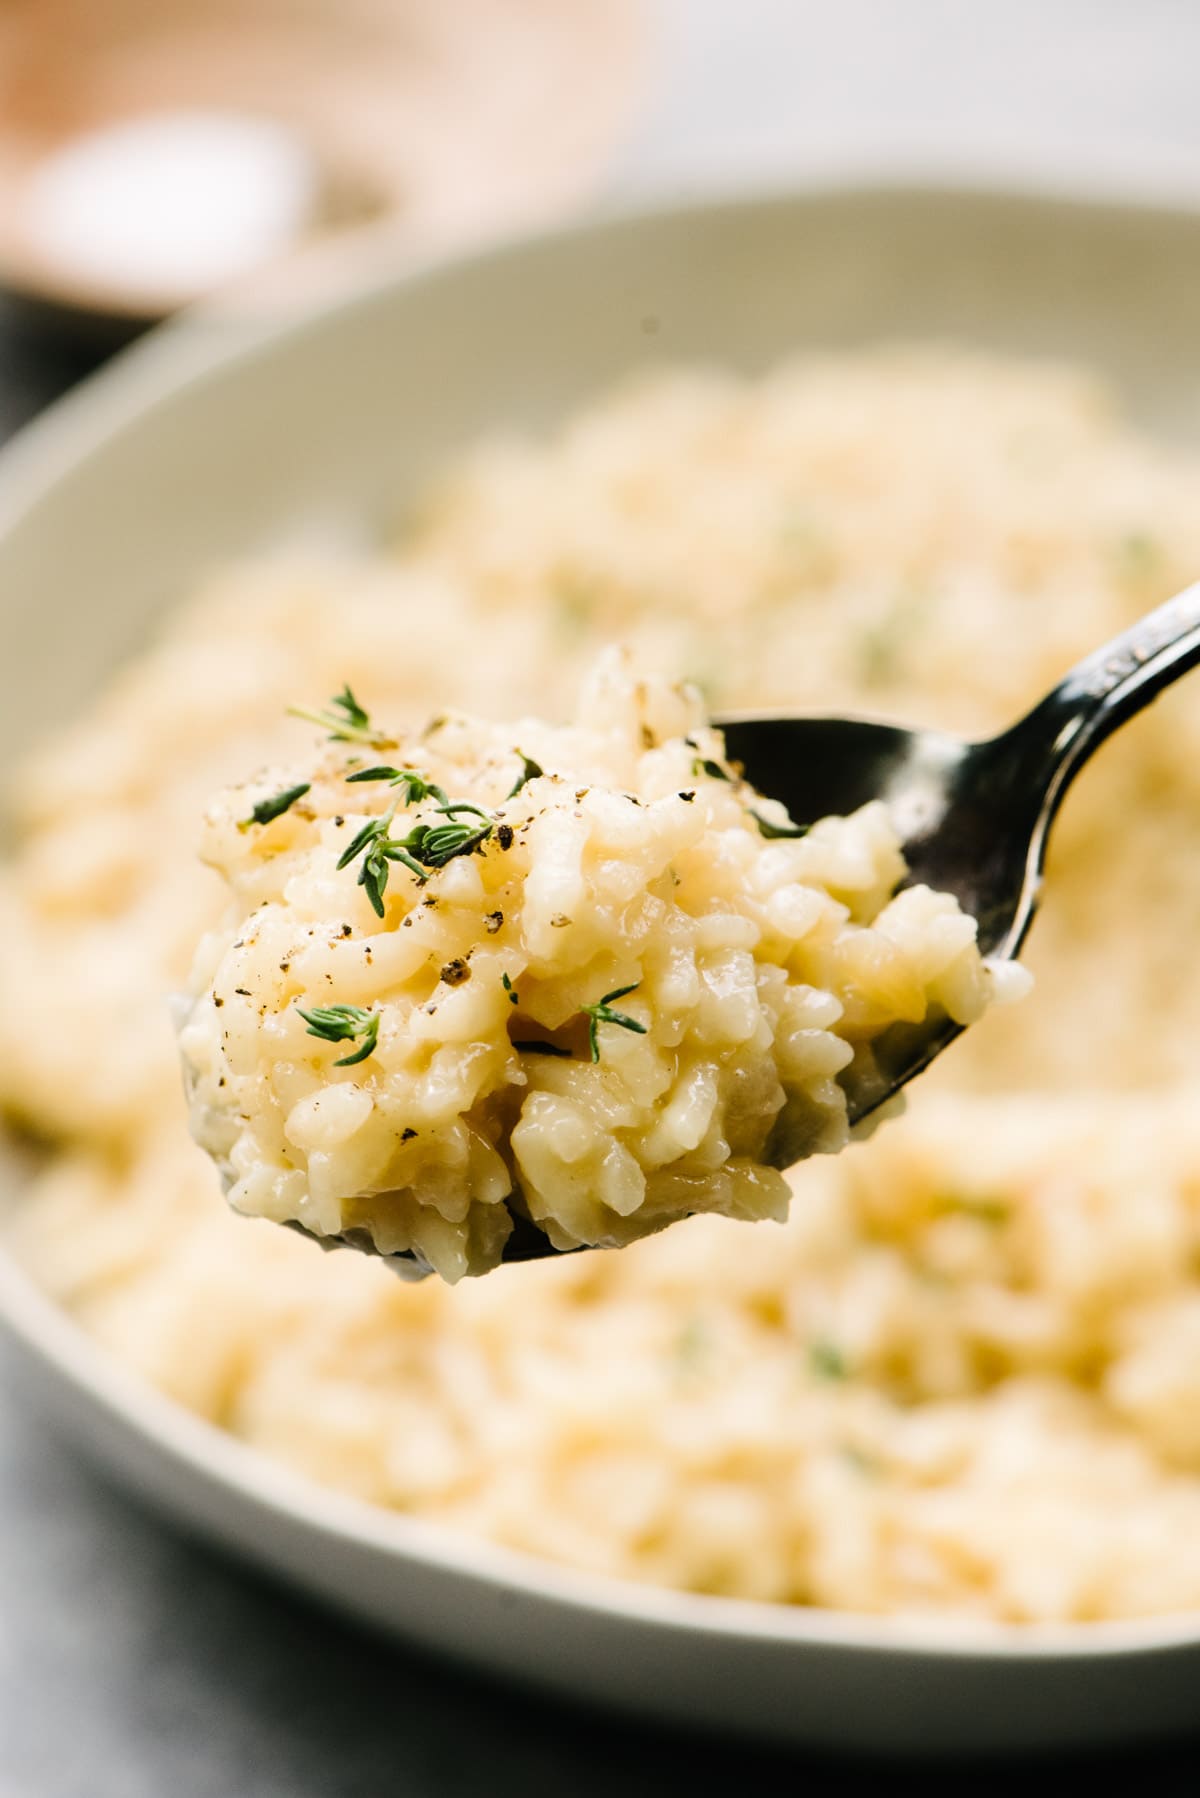
You heard right, folks! This Stovetop Risotto is absolutely easy to make and unbelievably creamy. Traditional risotto really only requires patience and broth to activate the starchy goodness in rice that creates this classic Italian comfort food.

Jump to:
Coming from an Italian household, one would think risotto was a regular dinner guest, but not so. I didn't even try it until I was in college and working in a restaurant where mushroom risotto appeared one week for an all-too-limited time on our specials menu. I ate it every day for two shift meals, four days straight. And when it was gone, I felt like a piece of my soul had been ripped out.
Being the salty gal that I am, I immediately confronted my grandma as to why I, the granddaughter and daughter of Italian women whose stoves were on 24/7, had never experienced this kind of culinary joy in my life???
She shrugged and said "Eh. Who wants to do that? It's too much of a pain." And then went about simmering her sauce for two days straight.
But I get it now. Unlike sauce that can sit with an occasional poke or prod, stovetop risotto must be tended. Even more so than "making it with love," the number one ingredient in any risotto recipe is patience.
So while you do need to be in the mood to make risotto on the stove, it's not nearly as daunting as pop culture or grandma's limits has made it out to be. Wine helps. (But if you're still pressed, you can always make risotto in an Instant Pot.)
What is Risotto?
Though there is some misconception (probably fueled by grocery store packaging), traditional risotto is a finished dish, not just the rice used as its main component.
Rice (specifically, arborio rice) is slowly and carefully cooked in broth to release the natural starch in the rice and develop a creamy consistency. Creaminess can be enhanced with butter and parmesan cheese, but if cooked properly, those ingredients aren't even necessary. While delicious on its own, many risotto recipes incorporate mushrooms, vegetables and even meat.
What is Arborio Rice?
Arborio rice is a variety of short grain rice cultivated in Italy that has a very high starch content. It is commonly used to make traditional risotto dishes, especially on this side of the Atlantic where it can be found in most grocery stores.
So is Risotto Gluten Free?
Yes! Risotto is made from arborio rice, not pasta, and arborio rice is gluten free. This recipe is terrific for people avoiding gluten, but still craving a rich and creamy pasta-like recipe. While risotto is gluten-free, it is NOT grain free. If you're looking for a lower carb, completely grain free risotto recipe, try our cauliflower risotto.
Risotto Ingredients
- Broth: chef's choice - chicken or vegetable.
- Butter: choose good quality butter - you'll fold in some at the end and it will help flavor the risotto.
- Onion: we like a sweet Vidalia onion, but you can also use 2 shallots
- Garlic: fresh and finely minced.
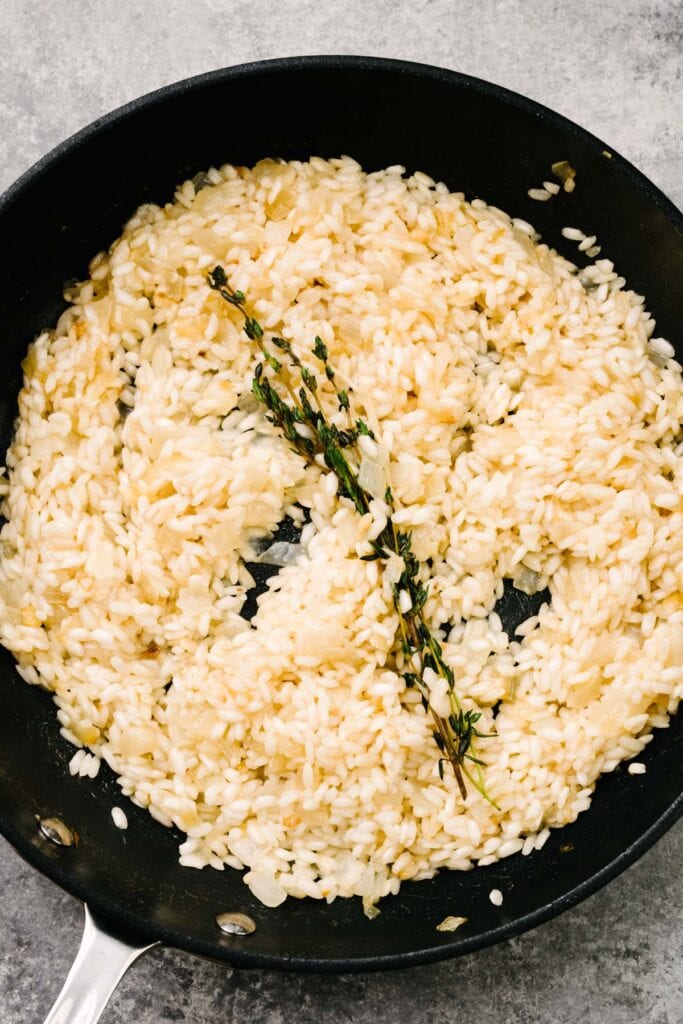
- Fresh Thyme: simmer the whole sprig with the rice to season the creamy sauce.
- Arborio Rice: despite what you may have seen in certain cooking videos for other rice dishes, never rinse your rice for risotto. The starchy coating is needed to develop the creamy texture of the final dish.
- Dry White Wine: not just for deglazing, but it also adds flavor when fully absorbed into the rice, so always choose a wine you'd be happy to drink. We love a crisp sauvignon blanc for this recipe.
- Parmesan Cheese: finely grated, preferably from a fresh block by hand. If using pre-grated cheese, opt for freshly grated. We like the Bel Giosio brand, as it has no additives and melts very well.
How to Make Creamy Risotto on the Stovetop
Traditional risotto made on the stove is a true culinary labor of love. It requires simple ingredients and simple techniques that must be used with precision. Build the base of the dish and toast the rice before slowly and meticulously stirring in a bit of broth at a time. Stay the course until creamy, then add butter and parmesan until creamier.

- Pour the broth into a 2-quart sauce pot and bring to a boil; cover and reduce to medium low to keep the broth warm.
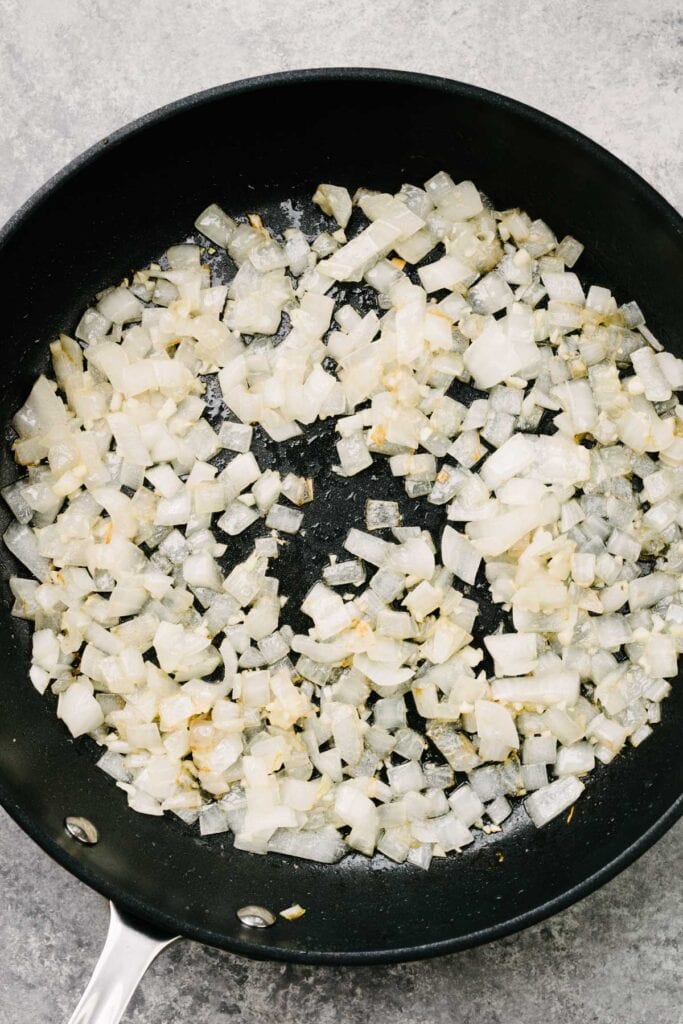
- Saute onions in olive oil and butter until soft; add the garlic and cook 1 minute more.
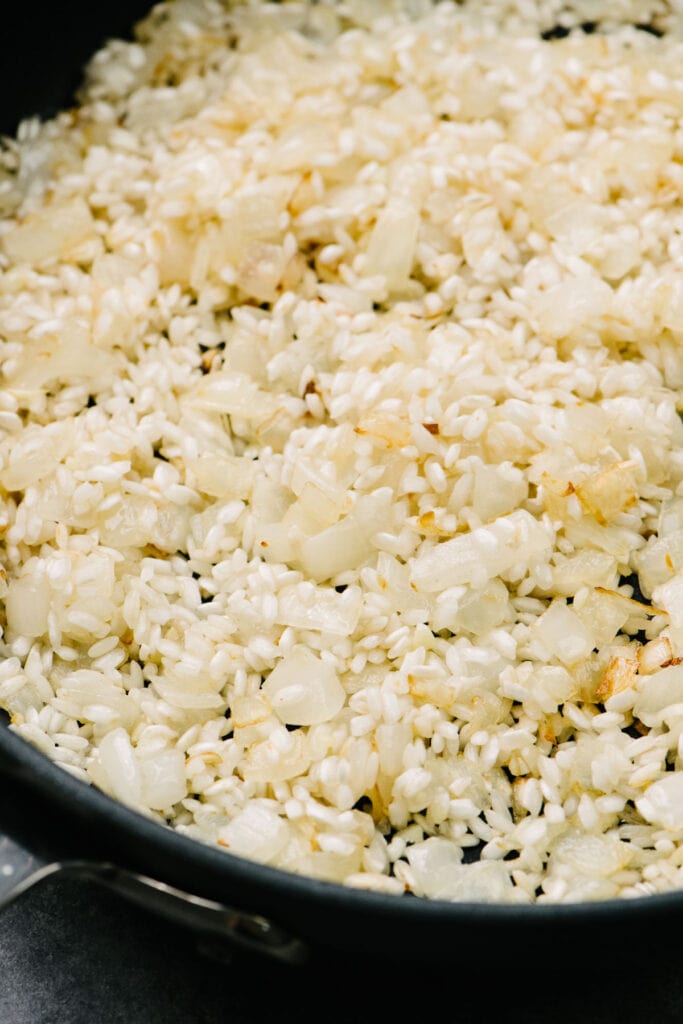
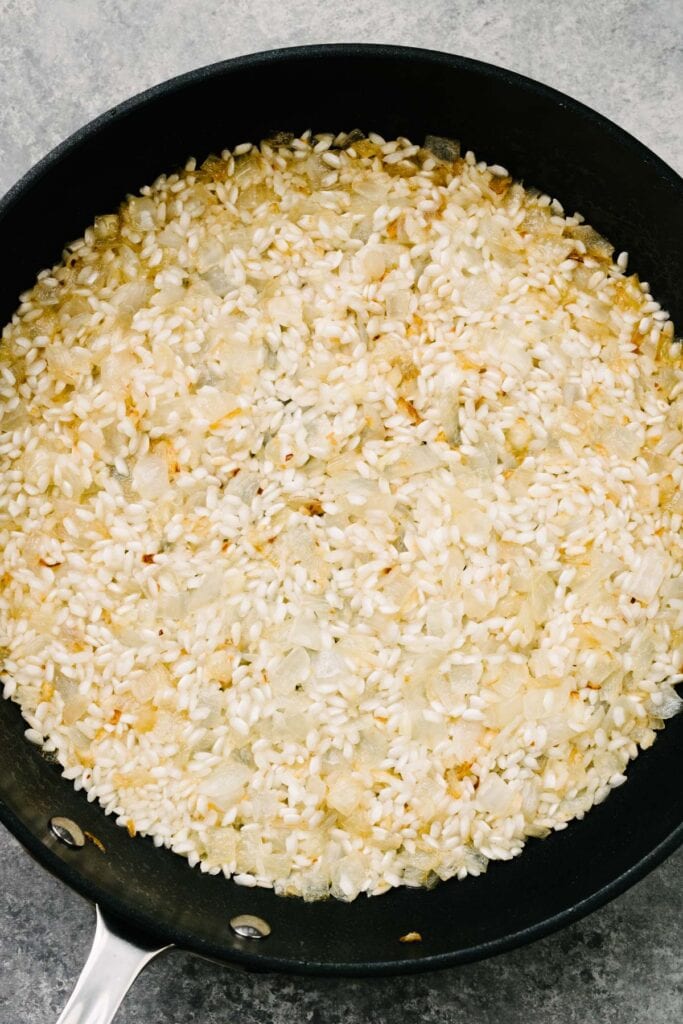
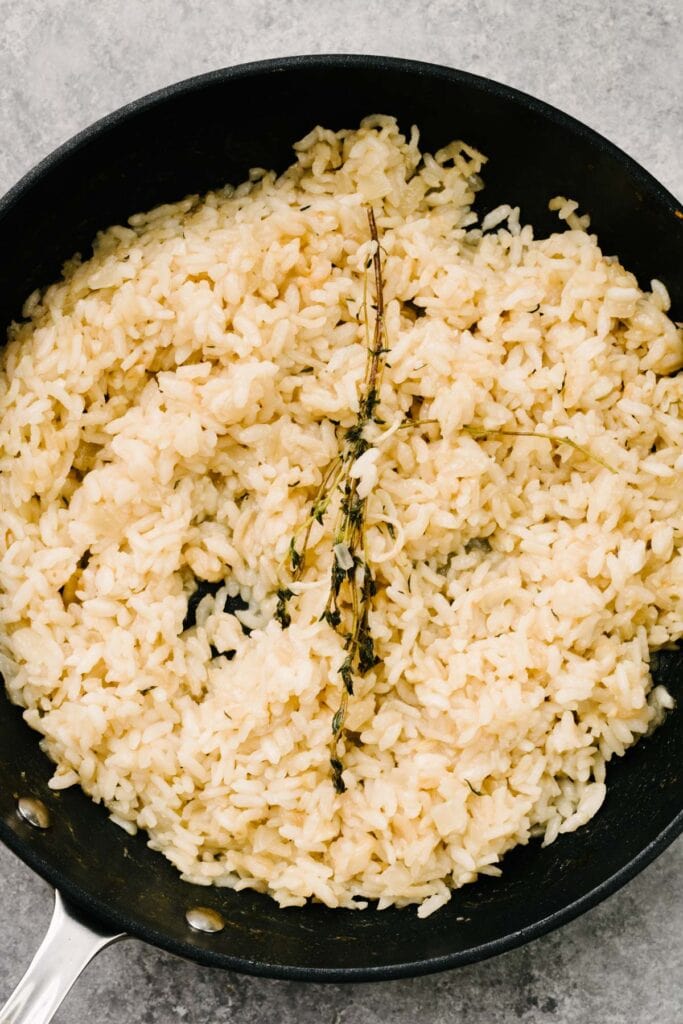
- Add the rice; simmer and stir until the rice is lightly toasted and very fragrant.
- Pour in the white wine to deglaze the skillet; simmer until the wine is completely absorbed and the skillet is dry.
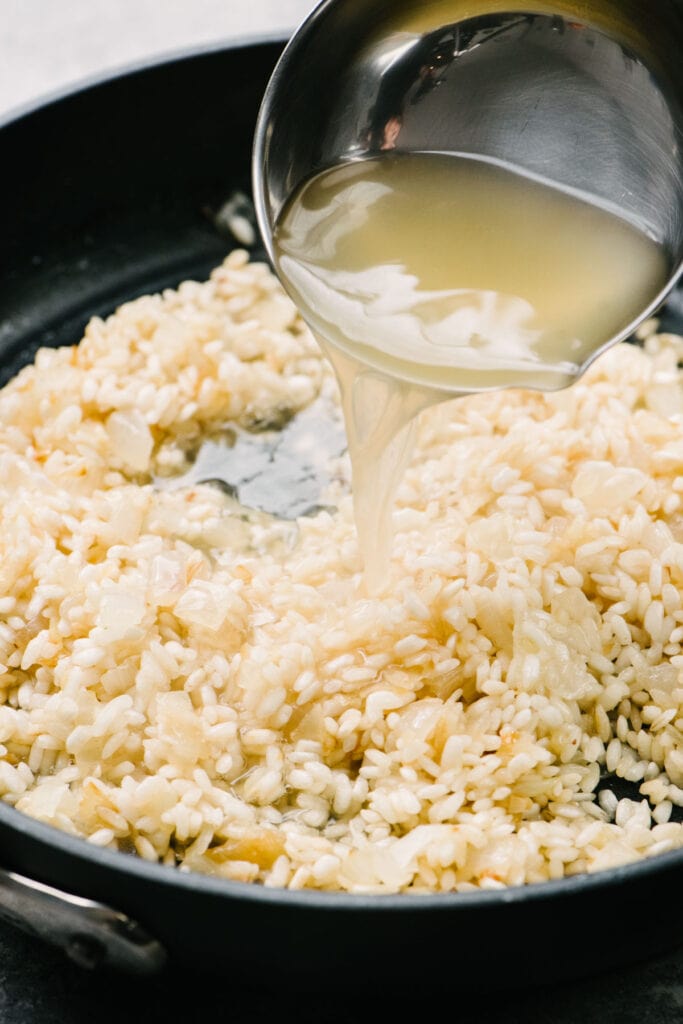
- Add half a cup of hot broth to the skillet; simmer, stirring frequently, until the broth is fully absorbed and the skillet is dry.
- Keep adding broth half a cup at a time, stirring and simmering until fully absorbed, until the rice is tender with a slight bite. This should take 15-20 minutes. Taste for texture after 3 cups - the rice is cooked through once it is tender with a very slight bite in the center.
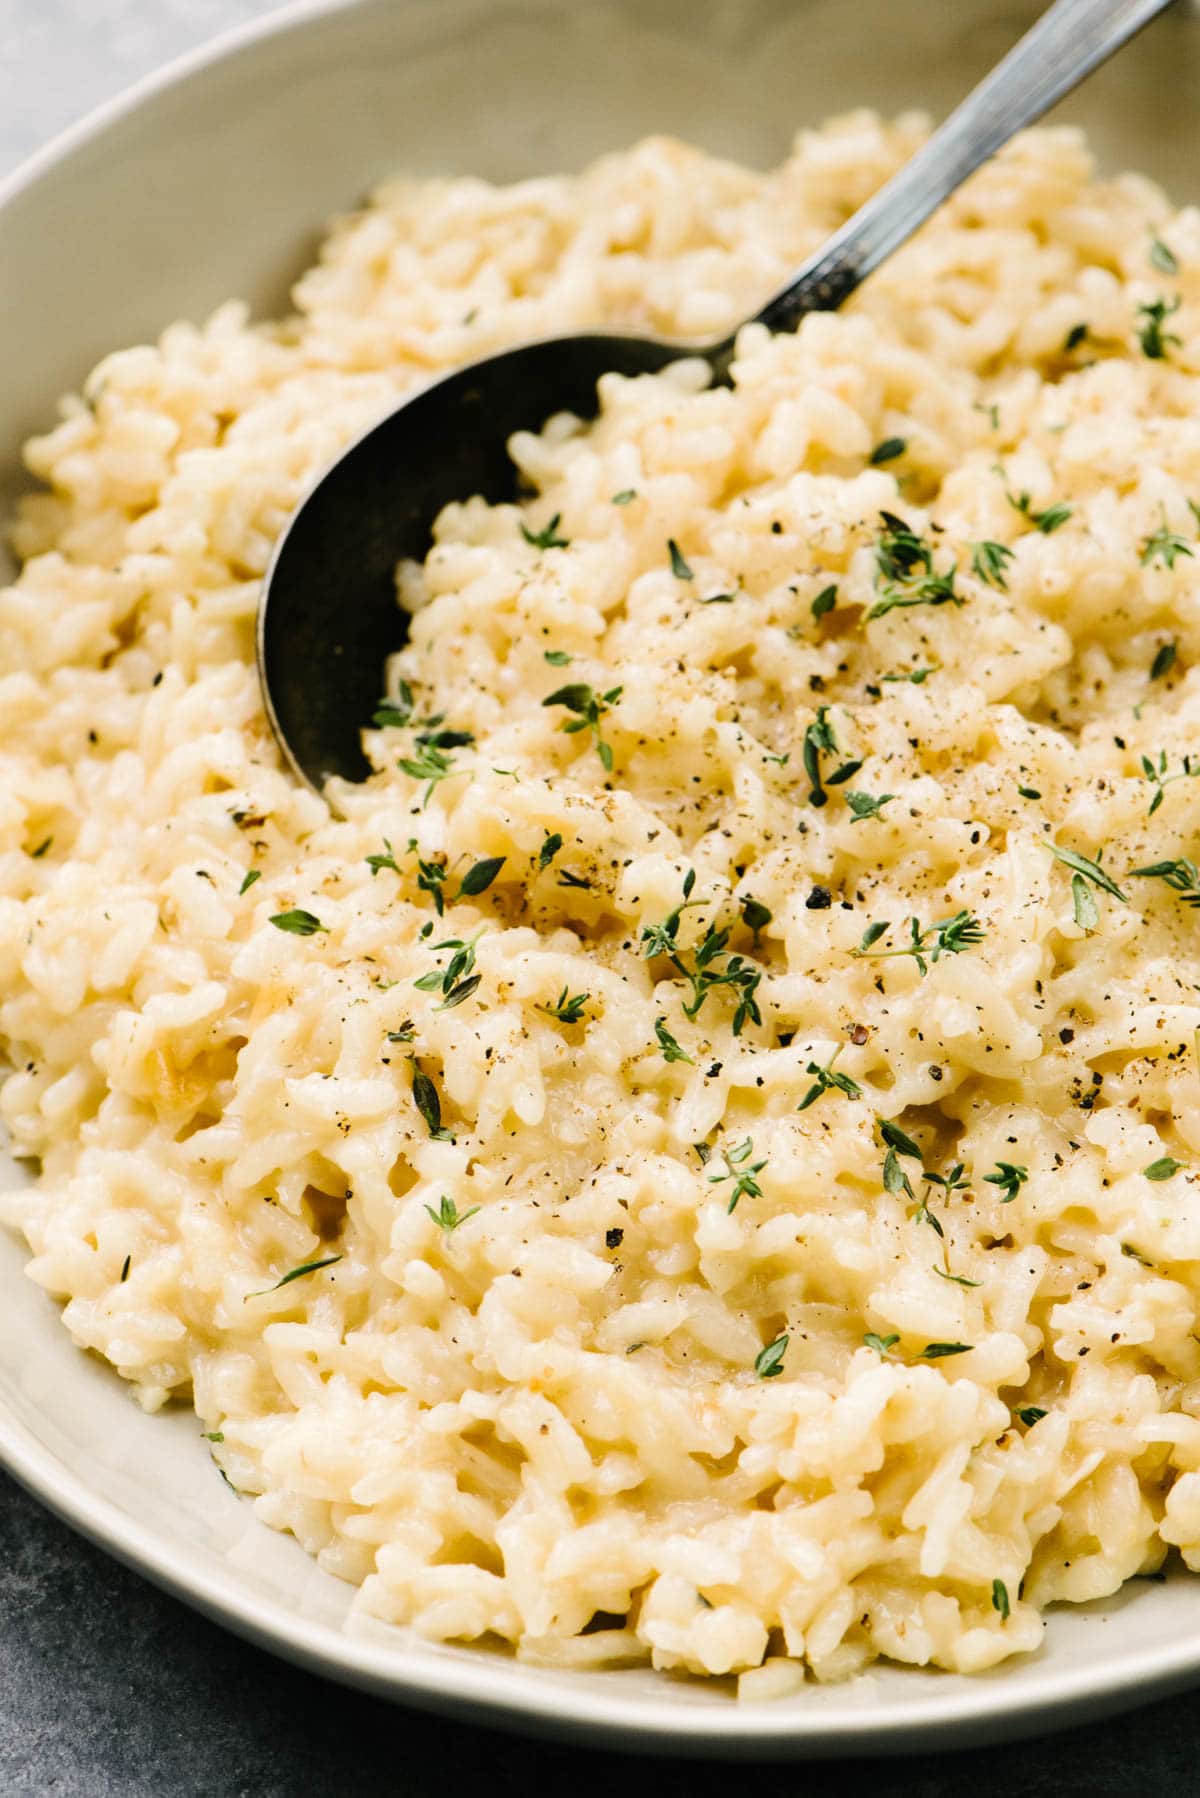
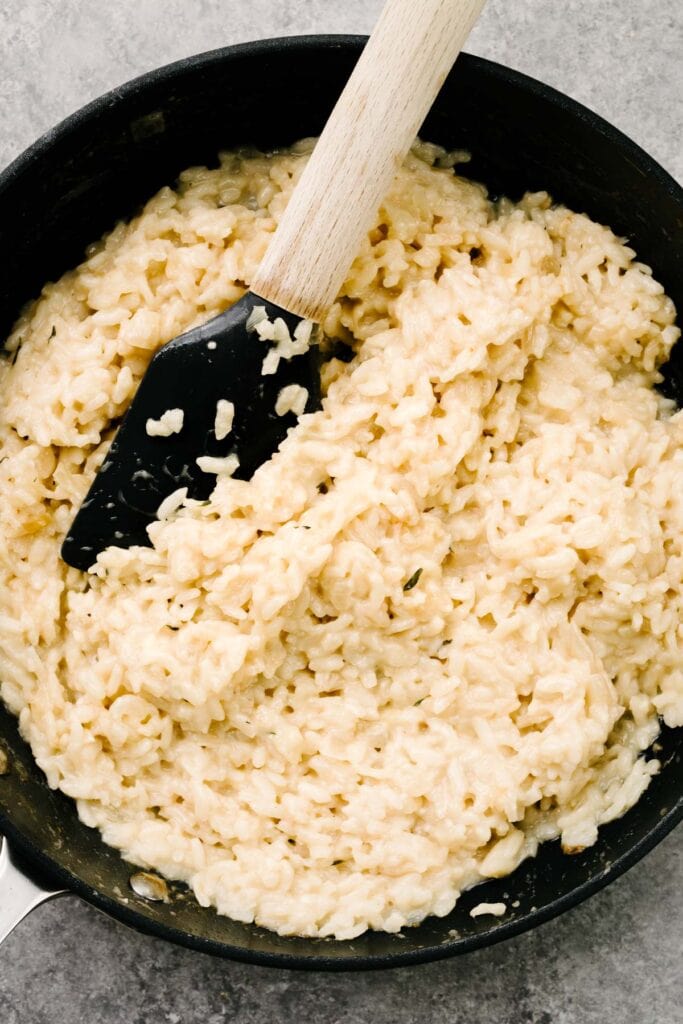
- Turn off burner, remove the thyme stem, and add the butter and cheese. Stir until the butter and cheese melt and the rice is very creamy.
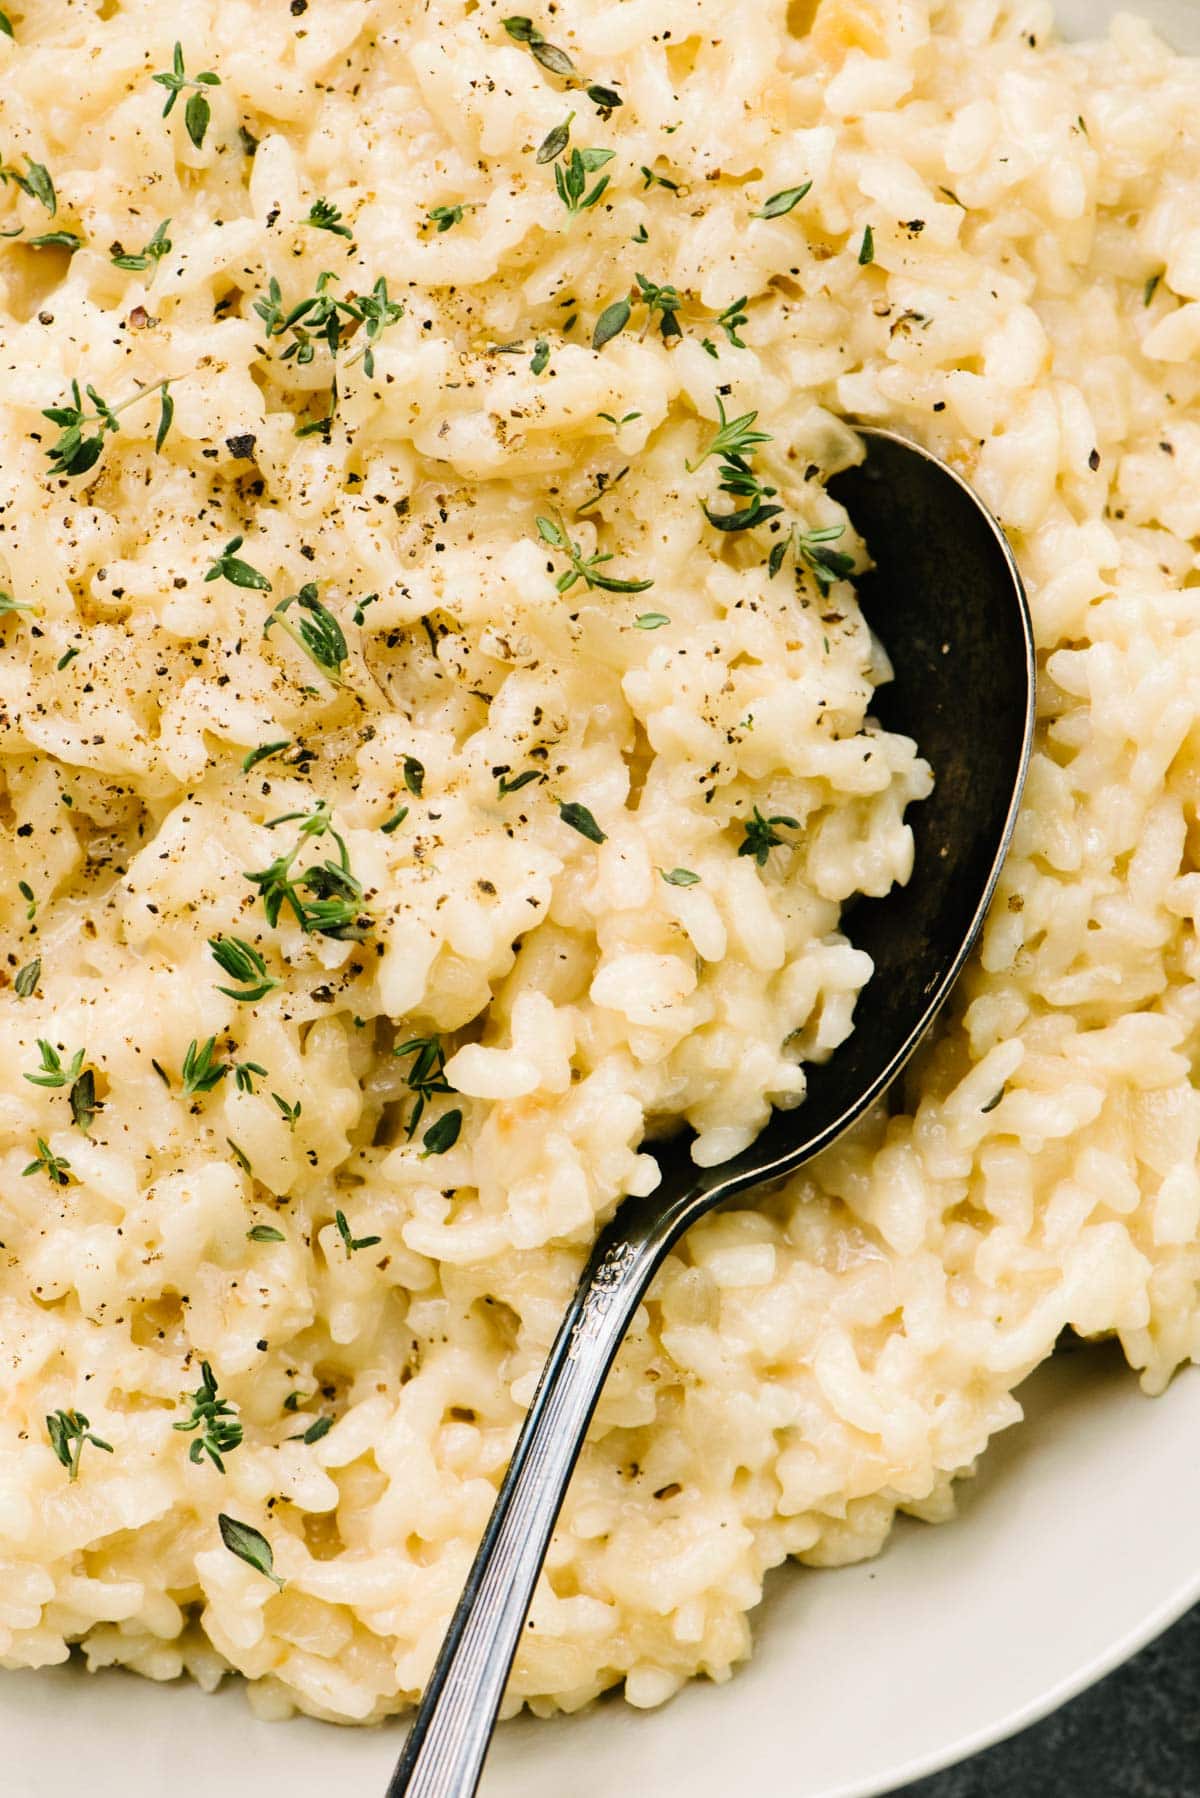
- Taste for seasoning and adjust the salt and pepper to taste. Garnish with thyme and serve right away.
Chef's Tips!
- Heat the broth - don't skip this step! Adding hot broth to the skillet maintains the temperature of the simmering rice mixture, which means faster cooking. If you add cold or room temperature broth, the rice will cool down with each addition, extending the cooking process.
- Toast the rice! Saute the rice with the onions and garlic until slightly golden brown around the edges and very aromatic - this will further flavor the finished risotto.
- Patience is your bestie! Stir in the broth gradually, in half-cup (about a ladleful) increments.
- Once you've deglazed the pan, allow the white wine to fully absorb into the risotto rice. Cooking it down allows the alcohol to burn off while adding flavor and an acidic balance to the dish.
- Risotto rice is fully cooked through when it's tender, but still has a light bite - this is called "al dente". The best way to know your risotto is ready isn't by adding all of the broth, but by tasting! Start tasting for texture around the 3 cup mark.
- I can't believe I'm saying this, but mind your salt! If your broth and butter are salted and you use good quality parmesan cheese, you may not need to add any salt at all. Taste for seasoning after adding the butter and parmesan cheese.
What to Serve with Risotto
Risotto is the perfect complement to a classic protein and vegetable dinner. This starchy side is creamy and rich, so balance with acid and punchy flavors. Try these meal ideas:
- Give supper the steakhouse treatment with a grilled flat iron steak or rosemary flank steak. Plate with creamy risotto and lemon garlic asparagus or crispy brussels sprouts.
- Keep the Italian theme running with grilled or baked bruschetta chicken and Italian-style green beans.
- Seafood is also a favorite, so try pan seared scallops or garlic butter shrimp alongside risotto and this tomato and asparagus salad.
How to Reheat Risotto
Risotto reheats exceptionally well! We like adding a bit of broth (about a tablespoon per cup of cooked rice) then reheating in the microwave for 2 minutes, stirring halfway. The broth adds just enough moisture for the risotto to stay creamy after reheating.
Did you make this creamy risotto recipe? I'd love to know how it turned out! Leave a comment and a rating below.
While you're at it, let's be friends - follow me on Pinterest and Instagram for the latest and greatest.

Easy Creamy Stovetop Risotto Recipe
Description
Ingredients
- 4 c chicken broth
- 1 tablespoon olive oil
- 3 tablespoon butter, divided
- 1 medium Vidalia onion, diced to ½"
- 2 cloves garlic, minced
- 1 c arborio rice, do not rinse first
- ½ c dry white wine
- 1 sprig fresh thyme
- 2 oz finely grated parmesan cheese, about ½ cup
- ground pepper, to taste
- kosher salt, to taste
Instructions
- Pour the broth into a 2-quart stock pot. Bring to a boil over high heat, then reduce to low and cover, adjusting the heat to maintain a steady simmer.
- Heat a 10” skillet over medium heat; add the oil and 1 tablespoon of butter and heat until the butter melts, then foams.
- Add the onion and toss to coat in the fat; sautee, stirring occasionally, until the onion slightly softens, 3-4 minutes. Add the garlic and cook, stirring constantly, for 1 minute more.
- Add the rice and toss until well combined with the onions and evenly coated with oil. Saute the rice for 2–3 minutes, stirring frequently, until nutty in aroma and chalky white in appearance.
- Pour in the white wine to deglaze the skillet; scrape up the browned bits from the bottom of the pot and continue to saute until the wine has been fully absorbed, about 3 minutes.
- Using a ladle, add half a cup of hot broth to the rice, then add the fresh thyme. Stir once or twice, then continue stirring occasionally, allowing the rice to fully absorb the liquid before adding more.
- Repeat this process, adding one half-cup of hot broth to the rice, then simmering until absorbed, until the rice is tender with a slight bite. Taste for texture around the 3 cup mark. This process should take 15-20 minutes.
- Turn off the burner and remove the thyme stems. Stir in the remaining butter along with a quarter of the parmesan cheese; stir until the butter is melted and the cheese is fully absorbed; add the remaining cheese another quarter at a time until all of the cheese is folded in and the risotto is very creamy.
- Taste for seasoning and adjust with salt and pepper to taste; you may need no salt at all (we added just a quarter teaspoon). Garnish with more fresh thyme leaves, if desired, and serve right away. Enjoy!

Comments
No Comments