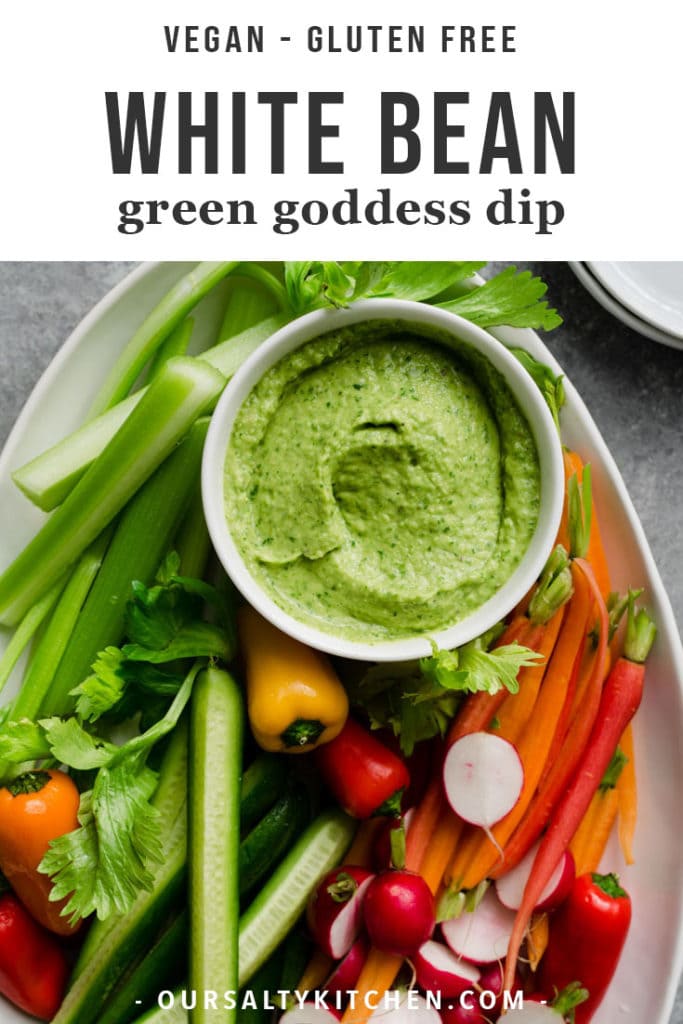
No cocktail party spread is complete without a dip (or two...or three!), and this year I'm offering this vibrant, tart and tangy White Bean Green Goddess Dip! Naturally vegan and gluten free, it's a healthy, but creamy and luxurious, dip to round out my holiday menu.
Jump to:
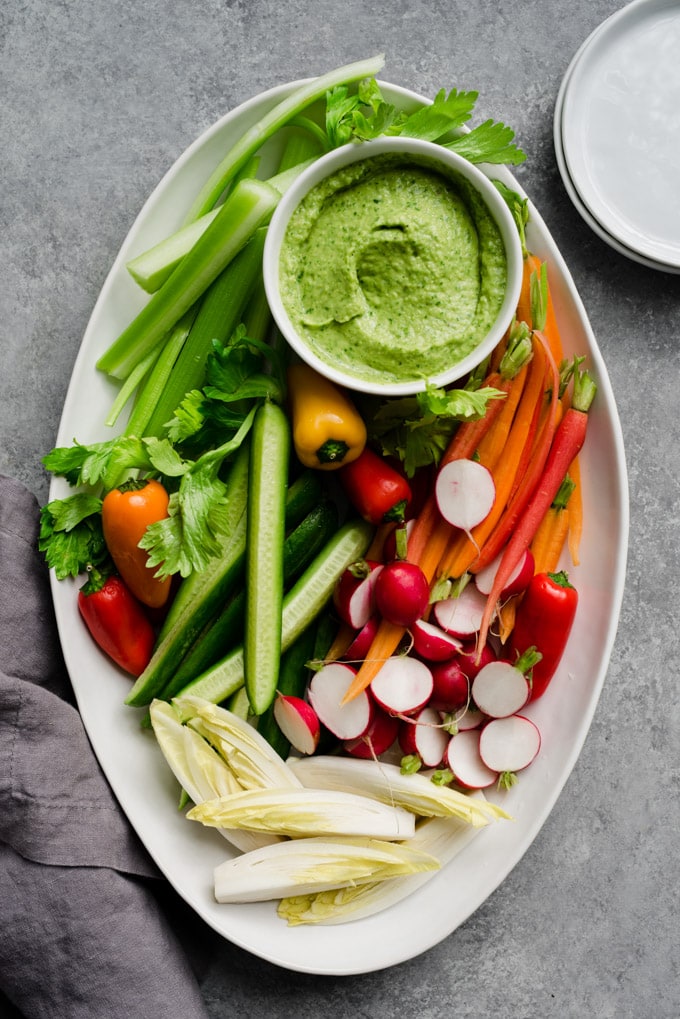
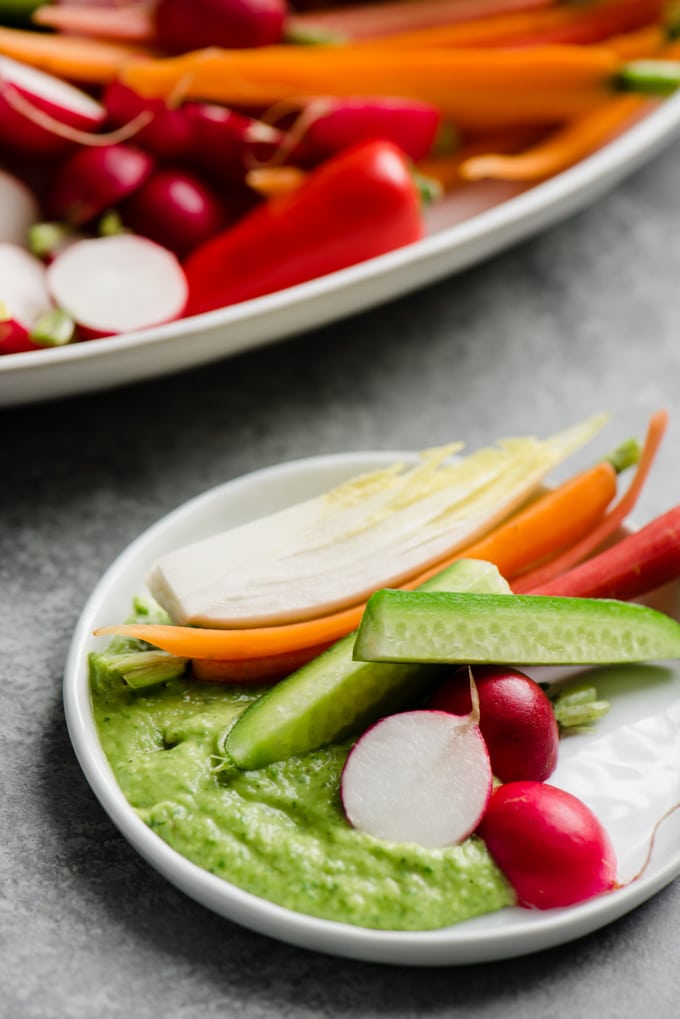
Cocktail party week rocks on with this vibrant mash-up of two of my go-to party dips - white bean dip, and green goddess dip. A colorful and diverse crudite platter is an absolute must for any gathering I host. Everyone loves dips, especially kids, and I typically offer a couple different varieties with as many veggies as I can stuff onto the serving dish.
I prepare both the dip and vegetables entirely in advance, usually the day before, and it's one less thing I have to do. I wrap the sliced vegetables in damp paper towels, then place them into a storage container in the fridge topped with a handful of ice cubes. They stay super fresh and crips for at least a day. Then it's just a matter of taking 5 minutes to arrange the vegetables and set out the dip. So easy!
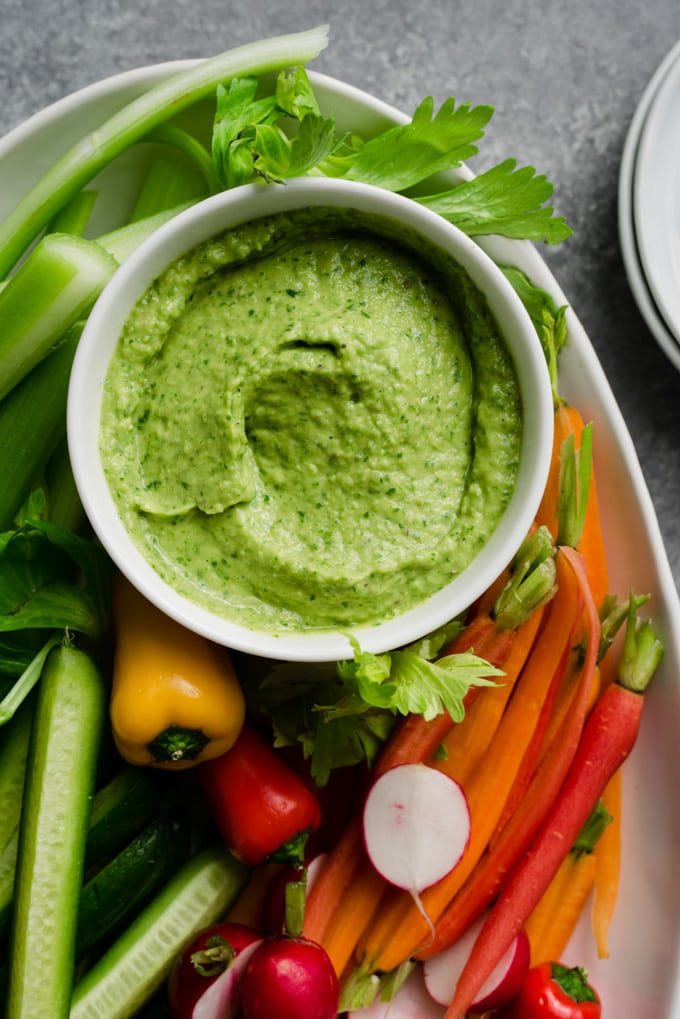
Super smooth and creamy and jam-packed with flavor, this white bean green goddess dip is a delightful healthy option to sneak into your menu. Tart and refreshing, it's perfect for offsetting some of the richer dishes you'll offer, and for adding some bold color to your appetizer spread. Naturally vegan and gluten free, it's a total crowd pleaser! Pair it with a bowl of muhammara for a holiday hued double dipping team.
How to Make White Bean Green Goddess Dip
This white bean green goddess dip is tart and refreshing from tons of fresh herbs, fresh lemon juice, and a nice kick of garlic. Dried beans cooked until falling apart will give you an exceptionally creamy texture, but there's a trick to using canned beans and getting equally terrific results!

First, a note about preparing the white beans to ensure the creamiest, smoothest dip possible. I typically prepare homemade dips using dried beans cooked with a bit of baking soda, which helps break them down more than simply simmering in water. I learned this trick a few years ago after reading this article on making the best hummus recipe ever (and it's true, it's the best!!). I figured it would apply to any bean-based dip, and it does.
Then, Cookie and Kate published a hummus recipe based on this methodology and passed along a mind-blowing tip: simmer canned beans in water and a pinch of baking soda for 20 minutes. It's brilliant, and a perfect solution to time-crunched party preparations! I still love scratch-cooked beans because they are so economical, but when I don't want to bother with the lengthy prep time, this is the perfect solution.
Therefore - in order to achieve the creamiest white bean green goddess dip, starting by covering two cans of rinsed and drained white beans (I like cannellini best) with several cups of cold, fresh water. Add a teaspoon of baking soda, simmer until the beans are falling apart (about 12-15 minutes), and then drain under cool running water.
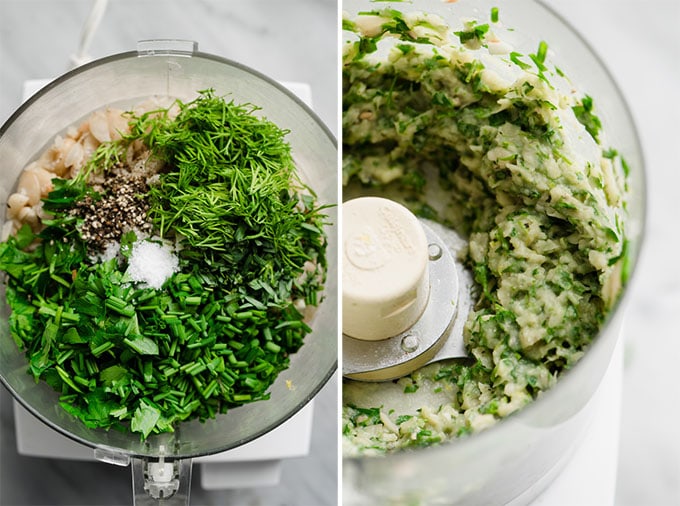
Add the softened white beans to a food processor, then add the lemon juice and zest, garlic, fresh herbs, salt and pepper. Pulse until the white beans and herbs are pulverized.
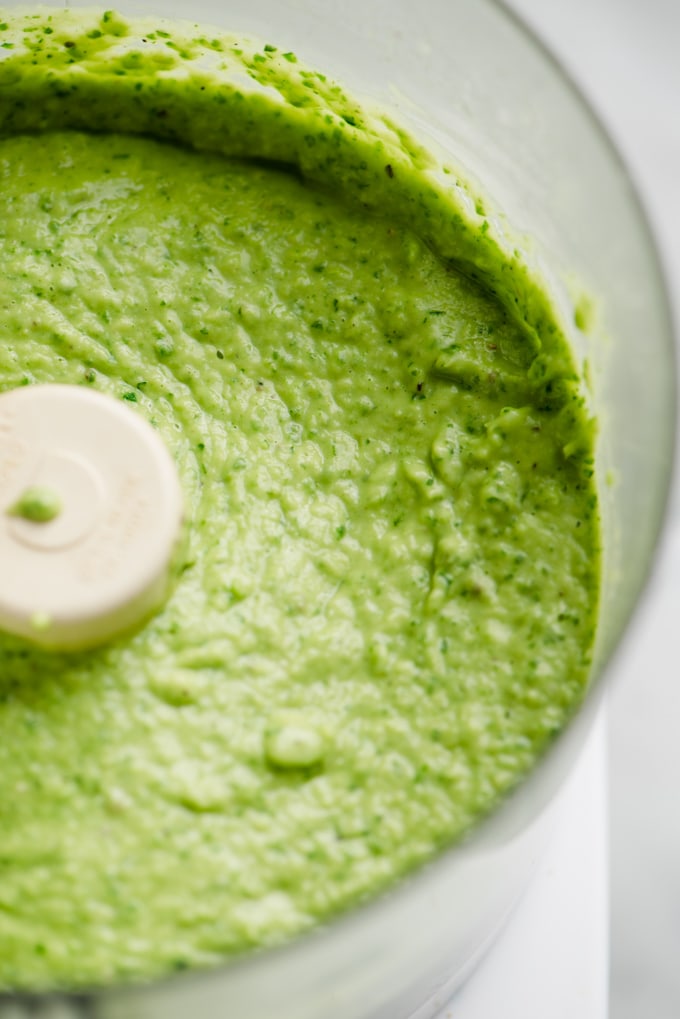
Flip the motor to continuous and pour extra virgin olive oil through the feed tube. Process until the dip is super smooth and creamy. If it's too thick, add a tablespoon of cold water. You'll need to process the dip for about a minute, especially if you roughly chopped the herbs and there were some soft stems in the mix.

Make this in advance and store in a tightly sealed container in the fridge. It's best prepared the night before, as it gives the flavor a chance to meld, but can also be made the day-of. Leftovers will keep in the fridge for about a week, but I daresay they won't last that long!
Dietary Accommodations and Variations
- Naturally vegan and gluten free
- If you don't like dill, simply omit.
- If you don't like tarragon, substitute for basil.
- Keep it gluten free by serving with sliced raw vegetables, or offering gluten free crackers.
- If you don't need to keep it gluten free, serve with pita bread and toasted baguette slices in addition to vegetables.
- Expand your crudite offerings with olives, roasted fingerling potatoes, and a bowl of roasted nuts.
More Healthy Cocktail Party Appetizers
- Grilled Lemon Thyme Chicken Skewers
- Cauliflower Hummus
- Rosemary White Bean Bruschetta
- Paleo Gingerbread Spiced Nuts
- Winter Harvest Endive Cups
Did you make this White Bean Green Goddess Dip? I'd love to know how it turned out! Leave a comment and a rating below.
While you're at it, let's be friends - follow me on Pinterest and Instagram for the latest and greatest.

White Bean Green Goddess Dip
Description
Ingredients
- 2 14-oz can cannellini beans, or 1 cup dried beans
- 1 teaspoon baking soda
- 2 cloves garlic, chopped
- 1 lemon, zested and juiced
- ½ c packed chopped parsley leaves
- ¼ c chopped tarragon leaves, or basil leaves
- 2 tablespoon chopped dill leaves
- 2 tablespoon chopped chives
- ½ teaspoon sea or kosher salt
- ½ teaspoon cracked black pepper
- ⅓ c extra virgin olive oil
- assorted raw vegetables, for serving
- assorted cracks and/or pita, for serving
Instructions
- If using canned beans, rinse and drain the beans. Place into a medium sauce pot with 1 teaspoon baking soda, then add enough water to cover the beans by 1-2”. Heat over high until boiling, then reduce to medium and maintain a steady low boil. Continue to boil until the skins are falling off and beans are very soft and falling apart, 12-15 minutes. Drain in a mesh strainer and rinse under cool running water.
- If using dried beans, soak overnight until bloated. Rinse and drain, then transfer to a medium sauce pot. Add enough cool, fresh water to cover the beans by 1-2". Heat over high until boiling, then reduce to low and maintain a steady low simmer. Continue to simmer until the skins are falling off and beans are very soft and falling apart, 75-90 minutes. Drain in a mesh strainer and rinse under cool running water.
- Place all ingredients except olive oil into a food processor. Pulse until pulverized. Flip the motor to continuous and pour the olive oil through the feed tube. Process until extremely smooth and creamy, about 1 minute. Transfer to a serving bowl and surround with fresh vegetables, crackers, and pita. This dip can be prepared in advance and stored in the fridge in an airtight container the day prior. Leftovers will keep in the fridge for up to 5 days.

Kristen Berry
This looks deicious but I was just wondering why you need to boil the canned chickpeas?
Thank you!
Kristen Berry
Kristen Berry
I apologize for not reading the reason that you boil the canned beans very clearly stated in your comments prior to the recipe. I am going to make this today. Thanks again!
Danielle
No worries Kristin, I'm glad you found it! I hope this turned out perfectly for you. Cheers!