Bold claim - making ricotta cheese might be the best way to spend 30 minutes today. Ricotta is the easiest cheese to make at home, and it's worth it. Let's learn how to make ricotta cheese without fear, along with so many ways to use it in both sweet and savory recipes.

Jump to:
Cheesemaking may be the single most important skill any human has ever learned. (I said what I said.) I sincerely hope that the first human who created cheese knew that they had done humankind an indelible service for all eternity.
Therefore, it's only right that we celebrate this legacy of human achievement not just by consuming all the cheese we possibly can (and I am truly, genuinely sorry for you if you physically cannot eat cheese), but that we continue making it and passing down that knowledge.
Now, no one expects you to run right out and handcraft gorgonzola. (That takes more time, practice, and active cultures than I possess.) But, if you have some pretty basic tools and ingredients, you could literally make ricotta cheese in-between your next two Zoom meetings. Heck, you could ask a semi-responsible tween to make it for you while your at-home manicure dries.
Homemade ricotta is so good, so fast, and so easy, there are zero reasons for you to not to whip up a batch and honor your ancestors right now.

What is Ricotta Cheese?
Ricotta is a creamy cloud of spreadable whey cheese that is traditionally made from the leftover whey of other cheeses. (Frame that anyway you need to in your head. Whatever you're thinking, yes, it's that.)
When Italians of yore learned they could make cheese from the milk of just about any milk-producing animal they could get their hands on (cow, goat, sheep, water buffalo, etc.), they took the leftovers from that process and very wisely decided to try to make more cheese out of it. Waste not, want not.
When making cheese, an acid is added to milk, and the milk separates into two distinct parts - the curds (which eventually become cheese) and the whey (the leftover liquid). The whey typically retains small particles of curd, and those curds are traditionally repurposed into ricotta. Aptly, the name "ricotta" literally translates to "recooked" in Italian.
In this recipe, we're making ricotta cheese from whole milk instead of whey.
Ricotta is a very soft, spongy, creamy cheese, very similar in appearance to cottage cheese. It's mild, a bit salty, a bit sweet, and incredibly versatile. Bottom line? Homemade ricotta cheese is delicious (and worth the effort) any-whey you make it.

Why Make Your Own Ricotta Cheese?
Aside from the aforementioned fact of ricotta being delicious, it is also extremely versatile across regional cuisines and recipes, both as an ingredient and on its own. Ricotta is most popular in both classic and American-style Italian recipes.
It also happens to be one of the easiest and most cost-effective cheeses to make with practically-perfect results every time.
Perhaps most importantly, when you make ricotta cheese at home you have complete control over the consistency.
Drain it just a bit and you have soft, spreadable cheese that's perfect for making ricotta toast or creamy ricotta pasta.
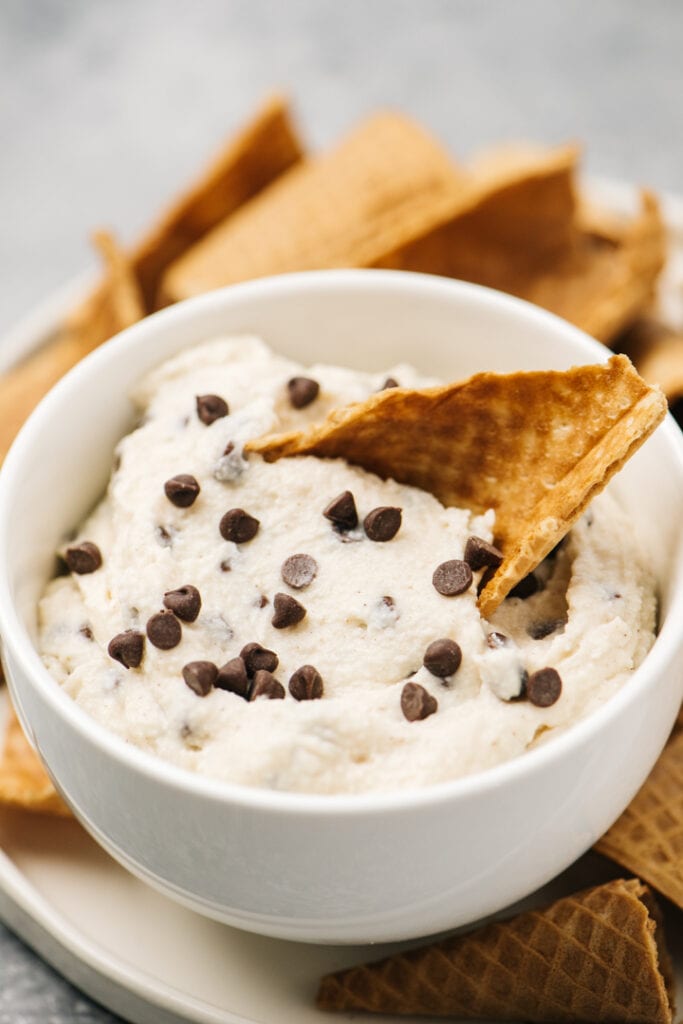
Drain it longer for a firmer ricotta that's more suitable for garnishing red sauces like Sunday Sauce or Italian Meat Sauce, or incorporating into frittatas, galettes, or for making cannoli dip.
Tools for Making Ricotta Cheese
To make homemade ricotta, all you need are a few simple kitchen tools:
- Heavy bottomed pot
- Instant read thermometer
- Wood spoon and/or Rubber Spatula
- Cheesecloth
- Fine-mesh strainer
- Mixing bowl
And the list of ingredients? Even shorter:
- Whole milk (not ultra-pasteurized)
- Kosher or sea salt
- Distilled white vinegar
How to Make Ricotta Cheese
Homemade ricotta is super creamy, perfectly tangy, and ridiculously easy to make at home. Best of all, it’s ready in as little as 30 minutes. You’ll never go back to store-bought ricotta after you’ve learned how to make it at home!
Making your own ricotta cheese is fairly straightforward:
- Heat the milk to 175-180°F.
- Add salt to season and acid to form curds.
- Hold the curds to develop flavor.
- Strain and serve.
Follow along below for a thorough step-by-step tutorial!

1. Line a fine mesh sieve with cheesecloth, then position over a mixing bowl.
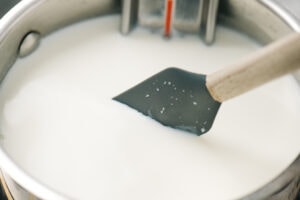
2. Affix a thermometer to a 2-quart soup pot, then pour in the milk.

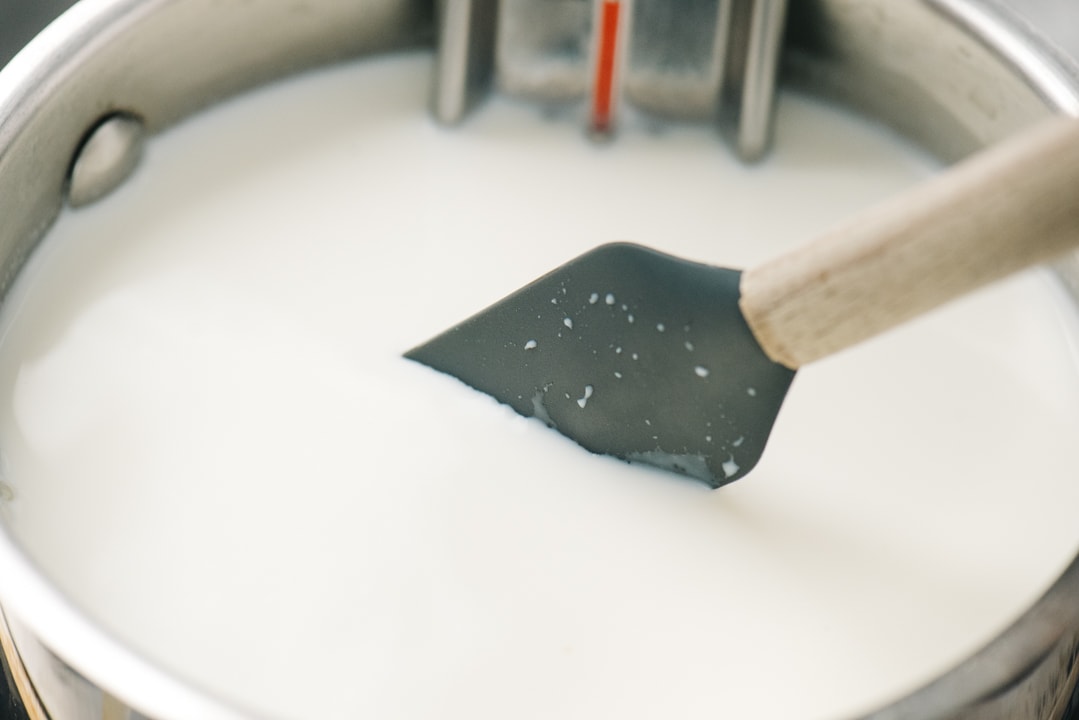
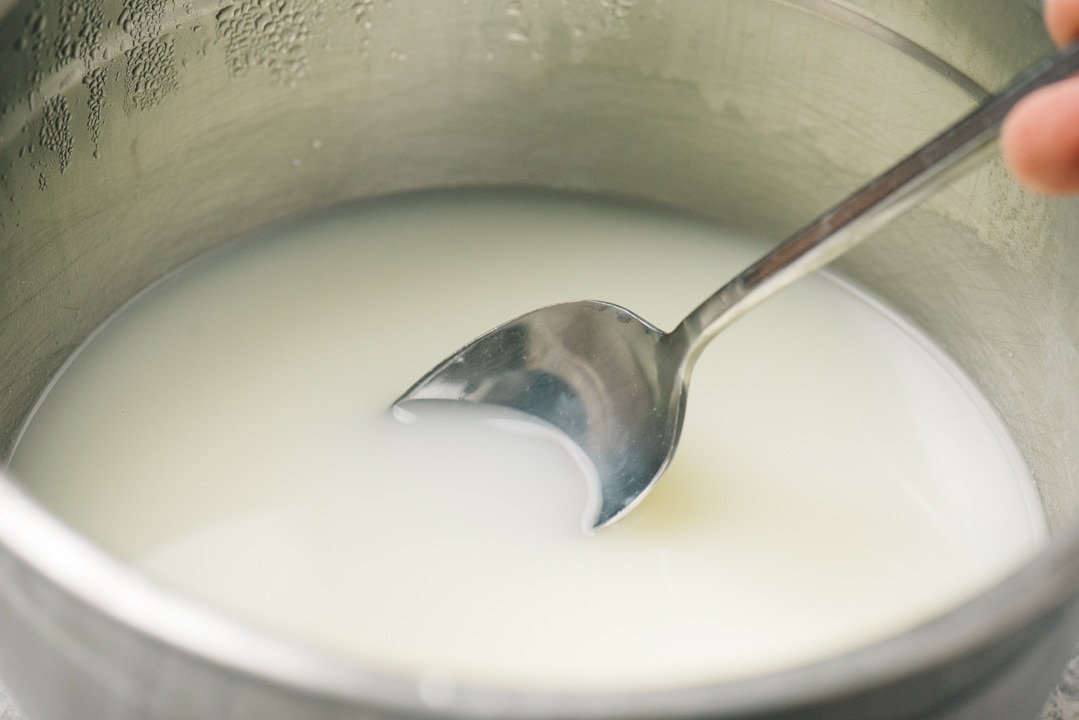
3. Heat over medium heat, stirring occasionally to prevent scalding, until the temperature reads 175-180°F. Turn off the burner, but leave the pot on the stove.
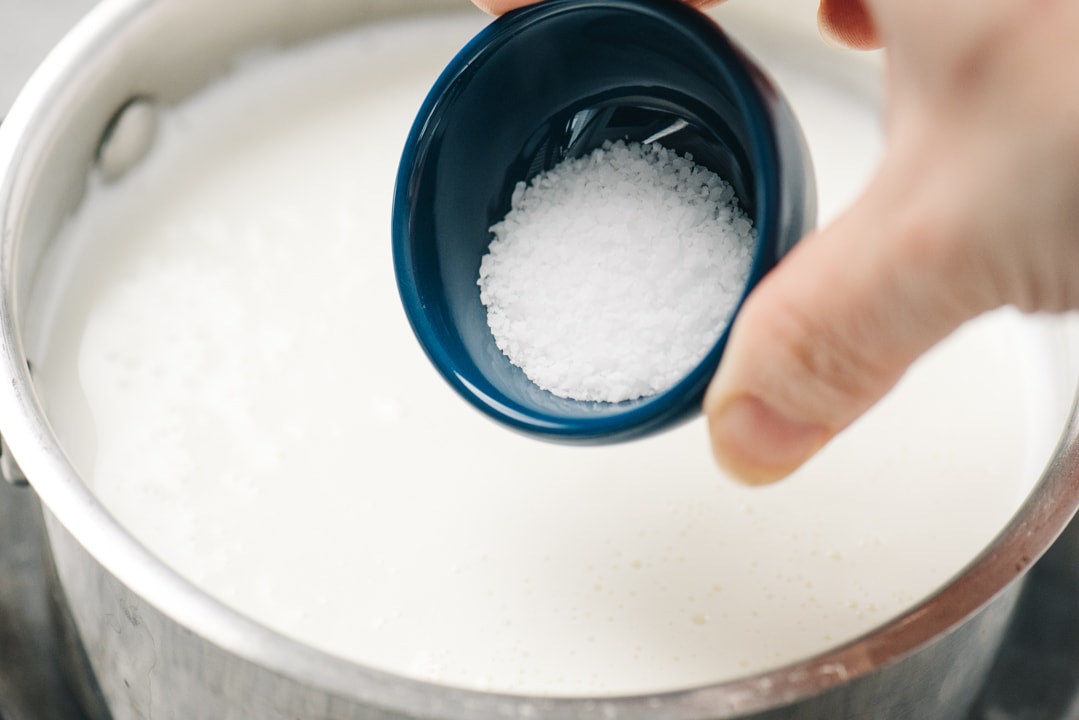
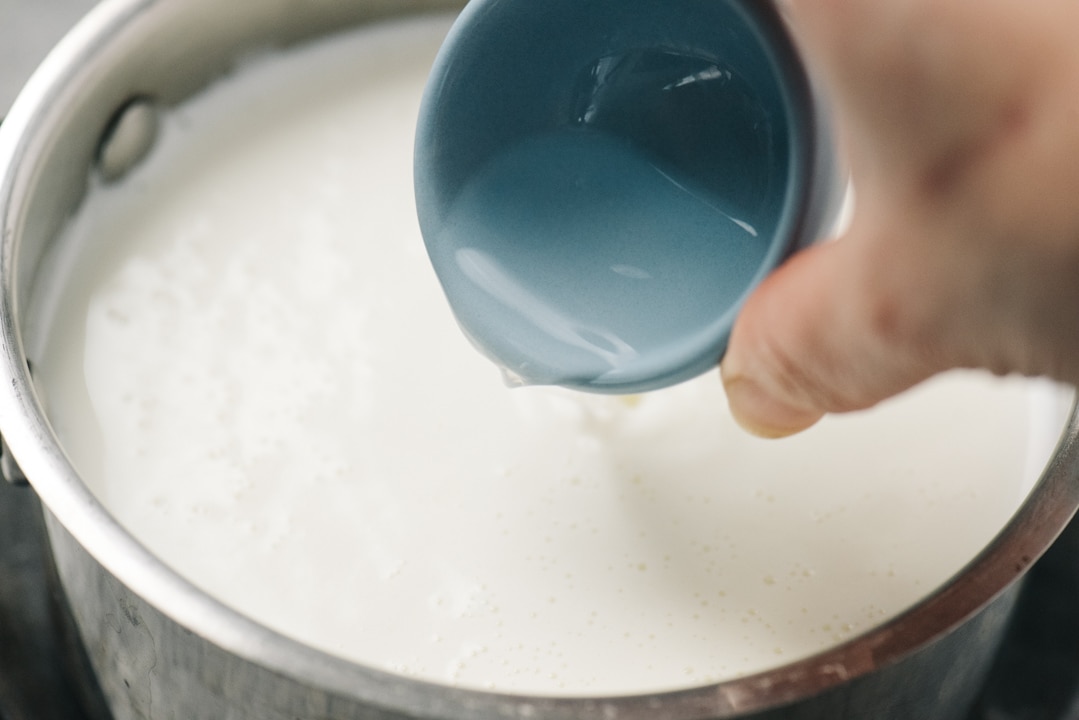
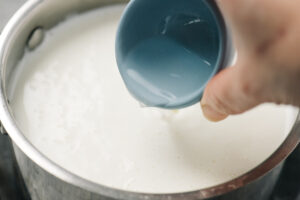
4. Add kosher salt and white vinegar to the warm milk.
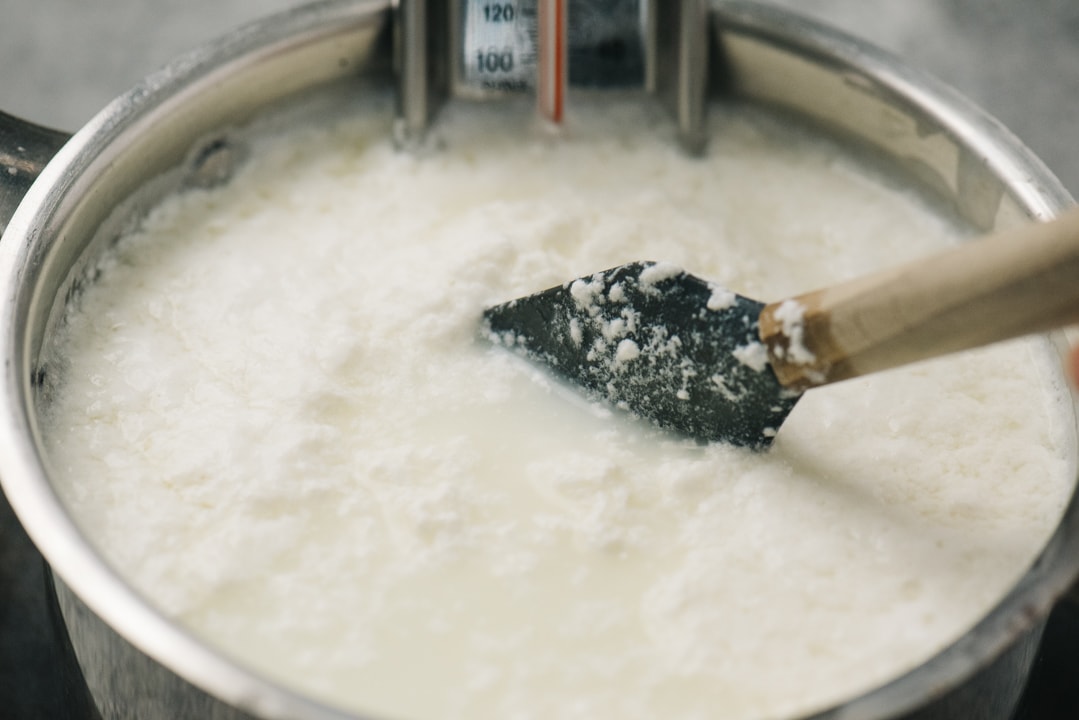
5. Stir gently until curds form.
6. Hold it! Literally. Let the curds sit in the whey for at least 10 minutes, preferably 20. This is the holding stage, and it's when the ricotta really develops its flavor.
NOTE: keep the thermometer in the ricotta mixture throughout the holding stage. If the heat dips below 170°F, turn the burner to a very low flame and gently heat to maintain a temperature in the 170-180°F range.

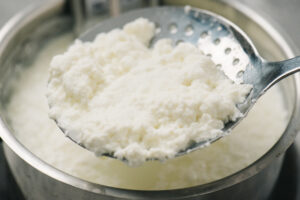
7. Scoop the biggest curds from the whey using a wide slotted spoon and transfer to the cheesecloth to drain.
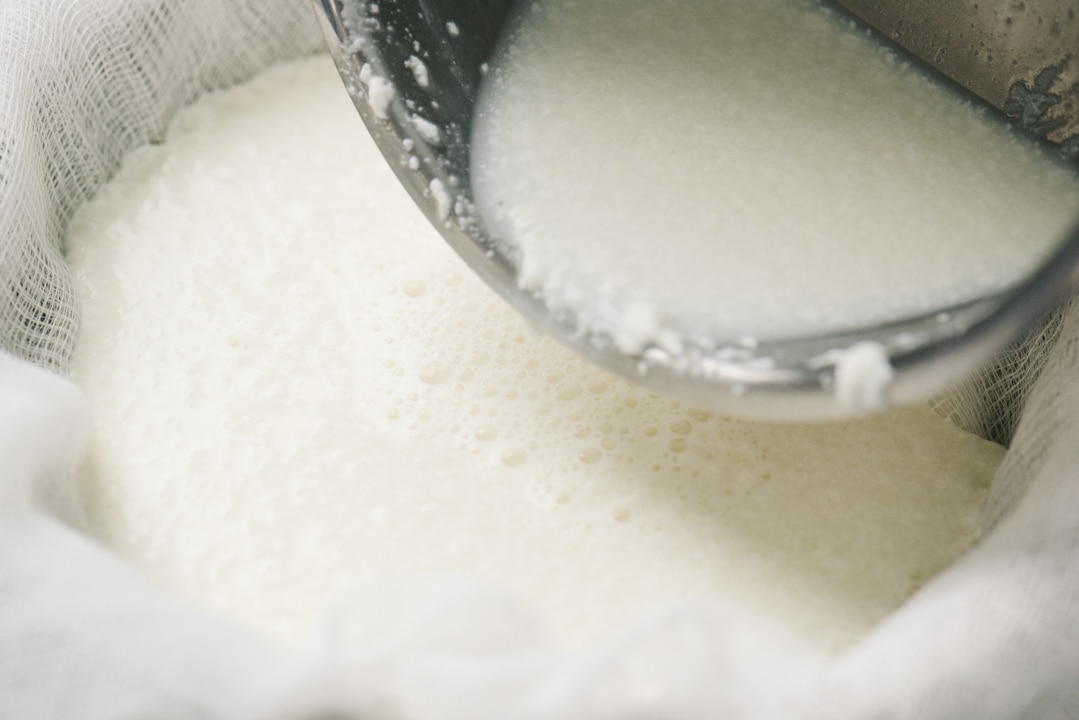
8. Then pour the remaining mixture through the cheese cloth.
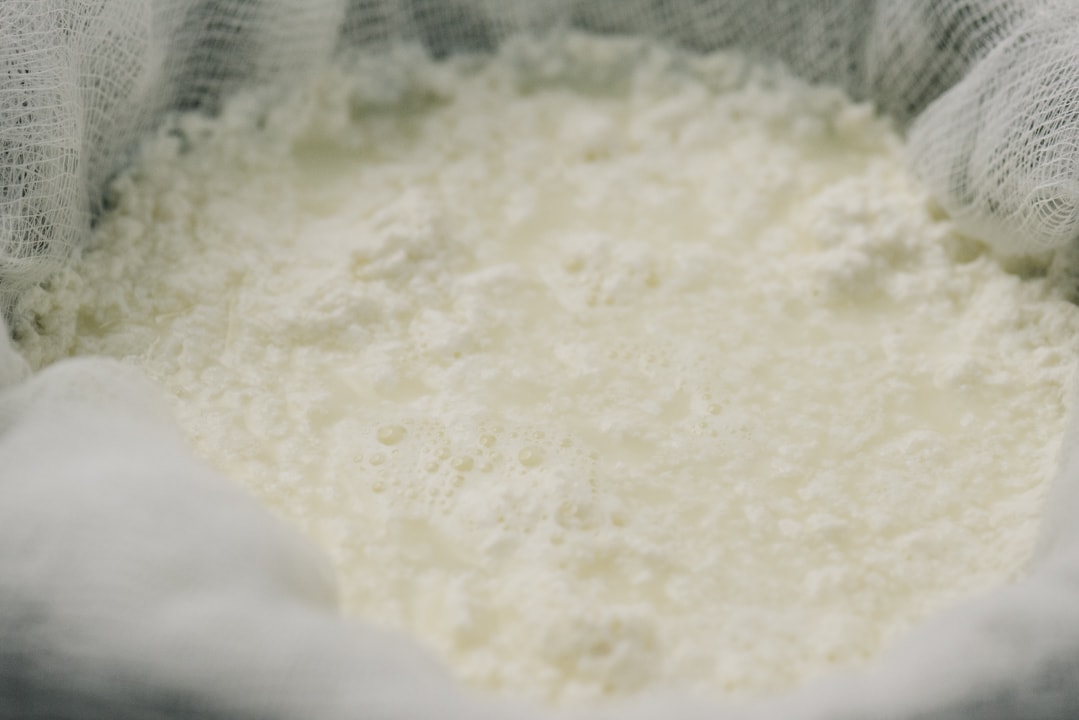
8. Let the whey drain naturally from the curds for 5-30 minutes.
A shorter drain will yield wetter ricotta, a longer drain will yield drier ricotta.
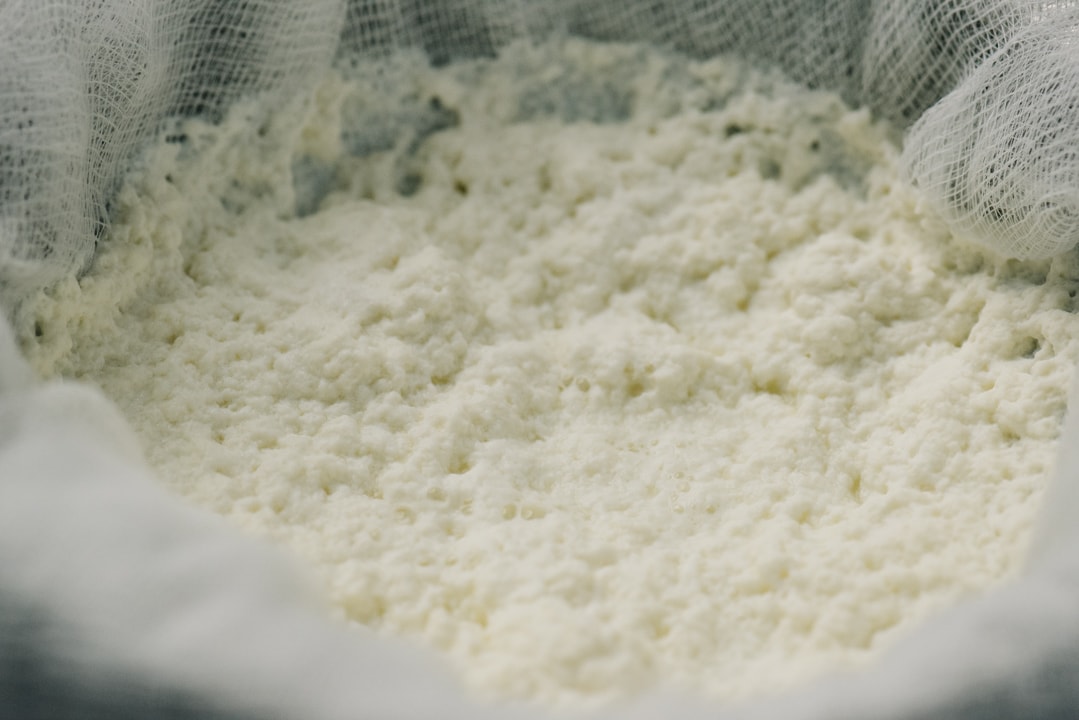
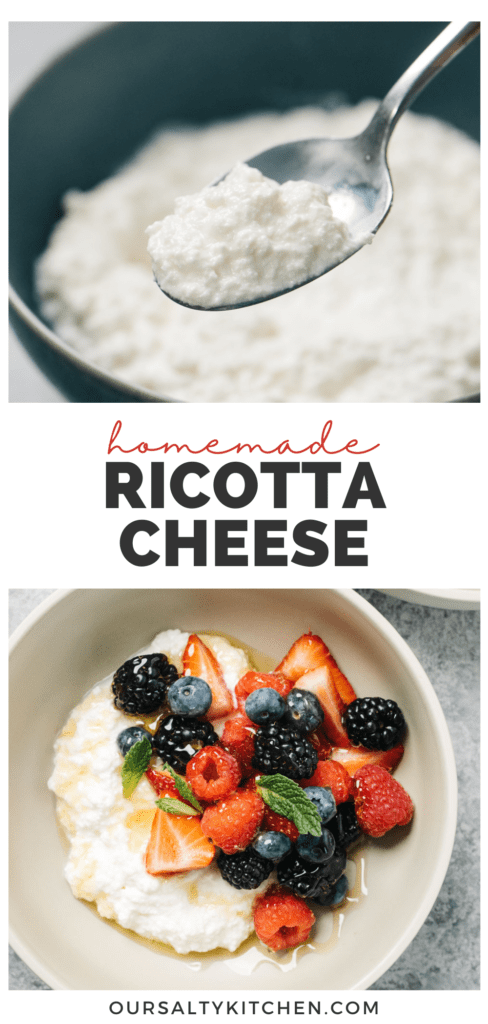
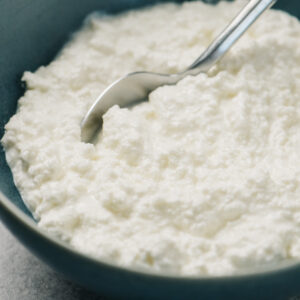
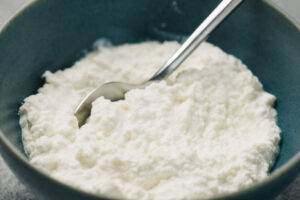
This is a wetter ricotta - it's spreadable and terrific for ricotta toast.
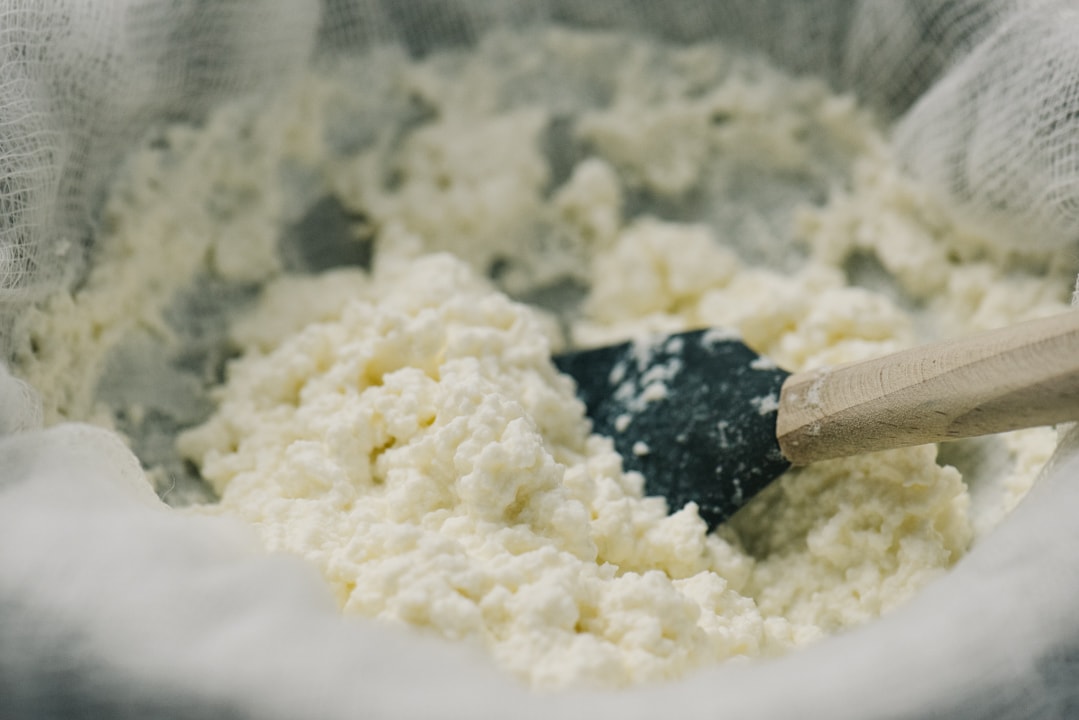
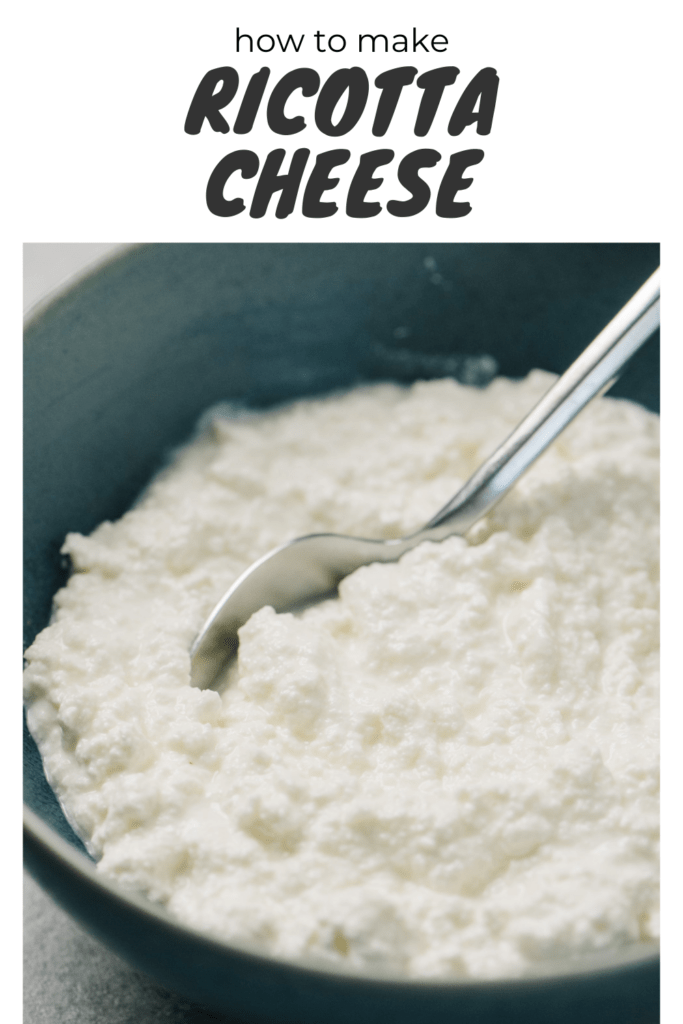
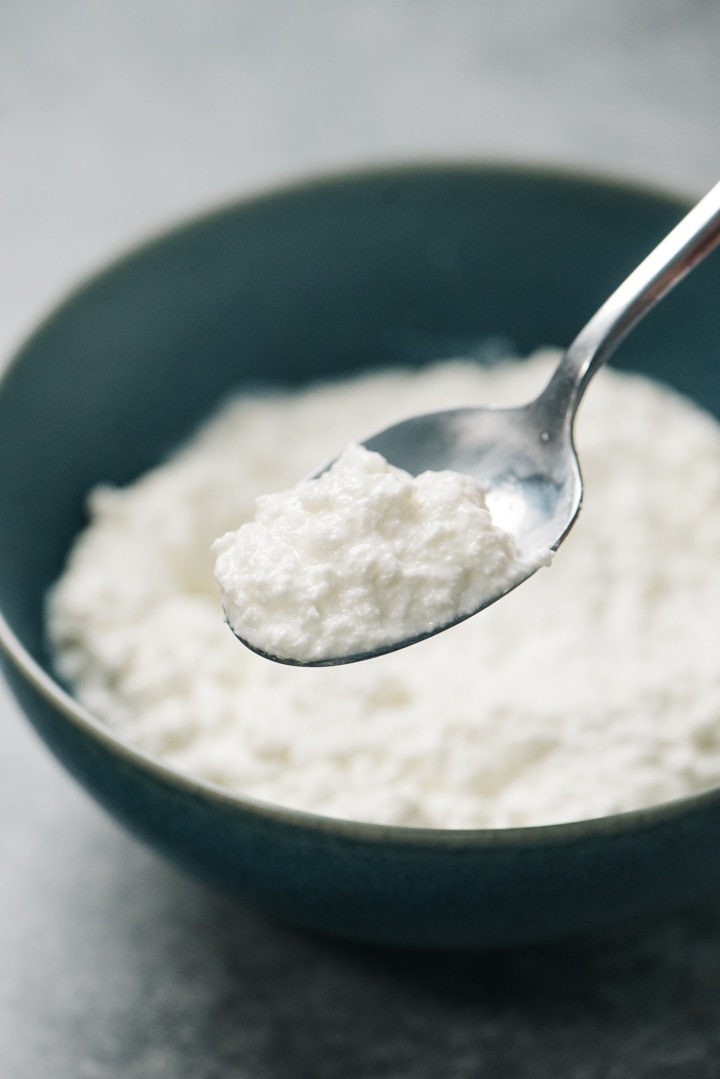
This is a drier ricotta, which is firmer - it's great for lasagna, and closer in consistency to store-bought ricotta cheeses.
If you find that the ricotta is too dry, you can stir in a bit of whey.

Essential Notes and Tips
- Do NOT use ultra-pasteurized milk. Ultra-pasteurized milk has been heated to very high temperatures to improve shelf life. That ultra-high heat denatures the protein that allows the curds to form.
- Use high-quality whole milk for best flavor.
- Stir the milk occasionally while heating to prevent scalding.
- Use a reliable, calibrated thermometer and heat the milk to the right temperature (175-180°F).
- Fresh lemon juice can be substituted for white vinegar, but it must be fresh.
- Strain to desired consistency – as little as 5 minutes for creamy ricotta, as much as 15 minutes (or longer) for firmer ricotta.
- Store leftovers in the fridge in an airtight container for up to 5 days.
Storing
Unlike hard cheeses, ricotta isn't meant to be aged. It's best enjoyed fresh, the day it's made, but you can absolutely store the leftovers.
Store homemade ricotta cheese in an airtight container in fridge for up to 5 days. Leftover whey can also be stored if the cheese needs to be thinned later (water works too). Ricotta can easily sour if stored improperly or for too long. If it smells off, acidic, or sour (or if mold develops), it's past it's prime.
Can You Freeze Ricotta Cheese?
Technically, yes, you can freeze ricotta. You could freeze mud too if you wanted to. But don't. The texture will change, 100% guaranteed. Whatever you're telling yourself about frozen lasagna, I am willing to bet you have neither the chemical, nor flash-freezing capabilities of the good folks at Stouffer's.
That being said, if you insist on freezing ricotta cheese, follow these ground rules:
- Freeze firmer ricotta. Drain at least 30 minutes before preparing for freezing.
- Thaw in the fridge overnight; if it's too watery, drain through cheesecloth.
- Use thawed ricotta in cooked dishes only (think lasagna, pancakes, etc).
But let's be real here - the beauty of ricotta is it is so, so, SO easy to make fresh, there simply is no need to freeze it.


Ricotta Cheese Recipes
Though it's luscious enough to eat with a spoon, homemade ricotta cheese is a jack-of-all-trades when it comes to cooking and enhances pastas, pizzas, cakes, cookies, and even omelets.
Homemade ricotta cheese can be used anywhere you'd use store bought.
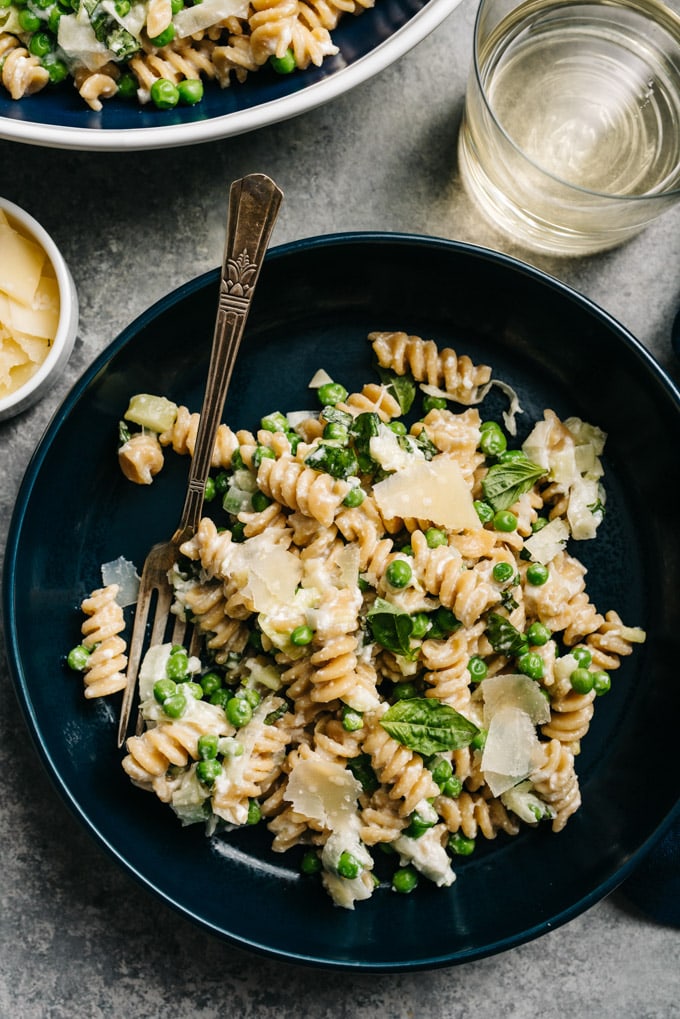
Drier ricotta cheese is great for baking - lasagne-style dishes, white pizza, stuffed pastas, and even frittatas! Add a dollop of ricotta cheese to pasta dishes or to garnish hearty soups, like tortellini soup. Or use it as a base for a creamy pesto sauce!
Have a sweet tooth? Ricotta adds a creamy tang to loads of desserts - cakes, cheesecakes, cannoli, even pancakes!
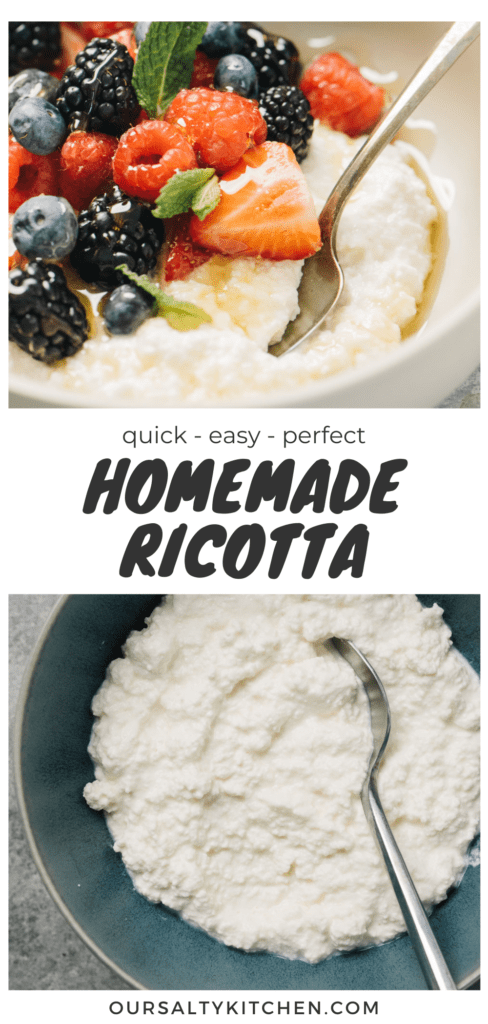
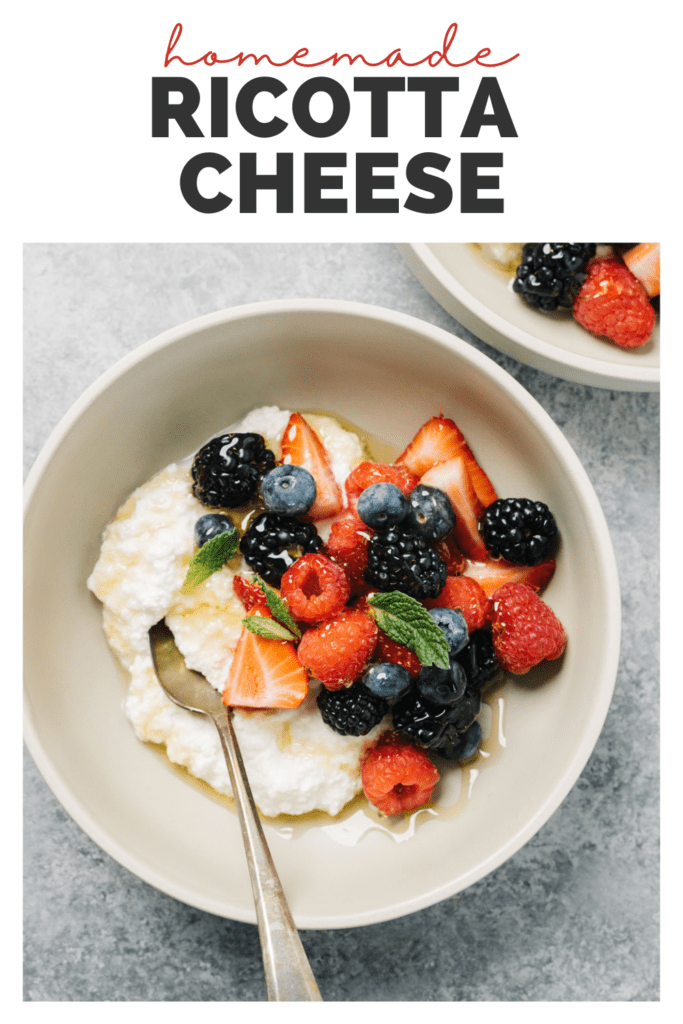
Wetter ricotta cheese is fantastic on its own, slathered over toast or served warm with fresh berries and honey.
Did you make Ricotta Cheese? I'd love to know how it turned out! Leave a comment and a rating below.
While you're at it, let's be friends - follow me on Pinterest and Instagram for the latest and greatest.
30-Minute Fresh Homemade Ricotta Cheese
Description
Ingredients
- 4 c. organic whole milk, non-ultra pasteurized
- 1 teaspoon kosher salt, plus more for sprinkling
- 2 tablespoon distilled white vinegar
Instructions
- Place several layers of cheesecloth over a fine-mesh strainer, then nest the strainer over a mixing bowl.

- Pour the milk into a 2-quart pot over medium high heat and affix a thermometer to the side of the pot. Heat the milk, stirring occasionally to prevent scalding, until the temperature reaches 175-180°F, 7-8 minutes.
- Turn off the heat, but leave the pot on the warm burner. Add the salt and white vinegar to the milk. Stir gently until curds form and completely separate from the whey, 1-2 minutes.
- Allow the curds to sit in the warm whey (this is called "holding" the curds) for 10-20 minutes. Keep an eye on the temperature - if it dips below 170°F, turn the burner to a low flame and gently reheat the milk to maintain a temperature in the range of 170°-180°F.
- Use a wide slotted spoon to scoop the largest curds from the whey and transfer to the cheesecloth. Then gently pour the remaining mixture through the cheesecloth.
- Allow the ricotta to drain naturally for 5-30 minutes, depending on your preference for consistency (see notes). The liquid that drains from the cheese mixture is called "whey" and will collect in the mixing bowl.
- Scrape the ricotta from the cheesecloth into a bowl, taste for seasoning, and sprinkle in extra salt as desired. If the ricotta is too thick, stir in additional whey, a teaspoon at a time, until the desired consistency is reached.
- Serve warm immediately, or transfer to a lidded container and store in the fridge for up to 5 days. Makes about one cup.


Recipe Notes
- Do not use ultra-pasteurized milk, as it will not curdle.
- Wetter ricotta is great for serving on its own with a bit of honey and berries as dessert.
- A medium consistency is great for spreading on toast or flatbread
- A drier consistency is suitable for traditional, store-bought ricotta uses, like lasagne.

Patricia
Easy to make, and it was delicious
Coleen
This recipe is fantastic! I made Lasagna. Thanks.
Ian
What does the c mean in 4 c. of milk?
Do you mean quarts or gallons or litres?
Thanks
Danielle Esposti
"c" in a recipe translates to "cup" so it would be 4 cups.
Sylvie Torok-Nagy
How many cups does this recipe produce? I am Maki g a lasagna and want to know if I should double it.
Danielle Esposti
Hi - this recipe yields approximately 1 cup.