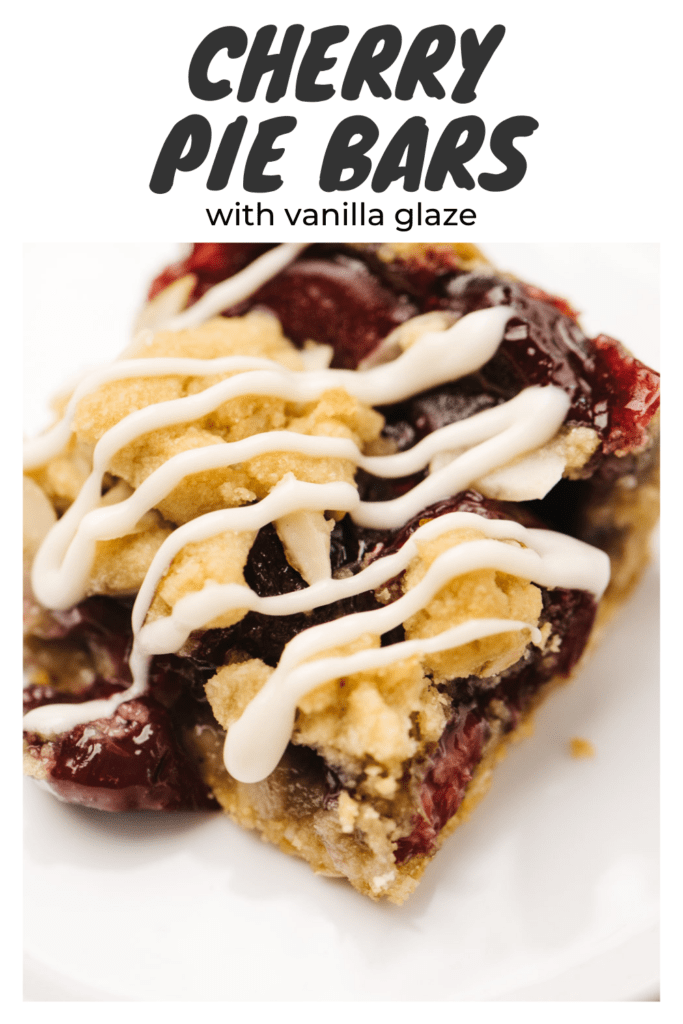

I cannot tell a lie: these Cherry Pie Bars are absolutely good enough to make grownups cry. Fresh summer cherries in a sweet homemade filling, sandwiched in between crumbly layers, and topped with a creamy glaze? I'll take one for each hand, thank you very much!
I have a friend whose dad is a retired fine dining chef. She gets told all the time how lucky she must have been to have had the most amazing food growing up to which she responds: "I mostly had Kraft Mac & Cheese for dinner because my dad was working dinner service like, 6 days a week. And he was a chef, not a baker, so I got store-bought sheetcake on my birthday like everyone else."
You may assume one talent begets another, but baking and cooking are two different skillsets. Baking involves weirdly specific chemistry and precision and frankly, more patience than lots of us have. Especially when it comes to creating a recipe from scratch.
That's why loads of restaurants (a) have designated pastry chefs; or (b) import their desserts. For the most part, I am 100% fine relying on the tried and true recipes of my ancestors and the many skilled edible-content creators out there. But there's always a caveat...
I'm one of those genetic misfits who doesn't have a raging sweet tooth, so most of my own dessert recipe creation revolves around adjusting (i.e. reducing) sweetness, which is no small chemical feat. Thankfully, peak-season, peak-freshness fruit has enough naturally occurring fructose, glucose, and sucrose to give a big, burst of summertime flavor without having to overcompensate. It's one of the reasons I HIGHLY suggest you make your own filling instead of using store-bought.

Cherry Filling Recipe
Sweet, plump, juicy summer cherries are back, and when I can stop myself snacking on them (and having seed spitting contests with my kids) long enough to turn them into something tasty, this homemade filling is a go-to for my Cherry Pie Bars.
Canned pie filling may be convenient but I've never been a fan. Not only is it way too cloying for me, but I've always found that there's a weird tinny taste. Could be the can, could be the preservatives. Either way, it's not worth it when you can just give fresh fruit the slightest of nudges to turn it into filling - a little time (under 10 minutes!), a little water, a little sugar, and a little starch go a long way.
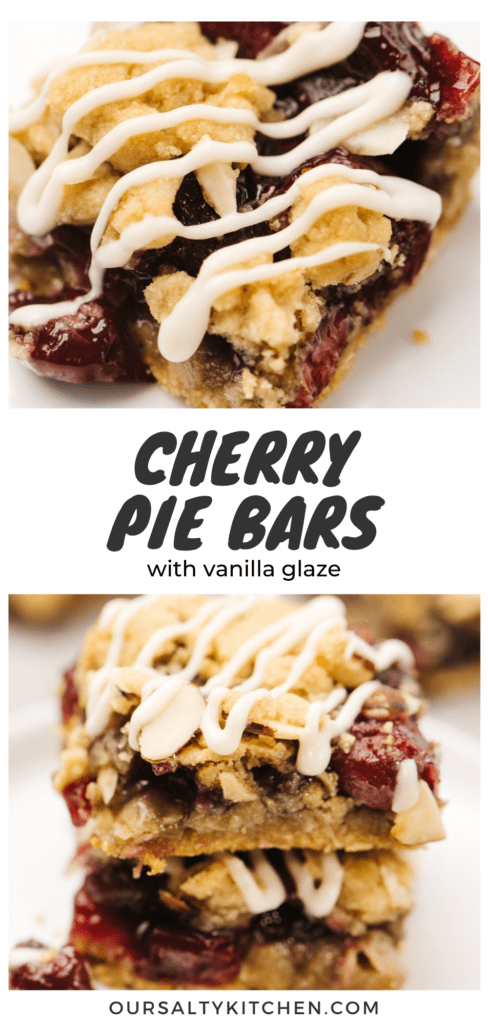
Now, this particular "cherry pie" happens to have "a sweet surprise" that really takes these bars to the next level: almond extract. (I hope you just got as excited as I did when I learned this trick.) Talk about an unsung flavor combo! And wait for it - there's bonus almond in the crust, topping, and glaze. Mmmmmm...
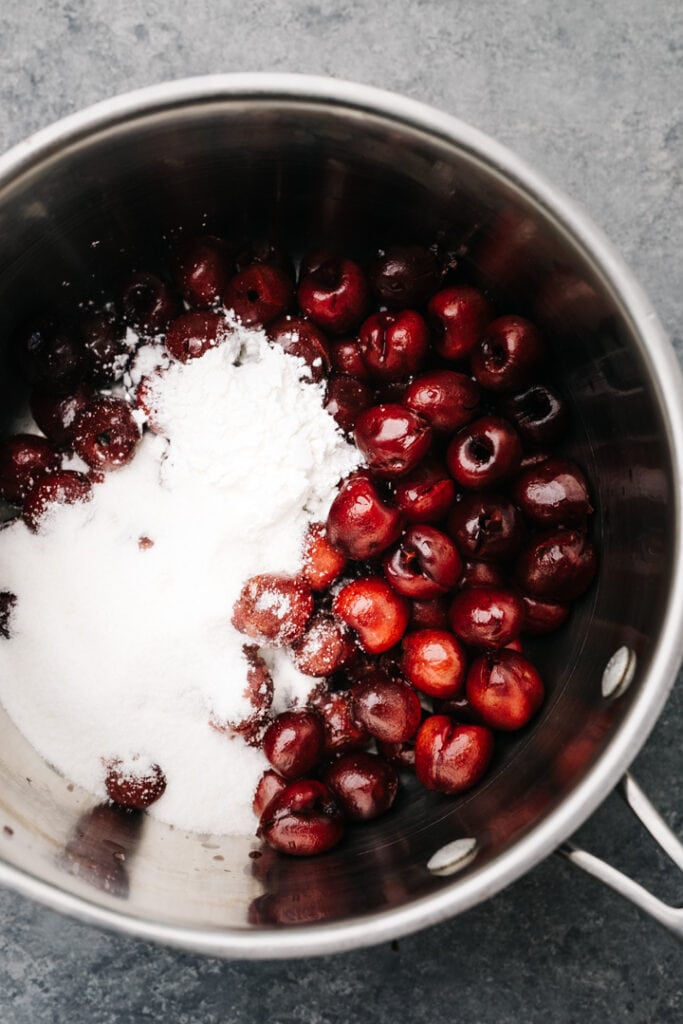

- Combine cherries, water, sugar, cornstarch, and lemon juice in a saucepan.
- Bring to a boil, then reduce to a simmer and cook, stirring frequently, for 7-8 minutes.
- Remove from heat once liquid has thickened and stir in vanilla and almond extracts.
- Set aside to cool while you prepare the crust and topping.
For a condensed post, click here to view the web story for this recipe!
Cherry Pie Bars Recipe
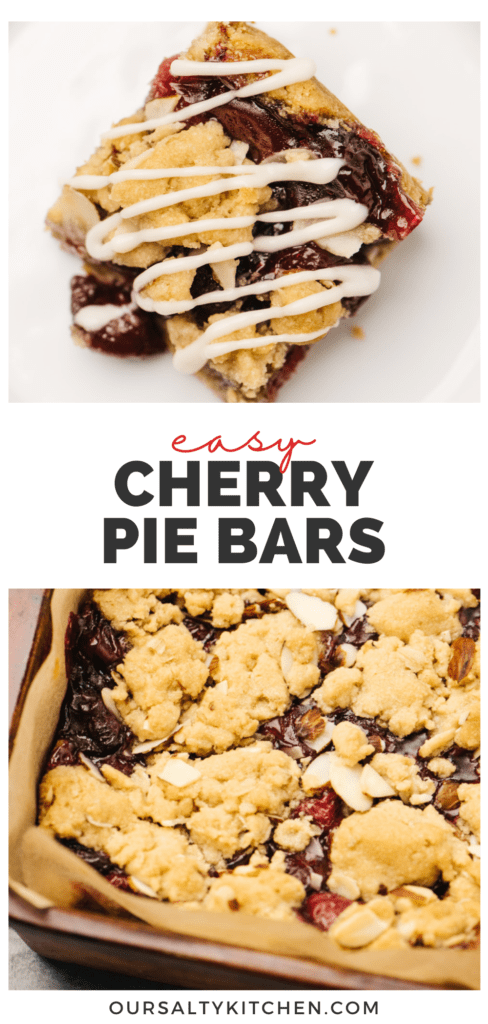
Forget your back pocket! Keep this recipe for snackable, shareable Cherry Pie Bars right up front in your apron. Part pie, part crumble, these homemade treats are a simple spin on a summertime classic that work for parties, picnics, or just pigging-out. Make your own filling for the freshest flavor!


- Preheat oven to 350°F and line your baking dish with parchment paper.
- Make the crust and topping while filling (see above for quick steps) cools.
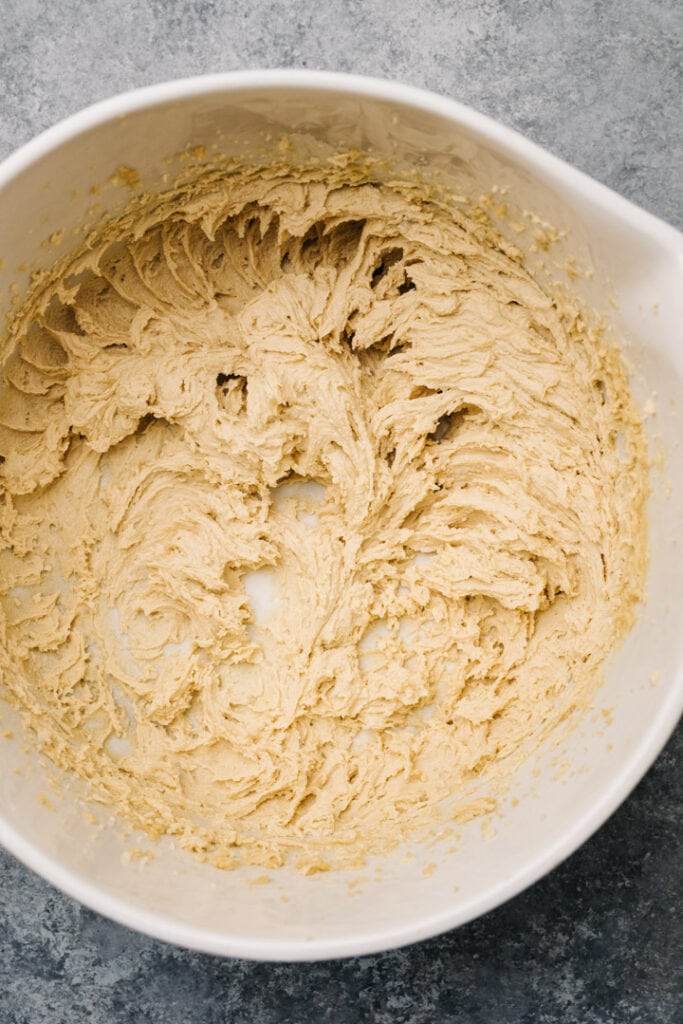
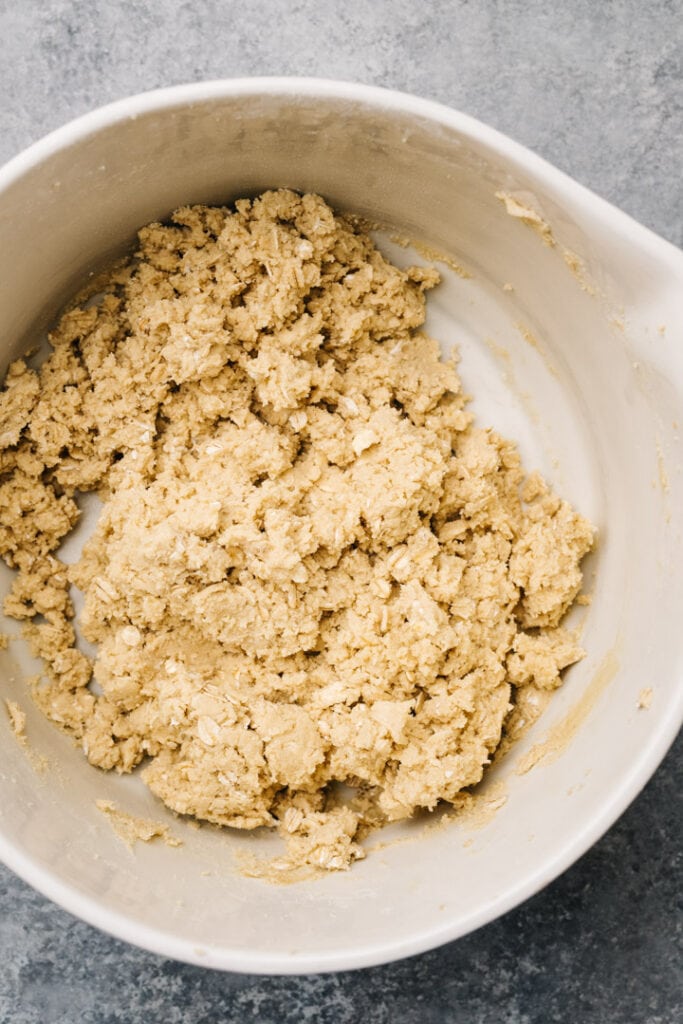
- Use mixer to cream sugar and butter for 3 minutes. Add baking soda and mix 10 seconds. Mix in flour, oats, and almond flour until evenly incorporated.
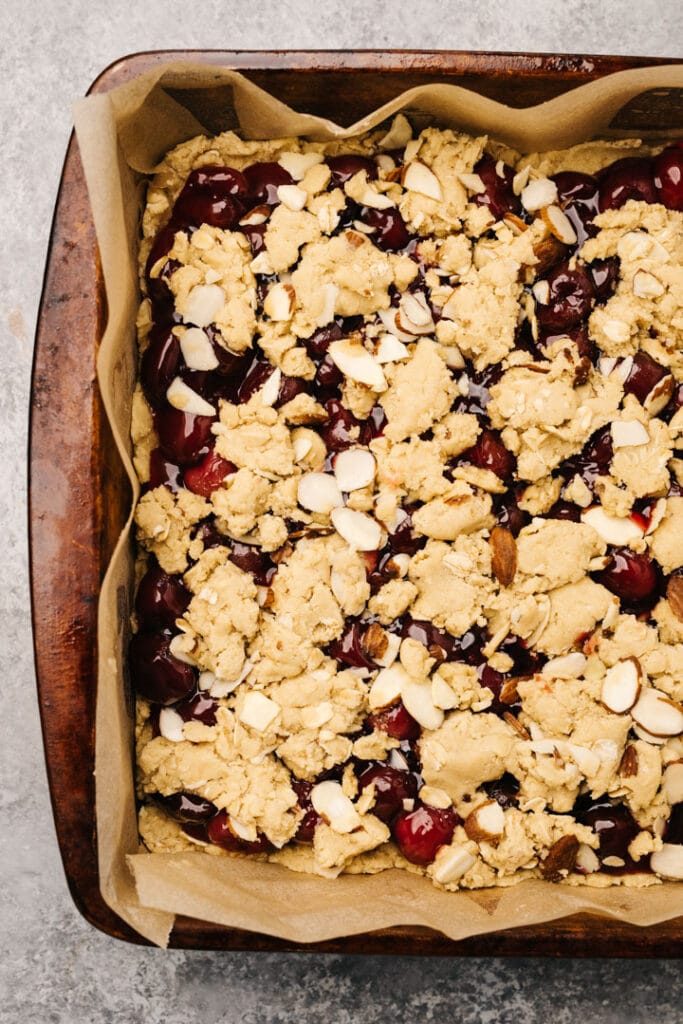
- Press ⅔ of the crust mixture into the bottom of the prepared baking dish.
- Spread the filling over the crust.
- Mix the sliced almonds into remaining crust mixture and sprinkle over filling.
- Bake for 30 minutes, or until the crust is golden brown all over.
- Cool in the pan for 1 hour, then refrigerate to chill, about 2 hours.
- Once bars are set, combine glaze ingredients, whisk until smooth.
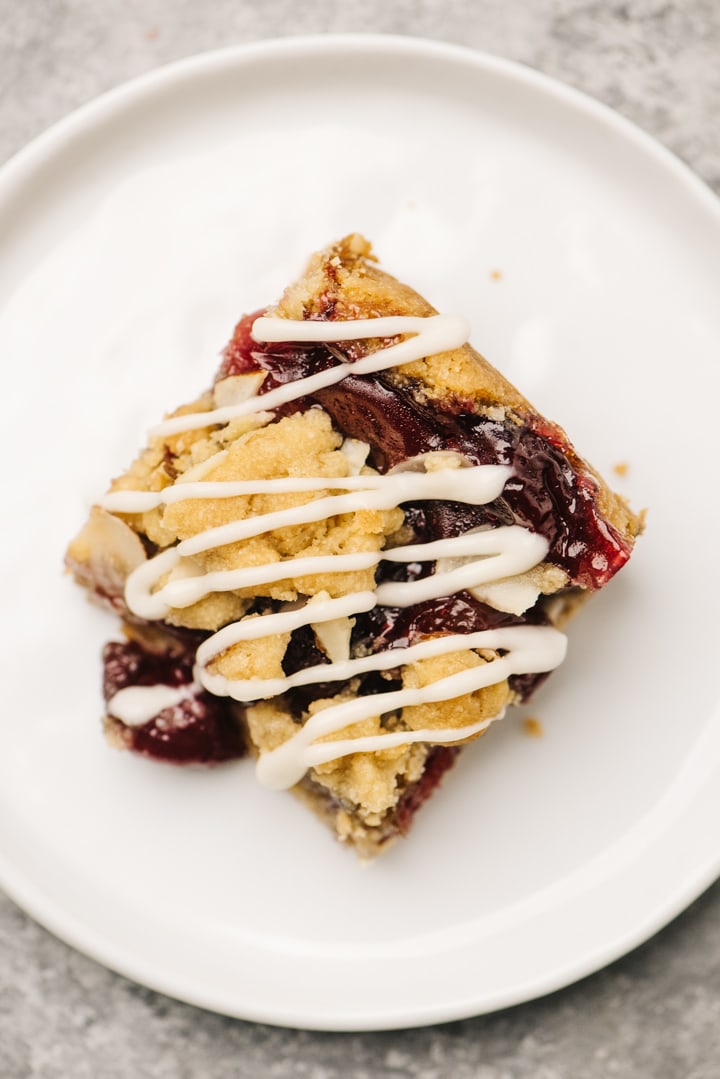
- Slice, drizzle, and serve.


Chef's Tips
- While we wholeheartedly recommend making your own filling....you can use canned cherry pie filling.
- The bars MUST be chilled before slicing. Store leftovers chilled in the fridge as well.
- Pitting cherries doesn't have to be the pits. There are tons of quick hacks to be found online - here's one of my favorites. You can also use a metal straw, wood skewer, or piping tip.
Seasonal Summertime Sweets
- Cherry Muffins
- Fig Bars
- Cardamom Plum Galette with Sweet Cornmeal Crust
- Paleo Blueberry Muffins with Chia Seeds
- White Sangria Boozy Popsicles

Did you make these cherry pie bars? I'd love to know how they turned out! Leave a comment and a rating below.
While you're at it, let's be friends - follow me on Pinterest and Instagram for the latest and greatest.

Cherry Pie Bars
Description
Ingredients
Cherry Filling
- 4 c fresh cherries, pitted
- 4 tablespoon water
- ½ c sugar
- 2 tablespoon cornstarch
- 2 teaspoon lemon juice
- ½ teaspoon almond extract
- ½ teaspoon vanilla extract
Crust and Topping
- 1 c packed light brown sugar
- ¾ c salted butter softened
- 1 teaspoon baking soda
- 1 c all-purpose flour
- 1 c rolled oats
- 1 c superfine almond flour
- ⅓ c sliced almonds
Glaze
- 1 c powdered sugar
- ½ teaspoon vanilla extract
- ½ teaspoon almond extract
- 3-4 tablespoon heavy cream
Instructions
- Heat the oven to 350°F. Line an 8x8 baking dish with parchment paper.
- Make the filling. In a 2-quart saucepan, combine cherries, water, sugar, cornstarch, and lemon juice. Bring to a boil, then reduce to a simmer and cook, stirring frequently, for 7-8 minutes, or until the cherries are soft and the liquid has thickened. Remove from heat and stir in the vanilla and almond extracts. Set aside to cool while you prepare the crust and topping.
- Make the crust and topping. Using a hand mixer, cream the brown sugar and butter at high speed until light and fluffy, 3 minutes. Add the baking soda and mix for 10 seconds more, or until incorporated. Add the flour, rolled oats, and almond flour to the bowl and mix on low speed until just combined..
- Press two-thirds of the flour/oat mixture into the bottom of the prepared baking dish, being sure to press some filling up the sides of the pan.
- Spread the filling over the crust.
- Mix the sliced almonds into the remaining crust mixture. Sprinkle the crust over the filling, then gently press the pieces into the filling to adhere.
- Bake for 30 minutes, or until the crust is golden brown all over. Cool in the pan set on top of a wire rack for 1 hour, then refrigerate to chill, about 2 hours.
- Make the glaze. Combine the powdered sugar, vanilla and almond extracts, and cream in a 1-cup measuring cup or small bowl. Whisk until smooth, adding more cream if the mixture is too thick.
- Slice into bars, then drizzle with the glaze.

Pam Sweet
Can you use frozen cherries instead of fresh?
Danielle
Yes! I'd give them a quick thaw first in a colander.