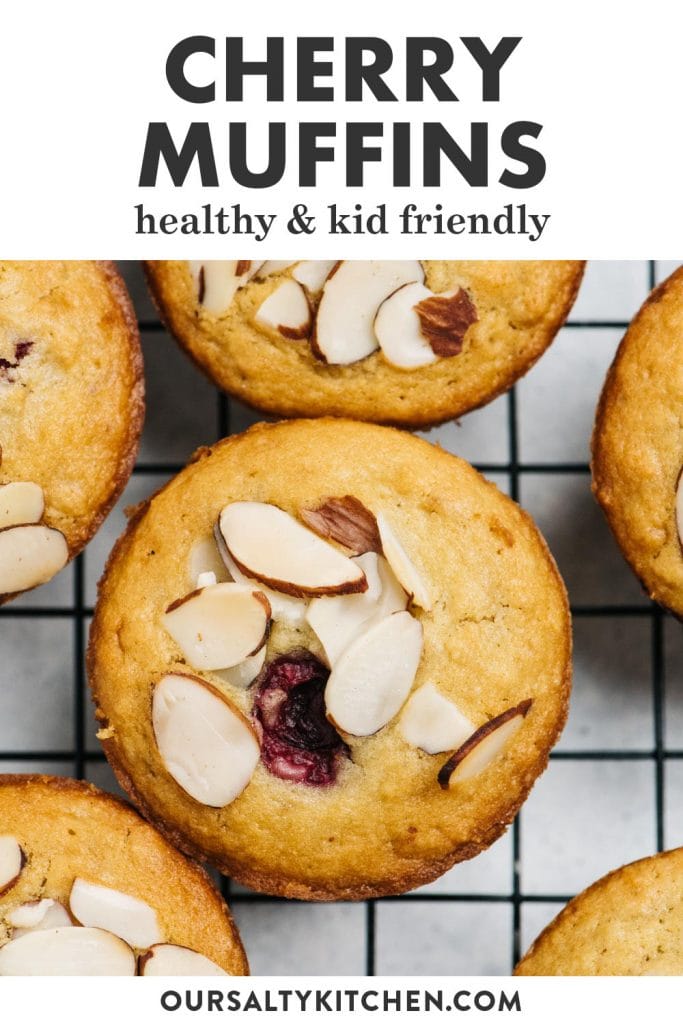
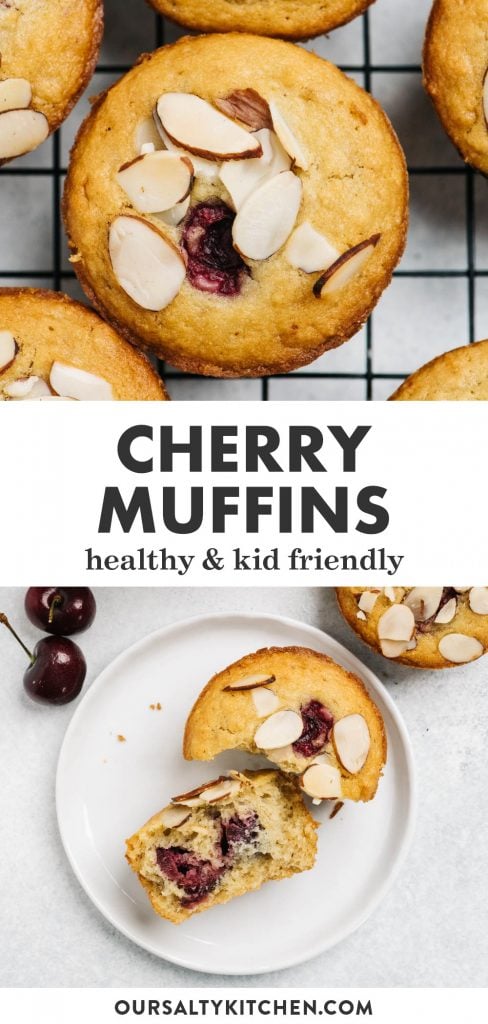
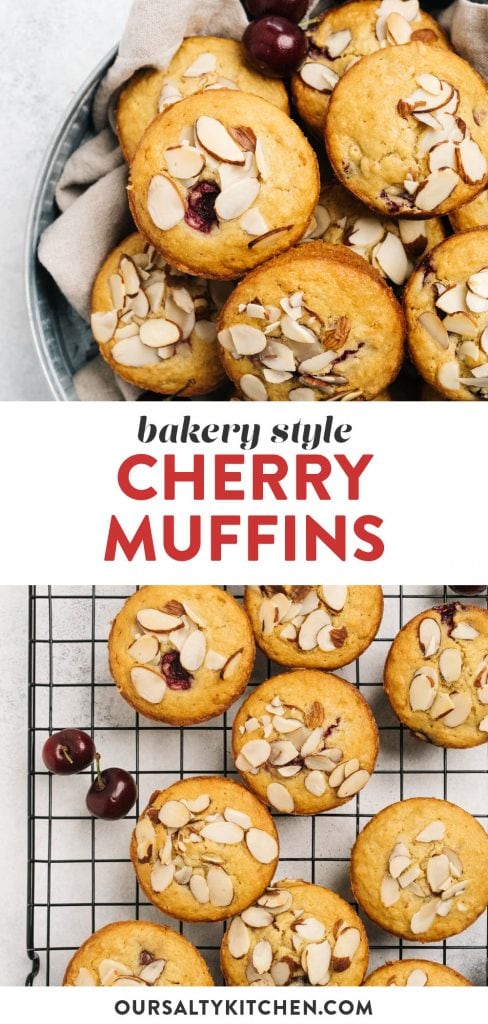
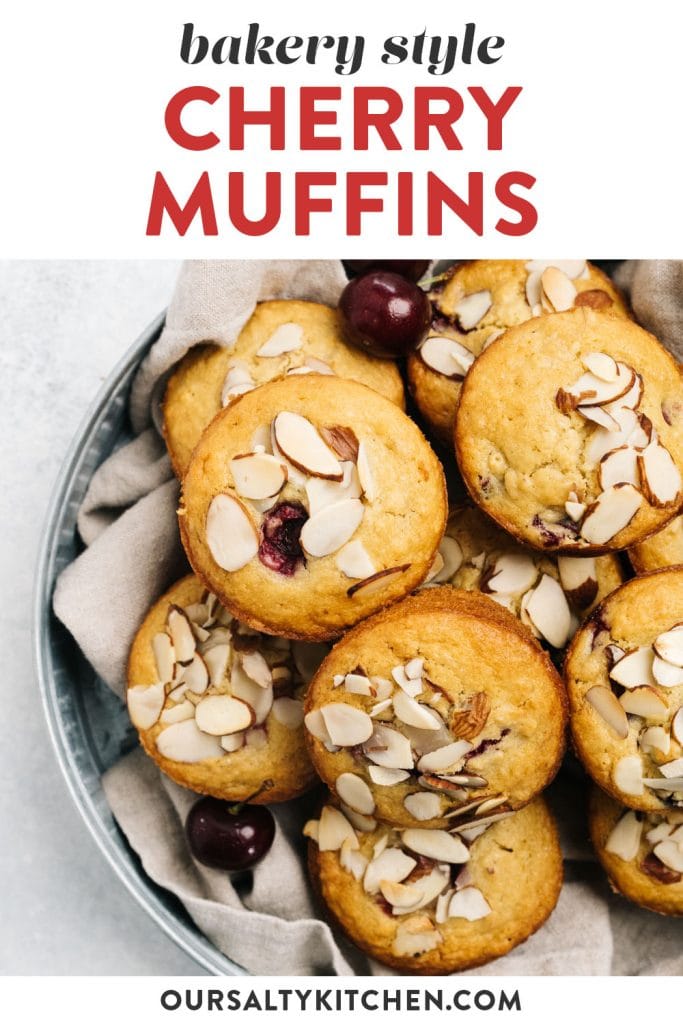
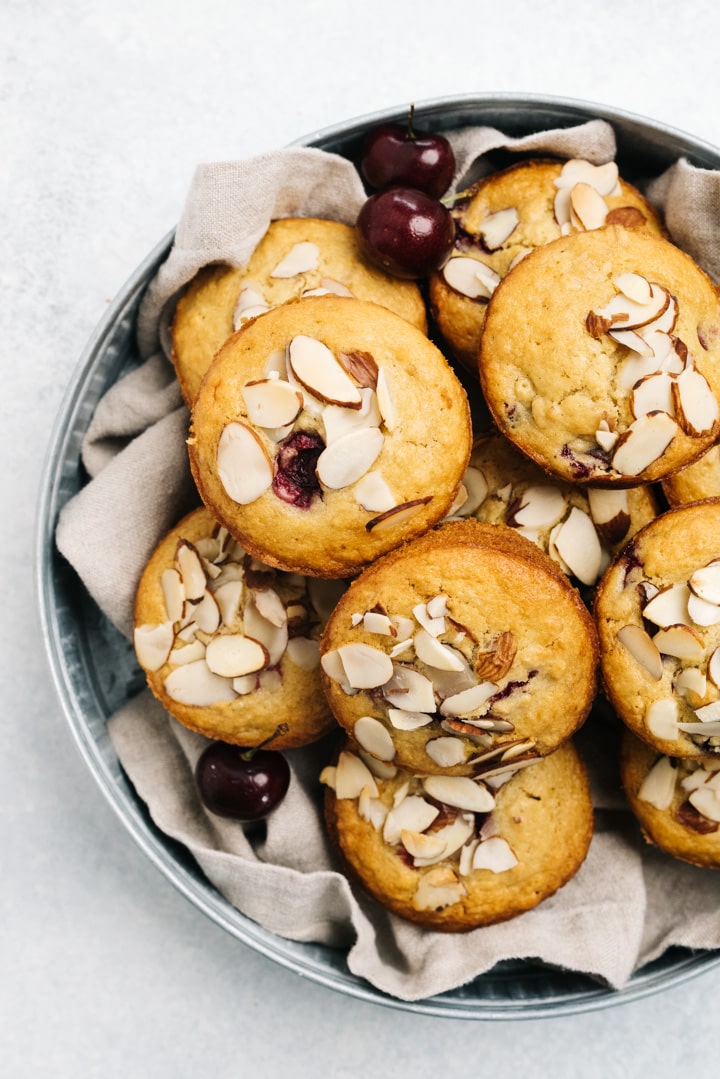
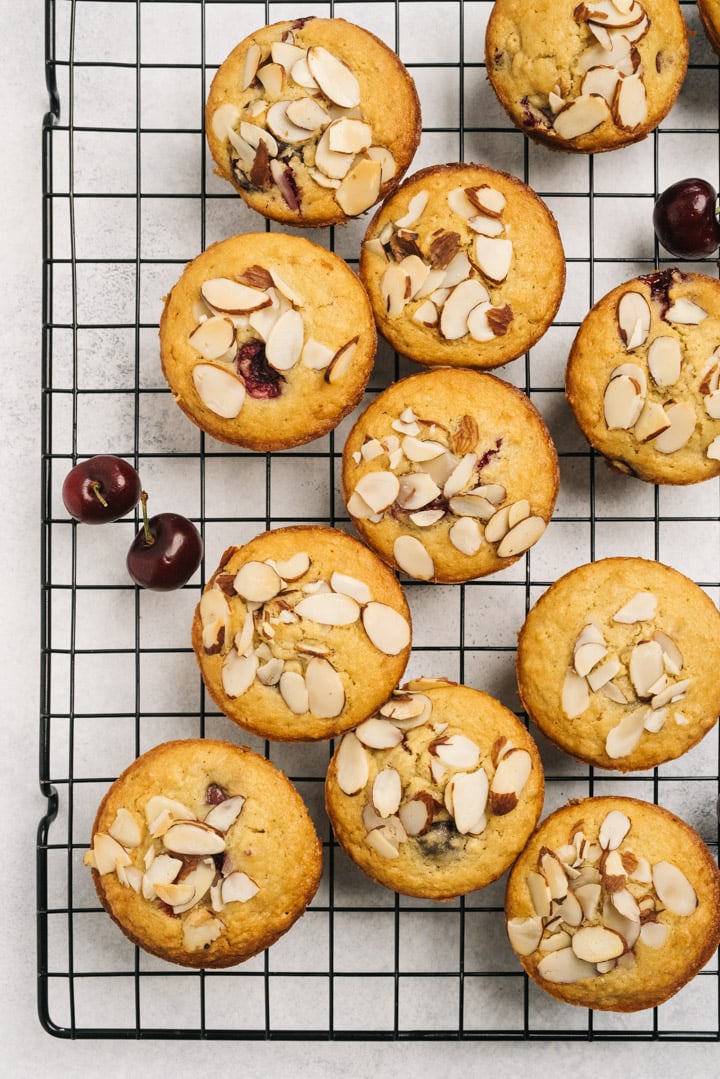
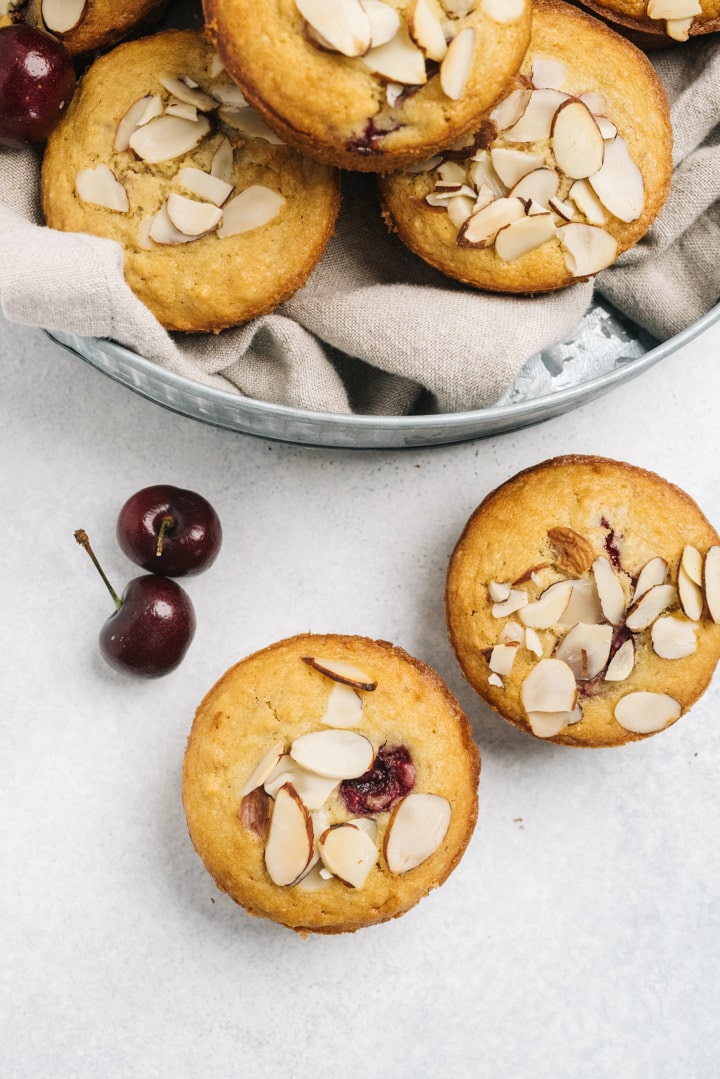
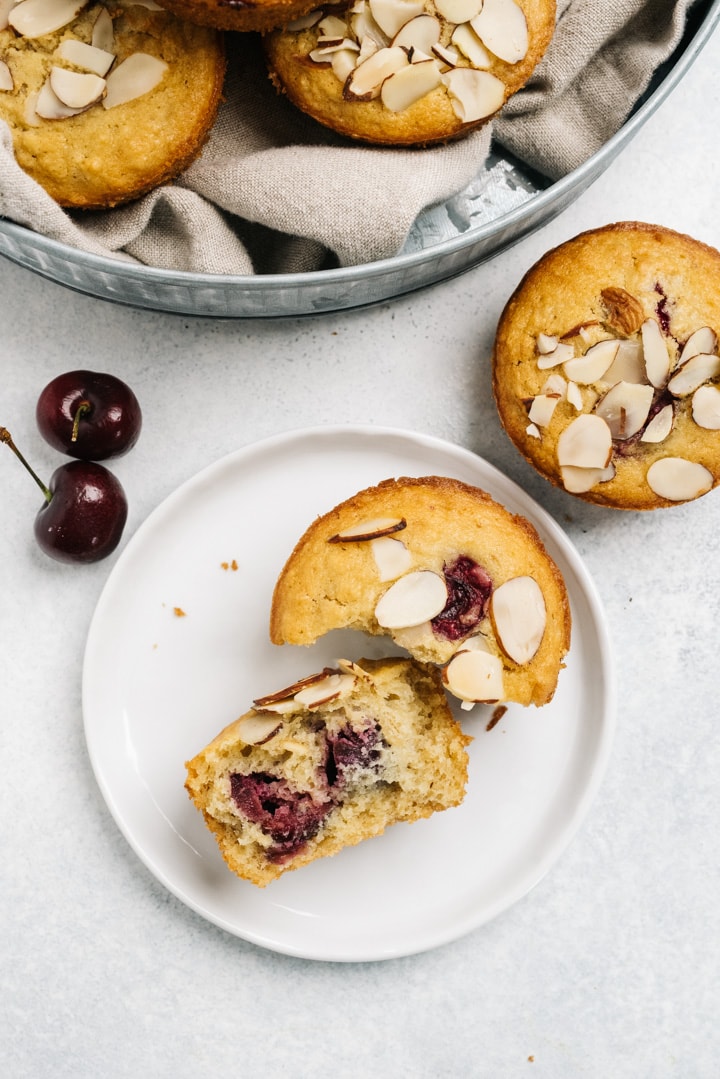
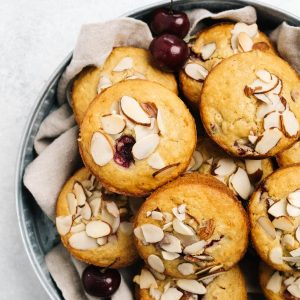
Bakery style Cherry Muffins are the healthy snack your kids will gobble up all summer long. Bursting with fresh cherries and topped with sliced almonds, these muffins are soft and fluffy and the perfect way to gobble up everyone's favorite stone fruit.
Jump to:
There is a directly correlation between the summer months and how often my children require snacks. The hotter it gets, the more they eat. "Mom I'm starving" is the soundtrack of our lives.
Muffins are always a good idea, but they're a particularly great idea when DIY snacking is at peak demand - especially if I can make them relatively healthy.
These bakery style cherry muffins are super soft and fluffy, just sweet enough, and perfect for summer snacking. They're bursting with fresh cherries and enough protein and fiber that I can feel good about the kids gorging on them.
How to Make Cherry Muffins
Our fresh cherry muffins are made with oats, a little almond flour, and just enough sugar to make them sweet, but not so much that they're more cupcake than muffin. Fresh cherries are best, but it's definitely possible to use frozen cherries and enjoy these year-round.
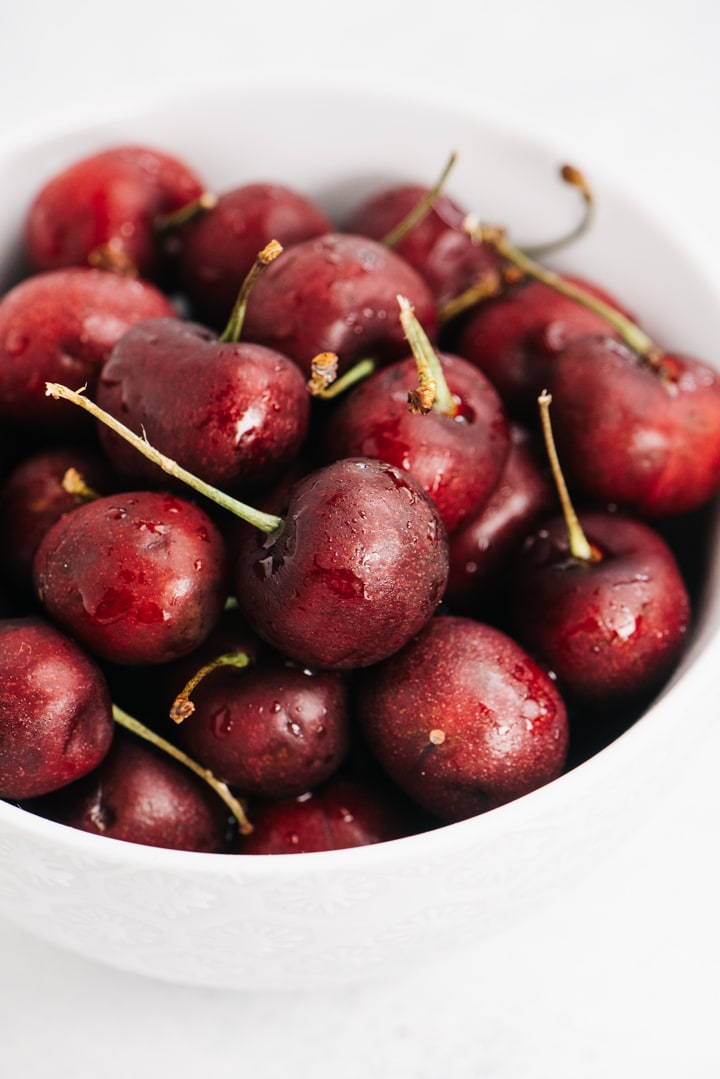
- Pit the cherries. There are a few ways to do this, but my favorite method is to use a metal straw - simply poke the straw through the center to push the pit out
- If you don't have a metal straw, you can slice the cherry in half and cut the stone out with a small knife.
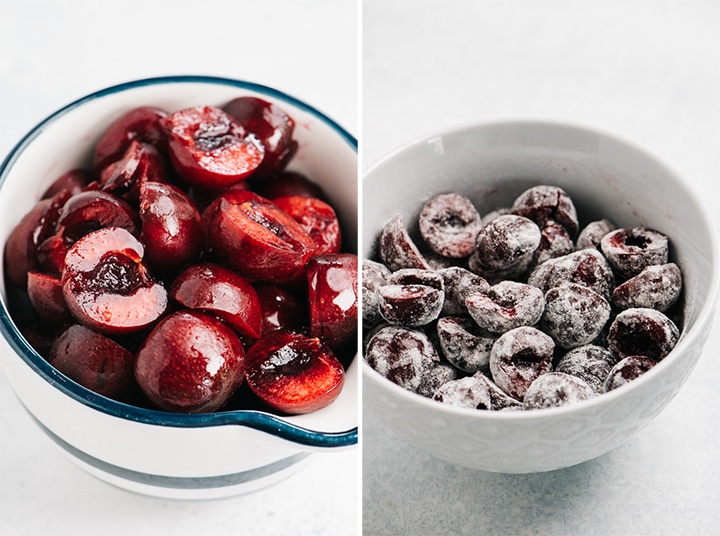
TIP: Toss the pitted cherries with a tablespoon or two of flour. This will prevent the juice from bleeding into the muffins, and it will help prevent the fruit from sinking to the bottom of the muffins.
-
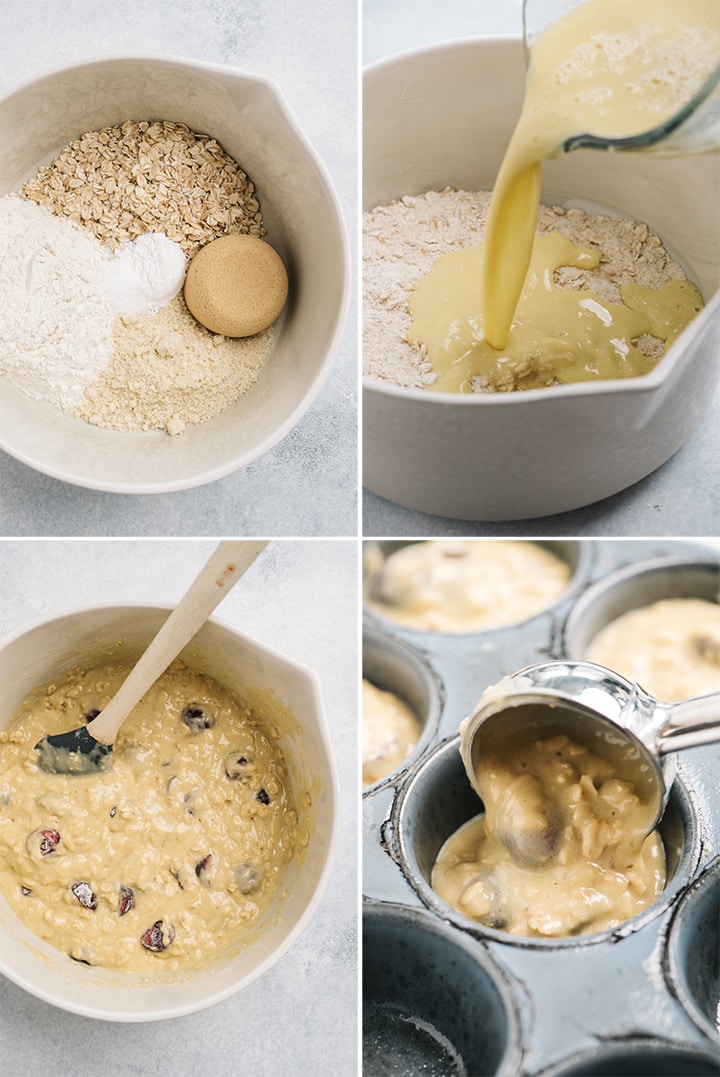
Combine old-fashioned oats, all purpose flour, almond flour, brown sugar, baking powder, and salt in a large bowl. Whisk until the dry ingredients are well combined.
-
In a separate bowl, whisk milk, olive oil, eggs, and vanilla extract until very smooth. I almost always bake with olive oil instead of vegetable or canola oil to add more healthy fats. If you find the flavor of olive oil too strong, look for "light tasting" olive oil.
-
Pour the wet ingredients into the dry ingredients and mix until just barely combined - I like to mix using a rubber spatula to prevent over-mixing. Once mixed, gently fold in the cherries.
-
Spray a muffin tin with olive oil cooking spray, or use liners. Divide the batter equally between the tins, filling each almost all the way to the top. I use an ice-cream scooper to portion out muffin batter - it's the perfect portion size and generally mess-free.
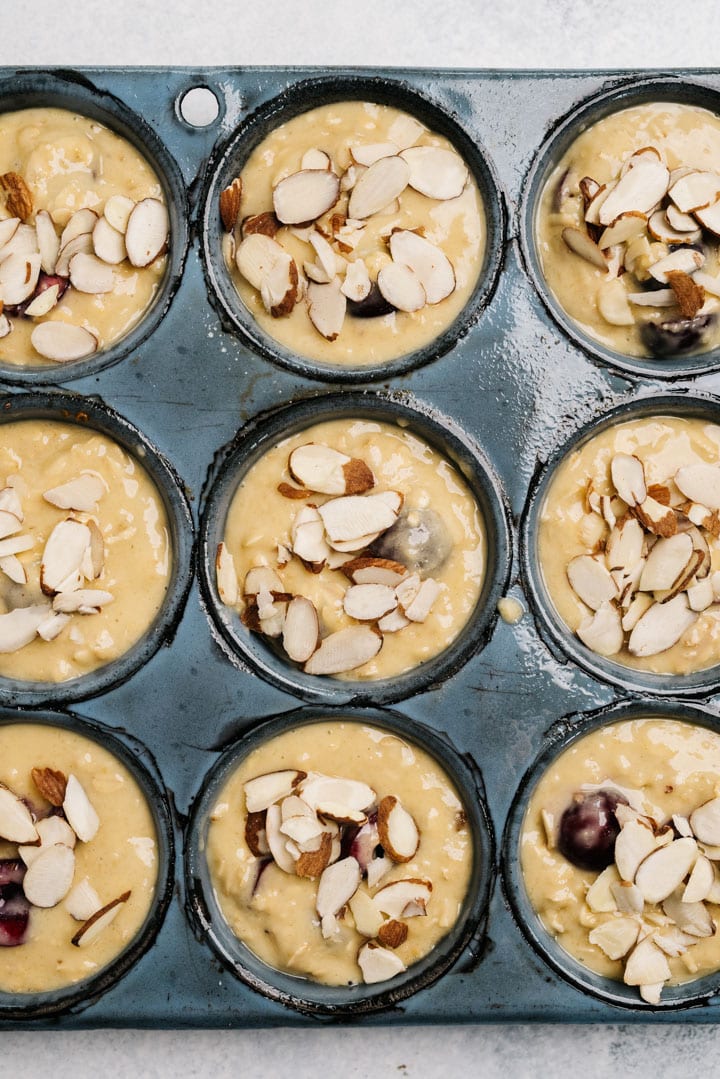
- Top the batter with sliced almonds for a bit of crunch and texture contrast.
-
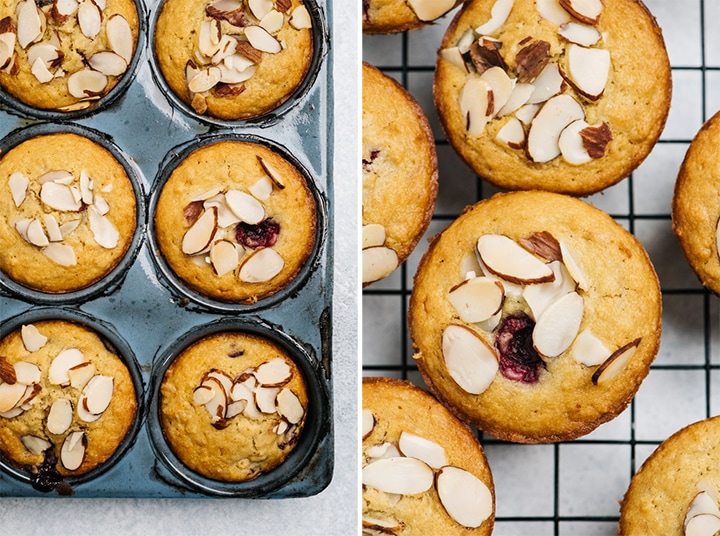
Bake until the tops are golden brown and a toothpick inserted into the center comes out clean.
-
Remove the tin from the oven, cool for 5 minutes, then remove the muffins from the tin and finishing cooling on a wire rack.
Can I Use Frozen Cherries?
Enjoy these muffins all year long by using frozen cherries. Place the frozen cherries into a strainer and defrost under cool running water. Shake the strainer to release as much water as possible. Turn the cherries onto a plate lined with paper towels. Gently pat them dry, or allow to air dry. The cherries must be dried to prevent overly soggy muffins - it also helps prevent the juice from bleeding and staining the muffins.
How Do I Get Puffy Tops?
It's really easy to achieve the signature-style domed tops of bakery style muffins. Start the muffins in a hot oven for just a few minutes, then reduce the oven temperature. This initial blast of heat causes the edges to cook first, forcing more steam and volume into the center of the muffin, creating perfect puffy, domed tops. These cherry muffins are made with rolled oats, so they won't be quite as puffy as muffins made with just flour (the oats are heavier), but you'll still get a nice rounded top.
Can These Muffins Be Frozen?
Yes. Most muffins freeze really well and will keep for up to 3 months. Cool the muffins completely, then place onto a baking sheet, leaving a little room in-between each muffin. Transfer the baking sheet to the freezer to "flash freeze" until firm - about an hour. If you're planning on long-term storage, wrap each frozen muffin in plastic wrap to prevent freezer burn, then transfer to a freezer bag. Defrost in the fridge overnight.
How to Store Fresh Muffins
First, be sure the muffins have completely cooled to room temperature. Line a container with a paper towel, then place the muffins into the container in a single layer; top with an additional paper towel. The paper towels will wick away any excess moisture and prevent the muffins from getting soggy. They'll keep at room temperature for up to 3 days. If you store them in the fridge, you can extend their life to 5-6 days.
Tips for Making Perfect Cherry Muffins
- Take care not to over mix the batter. Over mixing further develops the gluten in flour, resulting in firmer, less airy muffins. Mix the muffins by hand to avoid over mixing; a stand or hand mixer isn't necessary or recommended.
- Use an ice cream scoop to portion out the muffin batter. It's the perfect portion size, and relatively mess-free.
- Cool the muffins completely before enjoying or storing.
More Muffin Recipes
Did you make these Cherry Muffins? I'd love to know how they turned out! Leave a comment and a rating below.
While you're at it, let's be friends - follow me on Pinterest and Instagram for the latest and greatest.
Cherry Muffins
Description
Ingredients
- 1½ c fresh or frozen cherries
- 1 c all purpose flour, plus 2 tablespoons
- 1 c old fashioned rolled oats
- ½ c almond flour
- ½ c packed light brown sugar
- 1 teaspoon baking powder
- ½ teaspoon salt
- ¾ c milk
- ⅓ c olive oil
- 2 eggs
- 1 teaspoon vanilla extract
- 2 tablespoon sliced almonds, optional topping
Instructions
- Heat the oven to 450°F. 1½ c fresh or frozen cherries
- Pit the cherries, then slice in half. Toss with 2 tablespoons of flour.
- Combine the oats, all purpose flour, almond flour, brown sugar, baking powder, and salt. Mix until well combined.
- Whisk the milk, olive oil, eggs, and vanilla extract until smooth.
- Pour the wet ingredients into the dry ingredients and mix until just barely combined. Gently fold in the cherries.
- Divide the batter equally between the tins, filling each almost all the way to the top. Sprinkle the sliced almonds over the batter.
- Bake at 450°F for 7 minutes, then reduce the heat to 350°F and bake an additional 13-15 minutes, or until the tops are golden brown and a toothpick inserted into the center comes out clean.
- Remove the tin from the oven and cool for 5 minutes. Run a knife along the edge of each muffin to release it, then transfer to a wire rack to cool completely.
Recipe Notes
- At Room Temperature: Cool muffins completely on a wire rack. Line a container with a paper towel, place the muffins in a single layer, then top with an additional paper towel. Store at room temperature for up to 3 days, or in the fridge for 5-6 days.
- To Freeze: cool completely, place onto a baking sheet, and transfer to the freezer to "flash freeze" until firm - about 1 hour. Wrap each muffin in plastic wrap to prevent freezer burn, then transfer to a freezer bag. Defrost in the fridge overnight.
- Place frozen cherries into a strainer and defrost until cool running water.
- Shake the strainer to release moisture.
- Transfer cherries to a plate lined with paper towels. Gently pat until dry, or allow to air dry.

Comments
No Comments