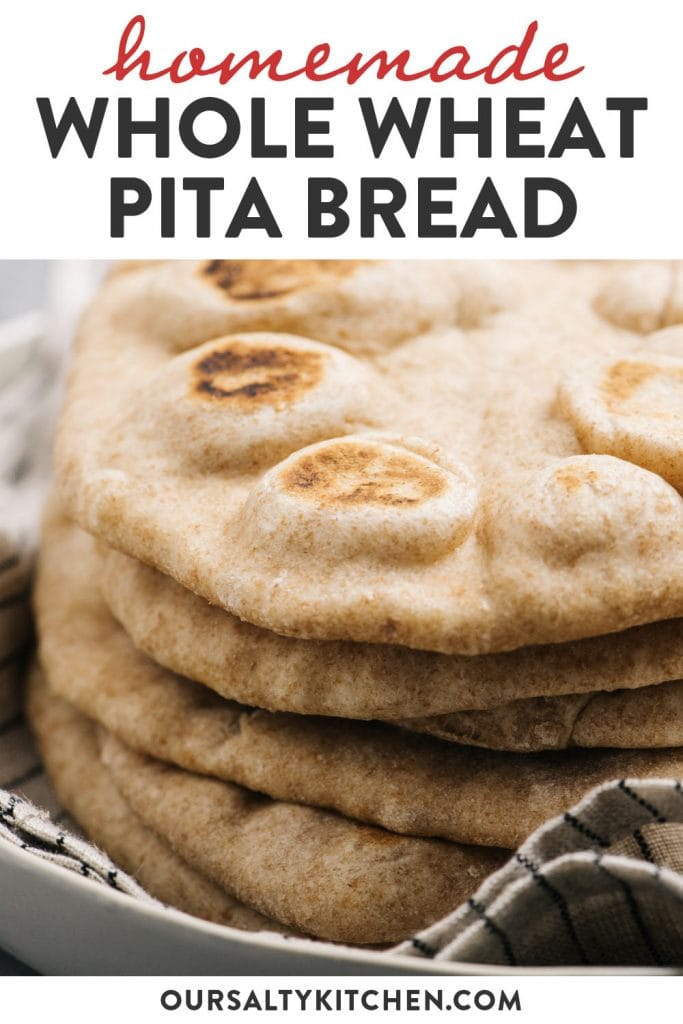

Homemade Whole Wheat Pita Bread is so flavorful - nutty and very slightly sweet. If you're intimated by baking your own bread, this is the perfect recipe to get you started. Homemade flatbread is delicious, economical, and couldn't be easier to make.
Jump to:
There are so many reasons to make your own homemade flatbread. The flavor and freshness are unbeatable, and so is the price - it costs a fraction of the store-bought stuff.
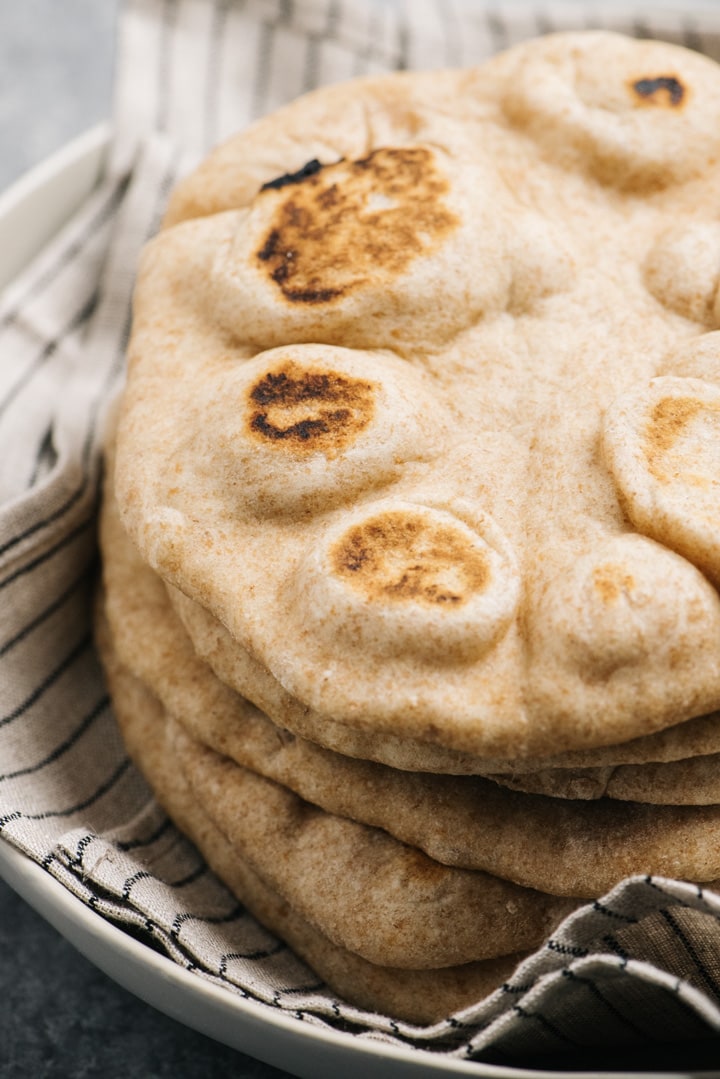
Whole wheat pita bread is nutty and rustic, but still soft, chewy, and very slightly sweet. We use it as an all-purpose flatbread with our favorite Indian and middle eastern recipes, for serving with hummus and other dips, and as a base for mini pizzas.
How to Make Whole Wheat Pita Bread
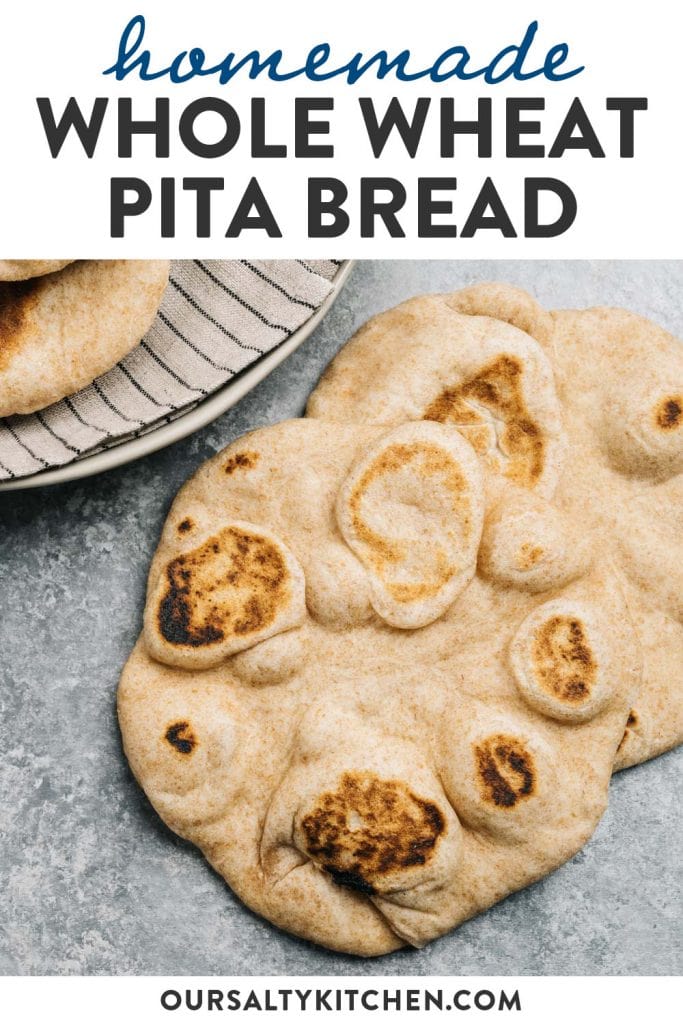
Homemade whole wheat pita bread can either be dense and chewy, or light and airy - it's simply a matter of how you roll it out. This pita bread is ready to enjoy in just a few hours, most of it hands off time. I like to bake my pitas in a skillet on the stovetop - since I don't have a baking stone, it yields the most authentic results.
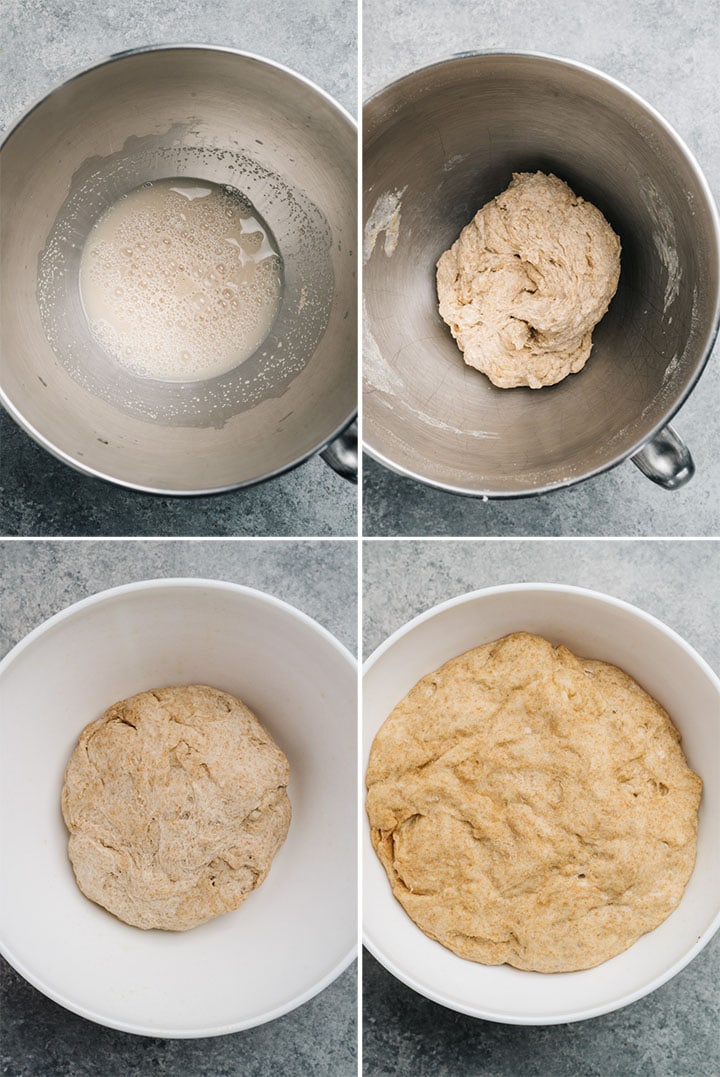
- Combine one cup warm (about 100°F) water with a tablespoon of yeast in the bowl of a stand mixer. If you're using active dry yeast, give it about 10 minutes to bloom. I like to use instant yeast to speed things up a bit.
- Add the whole wheat flour, all purpose flour, olive oil, salt and honey. Fix the dough hook onto the mixer and mix on low speed until the dough comes together. Increase the speed to medium low and knead the dough for 2 more minutes. The dough should feel smooth and a little tacky to the touch.
- Pull the dough off the hook and place into a bowl that's been slightly sprayed or brushed with olive oil. Cover with a tea towel and set aside to rise until doubled in size - about 2 hours.

- Turn out the dough onto a floured surface and form into a large disc shape. Divide the dough into 8 equal portions.
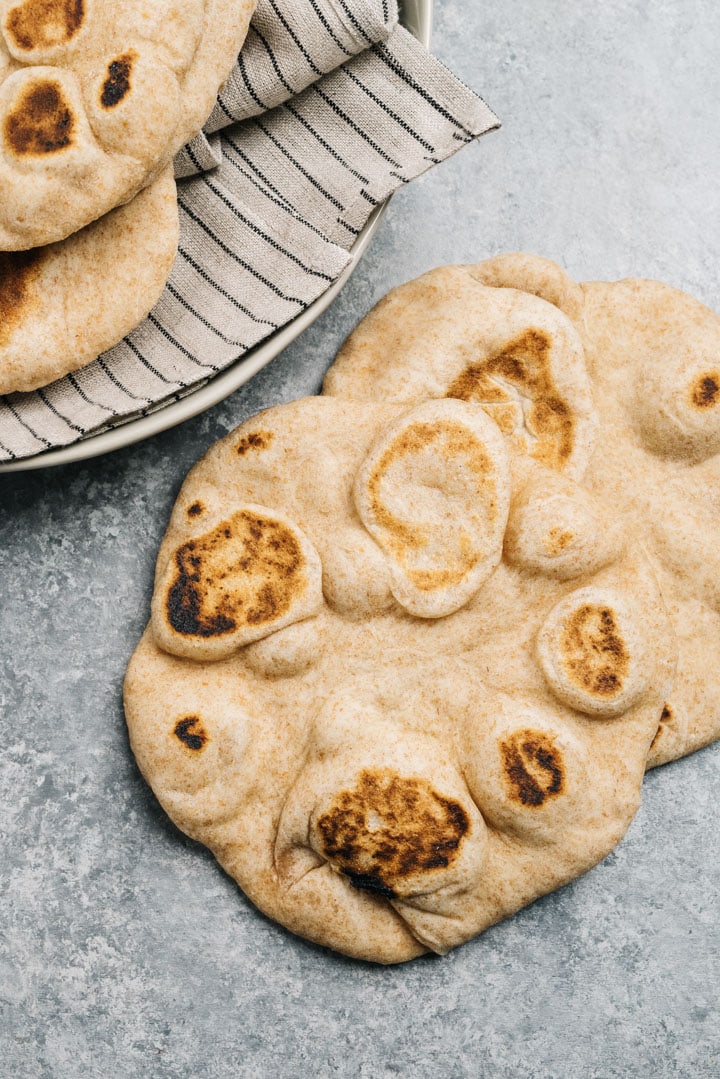
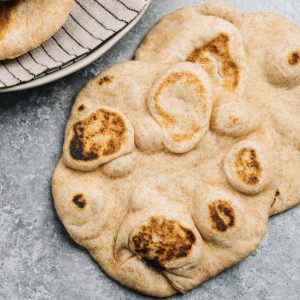
- Form each portion into a smaller disc, then roll into a 6-7" circle. For chewier pita bread, keep the pieces smaller (6") and thicker. For airier pita bread with the classic large "pocket", make the pieces larger (7"-8") and thinner.
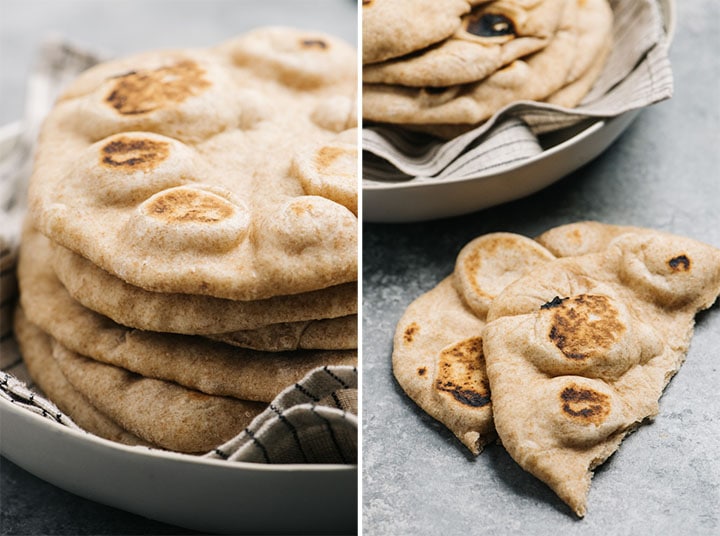
- Heat a cast iron or other heavy-bottomed skillet over medium high heat. Place one piece of dough in the skillet and bake until large bubbles form, about 2 minutes. Flip and bake on the other side, about 1 minute.
- Remove the pita and cover with a tea towel - this allows the outside to soften and for the inner pocket to loosen up.
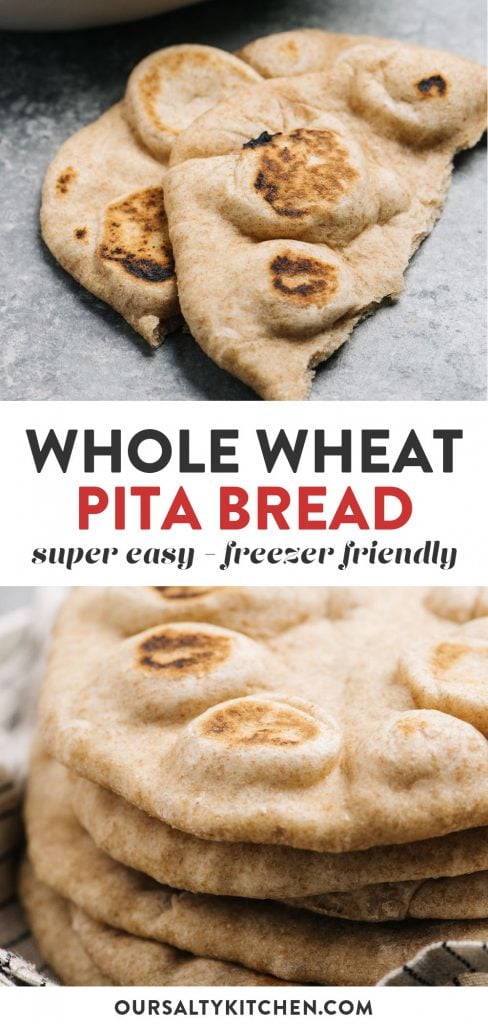
Can I Freeze Pita Bread?
Yes! Wrap a stack of pita in foil, then place into a ziplock bag and store in the freezer. For best results, use within 2 months (the longer it stays frozen, the drier it will be once defrosted). Defrost by placing on the counter overnight.
How to Store Homemade Pita Bread
Store fresh pita in a sealed container at room temperature - it will last about 5 days. I like to hang onto grocery store produce bags - they're perfect for storing homemade pita on the countertop.
Tips for Making This Recipe Perfectly
- Whole wheat needs additional time to rise, about 2 hours. Be sure the dough has doubled in size before you form into discs.
- Don't over-bake! The longer pita cooks, the more moisture will evaporate, creating a drier pita. Cook until large bubbles form all over the surface, then flip and cook another 30 seconds.
- Keep the warm pitas covered until ready to serve - this will help them soften up and will make it easier to open up the "pocket".
More Easy Baking Recipes

Did you make this Whole Wheat Pita Bread? I'd love to know how it turned out! Leave a comment and a rating below.
While you're at it, let's be friends - follow me on Pinterest and Instagram for the latest and greatest.
Whole Wheat Pita Bread
Description
Ingredients
- 1 tablespoon instant yeast or active dry yeast
- 1 c warm water
- 1 ½ c all purpose flour
- 1 ½ c whole wheat flour
- 3 tablespoon olive oil
- 2 teaspoon sea or kosher salt
- 1 teaspoon honey
Instructions
- Spray a mixing bowl with olive oil spray and set aside.
- Combine the yeast and water in the bowl of a stand mixer. If using active dry yeast, whisk the yeast and water then set aside 10 minutes and wait for the yeast to bloom. If using instant yeast, proceed to the next step.
- Add the all purpose flour, wheat flour, olive oil, salt, and honey to the bowl. Fix the dough hook to the mixer, then mix on low speed until the dough comes together, 30-60 seconds. Increase to medium low speed and knead for 1-2 minutes until the dough is smooth and slightly tacky.
- Turn out the dough into the oiled mixing bowl. Cover with a tea towel and rest until doubled in size, 2-3 hours.
- Turn the dough out onto a floured surface and form into a disc shape. Divide the dough into 8 equal portions. Form each portion into a disc and dust the top and bottom with flour. Roll into a 6-7” disc - keep the pieces on the smaller side for doughy, chewier pita, and on the larger side for thinner, airier pita.
- Heat a skillet (cast iron is best) over medium high heat until. The skillet is properly heated once a few droplets of water skid across the surface.
- Place one disk into the skillet and cook until large bubbles form, about 2 minutes. Flip and cook on the remaining side for an additional 1 minute.
- Remove the pita, tuck into a tea towel to keep warm, and repeat with the remaining dough. The pita will keep in a sealed container at room temperature for up to 5 days, or in the freezer for up to 2 months.
Recipe Notes
- Whole wheat needs additional time to rise, about 2 hours. Be sure the dough has doubled in size before you form into discs.
- Don't over-bake! Cook until large bubbles form all over the surface, then flip and cook another 30 seconds.
- Keep the warm pitas covered until ready to serve - this will help them soften up and will make it easier to open up the "pocket".

Mari
Definitely going to give this a try. Looks delicious. "Rona" got us inside experimenting.
Lorita E Hubbard
You made it simple to follow the recipe. The pockets turned out great.
michael
my go to pita recipe. I often add spices to dough for added goodness. this recipe never fails me.