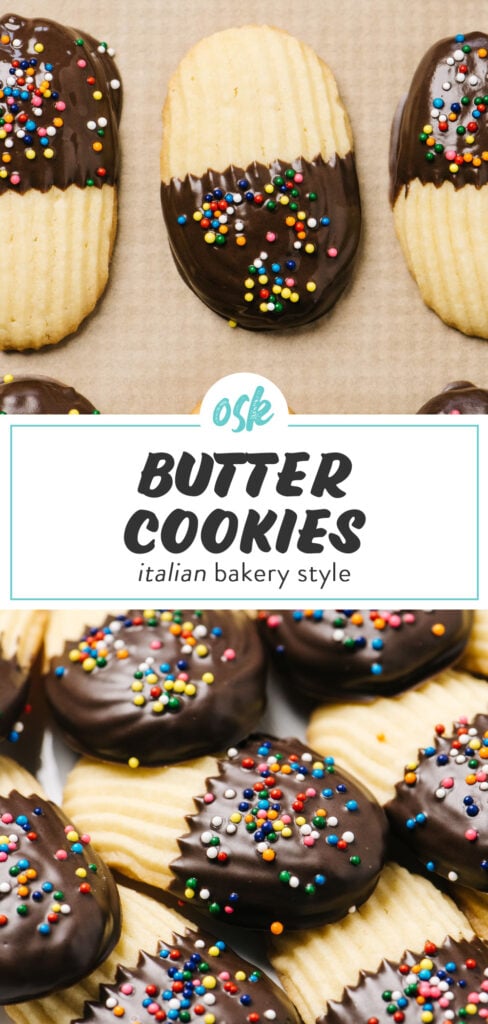
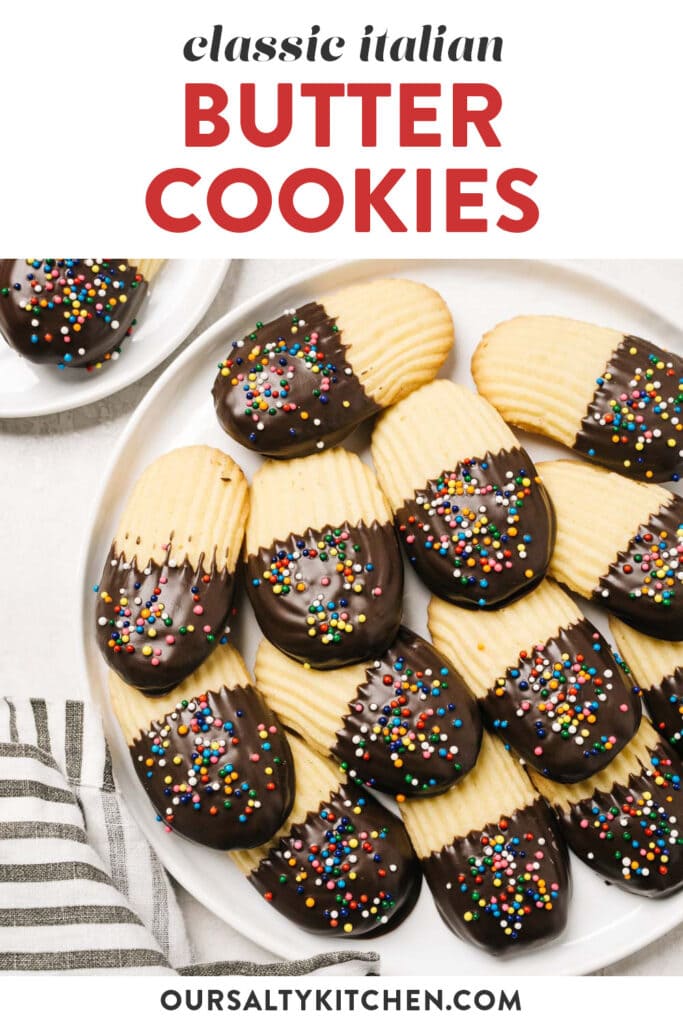
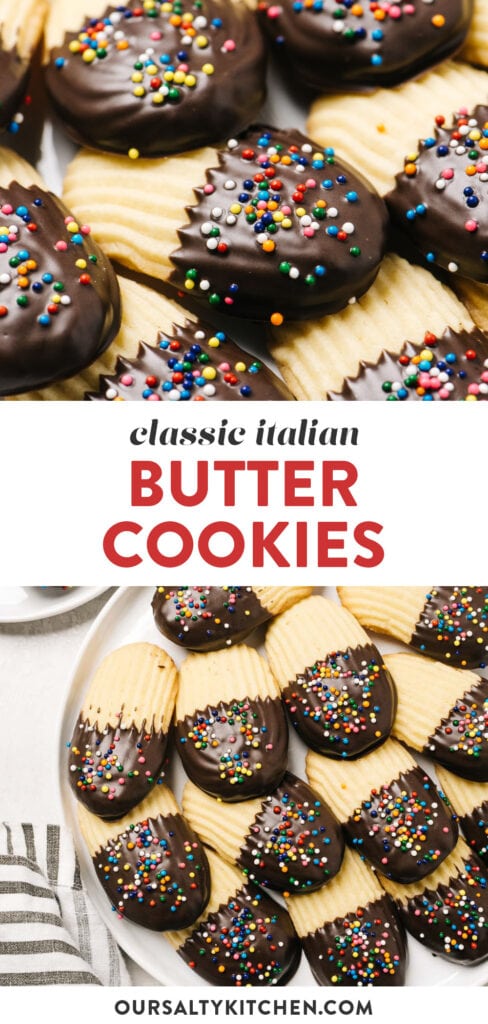
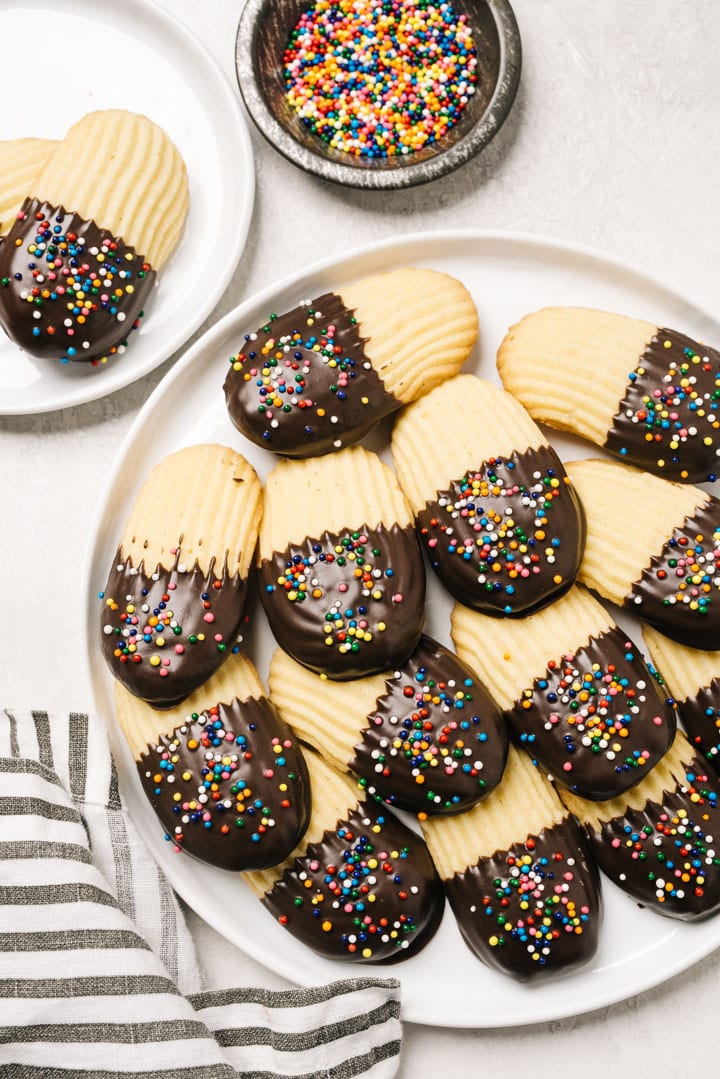
If you've ever been to an authentic Italian-American bakery, you can't miss the glass cases filled with every color and shape variation of Italian Butter Cookies. Whether dipped in chocolate, sandwiched with jam, or pressed with candied cherries, these cookies were a staple of my childhood holiday gatherings. I've created the simplest version of these nostalgic cookies using my grandma's cherished recipe enhanced with artisan Plugrá® Butter from our local Safeway.
This post has been sponsored by Plugrá®. All thoughts and opinions are my own.

Jump to:
The buzz around the zoom-room water cooler these days is completely centered around the holidays, and despite living in the upside-down, I'm very much here for it. I am one of those people who starts holiday meal planning in like, August. I'm totally the neighbor who's going to gift you homemade salted caramels and randomly drop off trays of these Italian Butter Cookies.
My love language is food, and when you mash that up with the boundless warm gooey feels of love and generosity throughout the holiday season, well...I wish I could purchase stock in the baking aisle at Safeway. I mean, perhaps my pantry busting at the seams and my deep freeze full of butter is my stock, and if that's the case, I'm fully vested.
The reality, though, is that our reality is different this year. I'm definitely ramping up my expectation management while grasping the threads of tradition. Throughout the chaos that has been 2020, leafing through my late grandmother's cherished handwritten recipe book has brought a huge measure of comfort. Staring into the timeline of a very weird holiday season, I know her recipes will not only supply me with much-needed nostalgia, but also with tried-and-true cookies and sweet treats that are literally time-tested and approved by generations.
As I have so often shared, baking from scratch isn't naturally in my wheelhouse. So when I do go there, I feel completely capable with a trusted recipe in my hands and high-quality ingredients in my kitchen.
Plugrá® knows a little something about quality and tradition too.
Plugrá® Butter was first created in 1989 for professional chefs who wanted an extra creamy butter with higher butter fat to create flakier pastries and better baked goods. While most butter is 80% butterfat, Plugrá® is 82% butterfat, and is slow churned for creamier flavor. Chefs - particularly baking and pastry chefs - trust Plugrá® butter to deliver consistent, flawless results.
When you're making a cookie with the ingredient "butter" in the title and leading the ingredients list, you'd better bring your slow-churned, time-tested A game to the mixing bowl. That, my friends, is how to bring butter to the yard - ahem, kitchen - very, very deliciously.
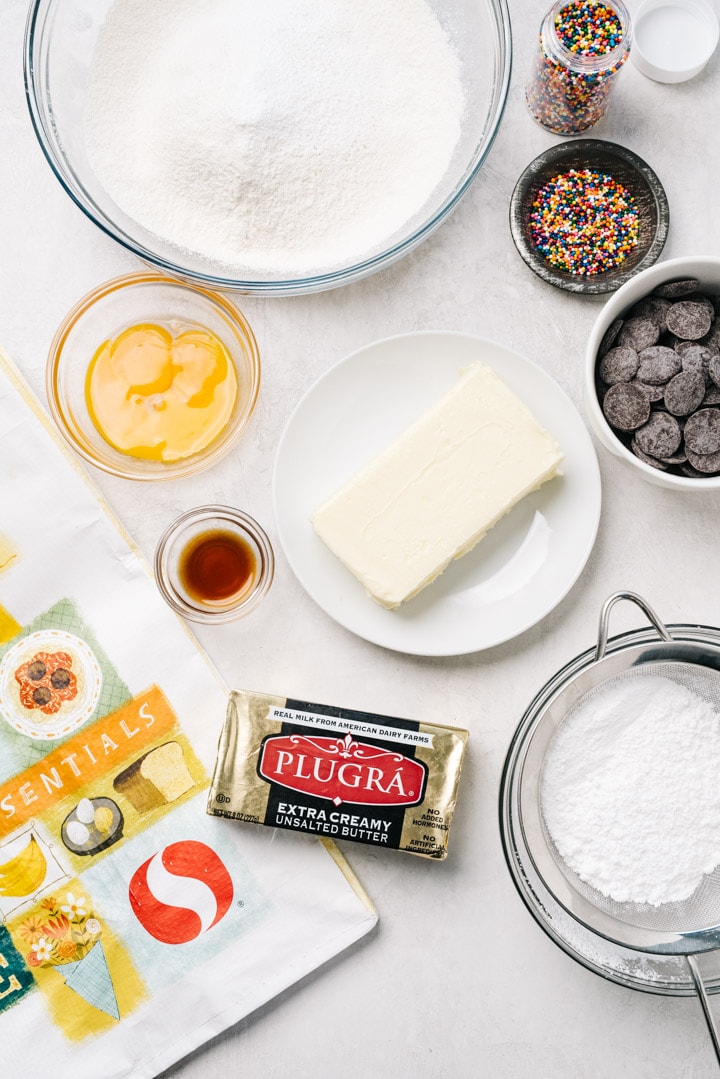
Butter Cookie Ingredients
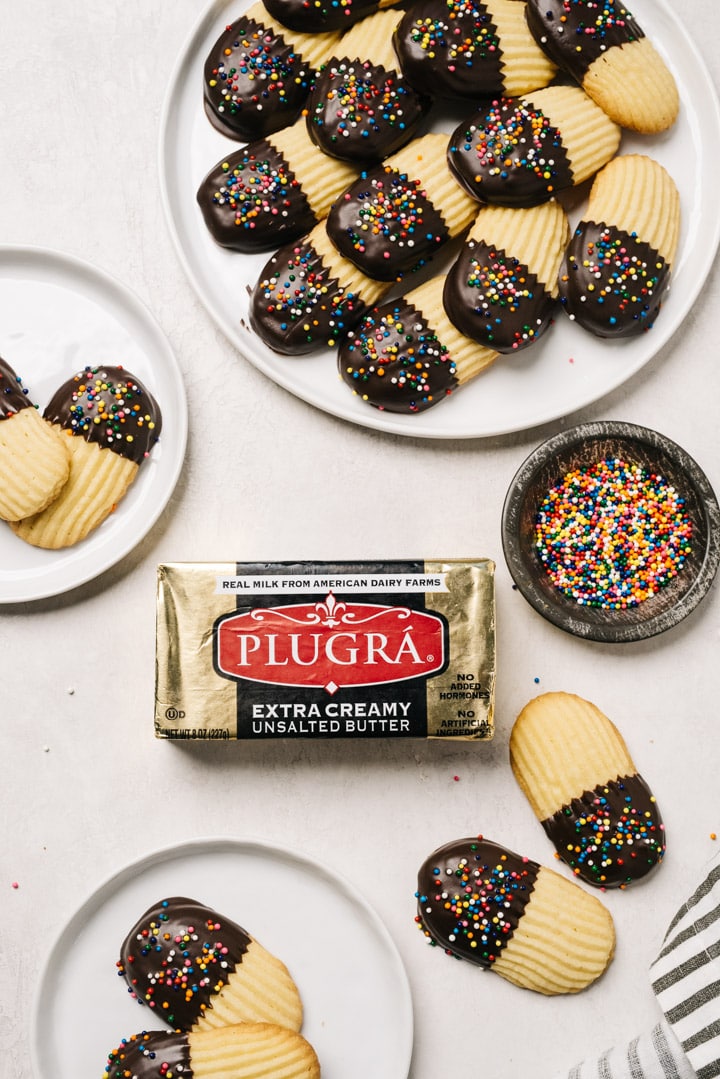
- Plugrá® Block Unsalted Butter: one block is equivalent to two sticks and the perfect portion size for this recipe. Plugrá® is made for optimal performance in baking. Trusted by chefs, Plugrá® is the official butter of Chicago’s French Pastry School and the New York’s James Beard House. Plugrá® can be found in the refrigerated section of your local Safeway store.
- Confectioners Sugar: using confectioners (aka powdered sugar) in mostly butter-based cookies is a tip I picked up years ago. It creates the most tender cookies with an impossibly delicate crumb! Measure then sift before adding.
- Egg Yolks: from fresh eggs (local if possible) at room temperature.
- Vanilla Extract: the real stuff, not imitation.
- All Purpose Flour: use high-quality baking flour. Measure then sift.
- Baking Powder: use aluminum free baking powder, and always make sure it's fresh (no more than 6 months old).
- Fine Sea Salt
- Melting Chocolate: see the tips section for my trick on achieving the perfect dipping consistency!
- Sprinkles: any sprinkle will do, traditional or nonpariel style
How to Make Italian Butter Cookies
Though I'd never consider myself an exceptional baker, I've mastered a handful of treasured family recipes over the years - and trust me, if I can do it, you can do it too. The secret? Simple recipes, few ingredients, basic techniques, and high-quality ingredients. Italian Butter Cookies check all those boxes.
I say this all the time - great food isn't just about following a recipe step-by-step. Simple recipes become extraordinary when you use high-quality ingredients, like Plugrá® Butter. It's all in the details. Regular butter is 80% butterfat and higher in moisture, while Plugrá® is 82% butterfat and lower in moisture. The result is flakier pie crusts, crispier cookies, and more flavorful sauces. It's the secret ingredient to the ultimate Italian American bakery-style butter cookie.
PS - Be sure to check the recipe card for detailed instructions and step-by-step photos.
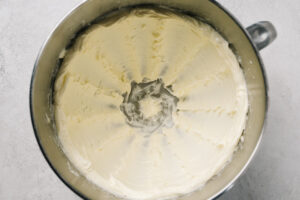
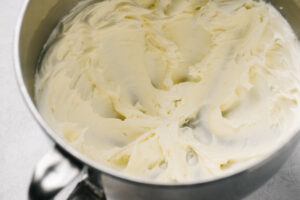
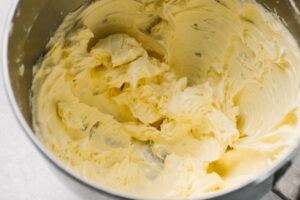
- Cream the butter in a stand mixer using the paddle attachment until light in color.
- Add sifted confectioners sugar and cream with the butter until very smooth and light in color.
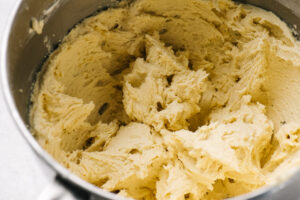
- Add the egg yolks, one at a time, then the vanilla extract.
- Sift the flour with the baking soda and salt.
- Add the flour mixture about a quarter cup at a time, briefly mixing after each addition.
- Give the dough one final mix by hand. It will be very slightly sticky to the touch, with the consistency of very light and airy chocolate chip cookie dough.
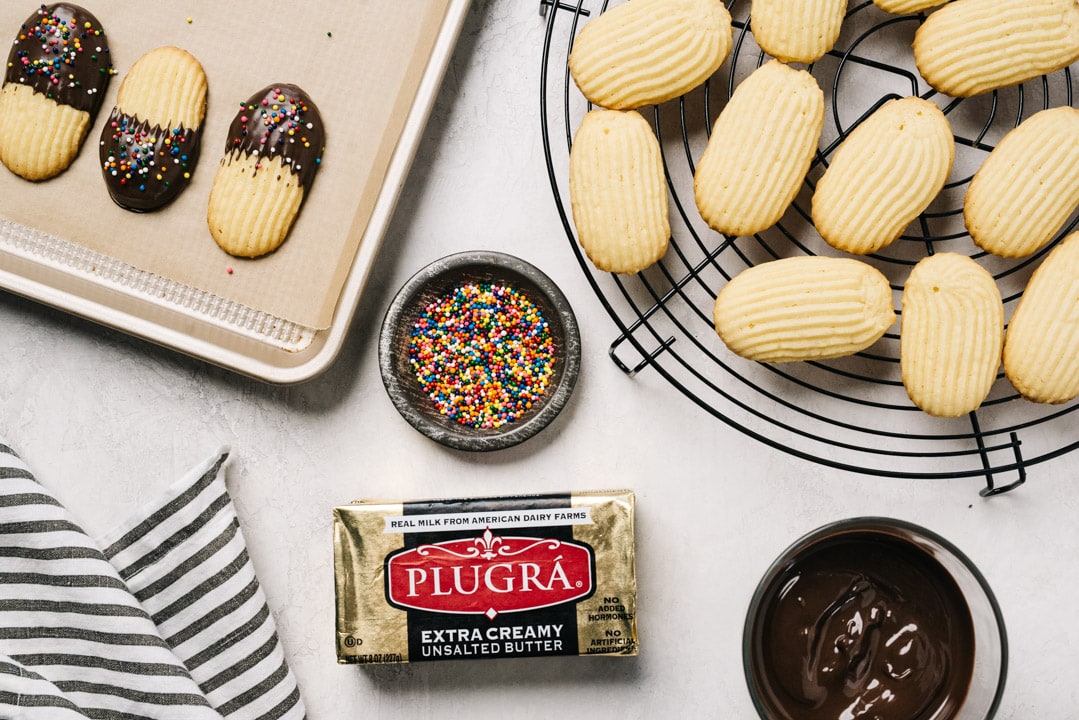
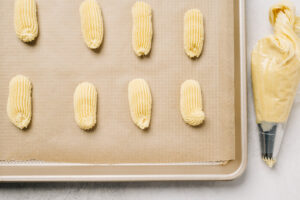
- Pipe 2" portions of dough onto a baking sheet. Bake in a 350°F oven until the edges are golden brown.
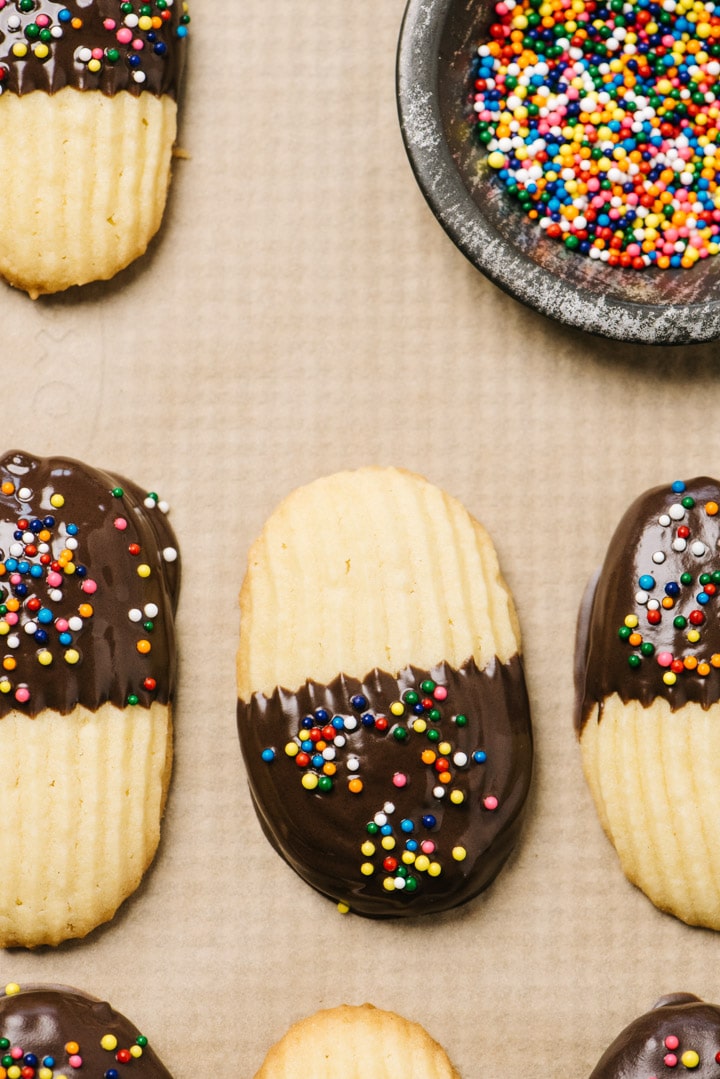
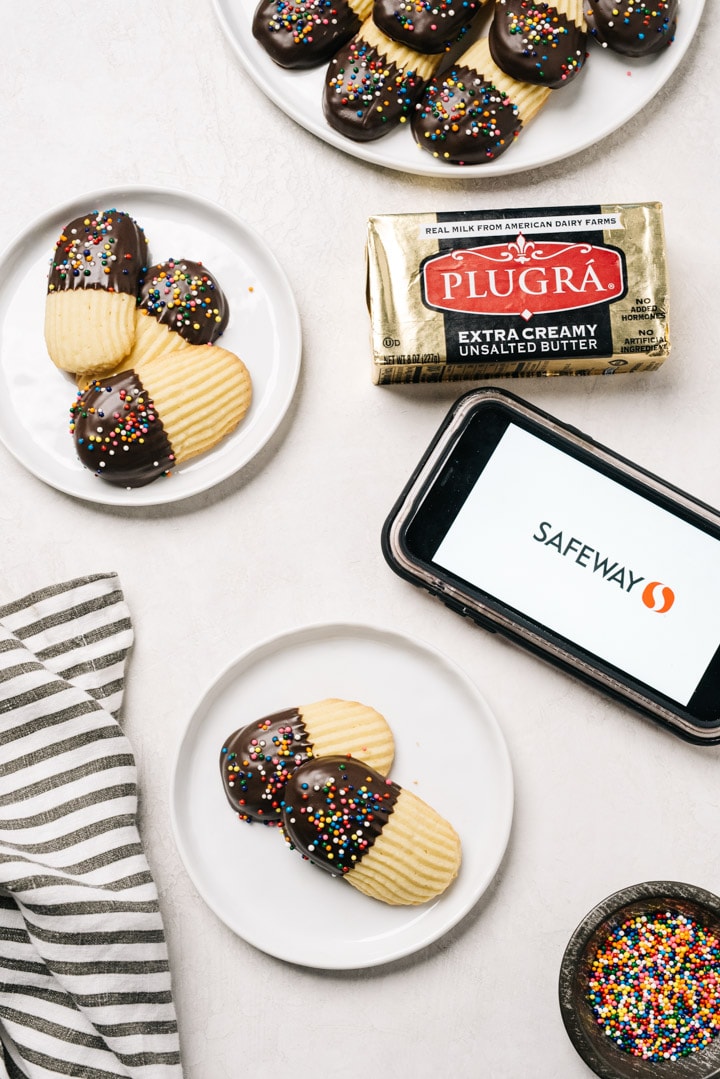
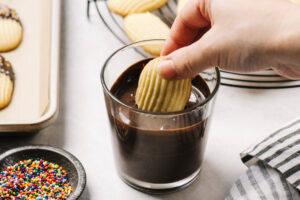
- Cool the cookies completely, then dip into chocolate and garnish with sprinkles.
Tips for Making This Recipe Perfectly
- Always bake with room temperature eggs and butter.
- Use high quality ingredients, especially very good butter, such as Plugrá®. Plugrá is extra creamy because it’s slow churned with real milk from American dairy farms. Always fresh, crafted without artificial ingredients and added hormones.
- Dry out the cookies, uncovered, at room temperature for 24 hours to get that crisp, fine-crumb bakery texture.
- The end where you release the dough from the piping tip won't be perfect, but that's okay - you'll dip (and hide) those less perfect ends in chocolate.
- Add 1-2 teaspoon melted coconut oil or shortening to melting chocolate create a thinner consistency that's perfect for dipping.
- Transfer the melted chocolate into a short drinking glass, instead of using a bowl. It's the perfect depth for dipping longer cookies.
- Use a large open star tip to create these longer ridged cookies. You can also use a cookie press for different shapes.
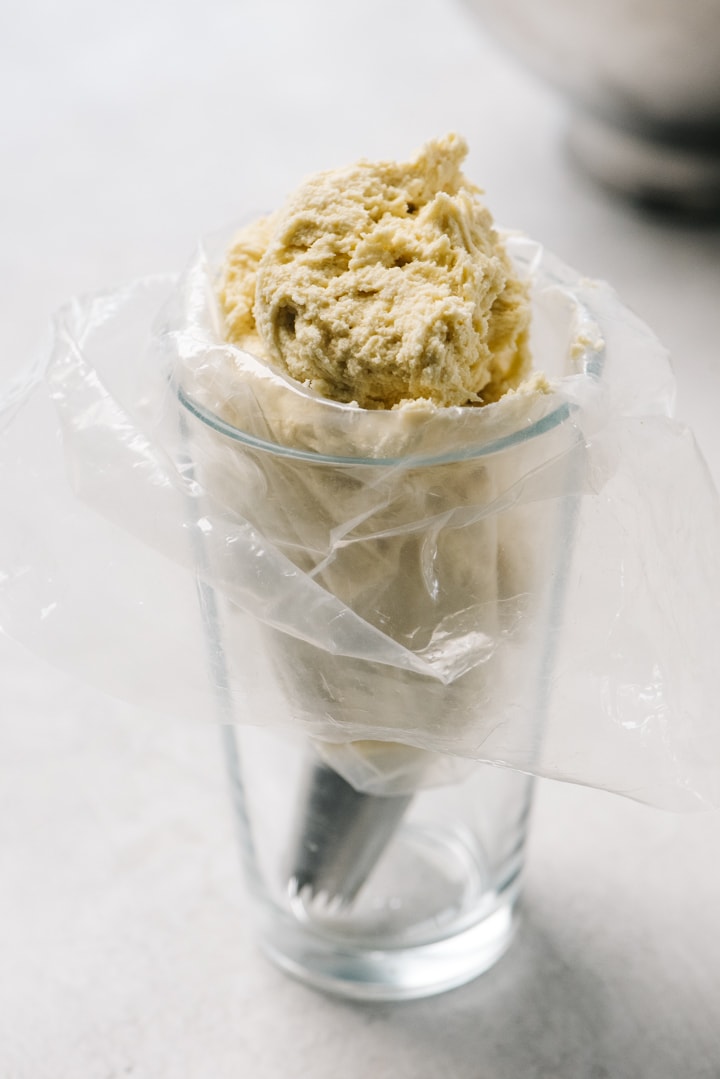
How to Fill a Piping Bag
The only real tricky part of this recipe is filling the piping bag - and it's not even that tricky, just a little cumbersome if you're not used to doing it.
So here's my pro-tip: stand it up in a pint glass! Simply fit the piping tip into the bag, then prop in the glass. Filling using a large spoon or an ice cream scooper for even easier clean-up.
More Holiday Baking Recipes
Did you make these Italian Butter Cookies? I'd love to know how they turned out! Leave a comment and a rating below.
While you're at it, let's be friends - follow me on Pinterest and Instagram for the latest and greatest.

Italian Butter Cookies
Description
Ingredients
- 1 Plugrá Block Unsalted Butter, 1 cup, room temperature
- 1 c confectioners sugar, sifted
- 2 large egg yolks, room temperature
- 1 teaspoon vanilla extract
- 2 c all purpose flour, sifted
- 1 teaspoon baking powder
- ¼ teaspoon fine sea salt
- 2 c melted chocolate, wafers or chips
- 1-2 teaspoon coconut oil or shortening
- sprinkles
Instructions
- Position a rack in the center of the oven, then heat to 350°F. Line a baking sheet with parchment paper.
- Place butter into the bowl of a stand mixer. Using the paddle attachment, beat the butter on high until light and fluffy, scraping down the sides once, about 2 minutes.

- Add the sifted powdered sugar. Start the mixer on low, and then increase the speed to high. Beat until the mixture is very smooth and soft peaks form, scraping down the sides of the bowl once halfway through.
- Add the egg yolk one at a time, and blend completely after each addition. Add the vanilla extract and blend completely once more.
- Sift the flour with baking powder and salt. Add the flour mixture one-quarter cup at a time, mixing on low speed until just combined. Don’t overmix.
- Fit a piping bag with a large open star piping tip. Pipe 2” long sections of filling onto a baking sheet, leaving 1-2” between each cookie.
- Bake 13-15 minutes or until the edges are lightly golden brown. Cool on the pan 5 minutes, then transfer to a wire rack to cool completely.
- Melt the chocolate in the microwave in 20 second intervals, stirring thoroughly between each, until the chocolate has melted. Melt the coconut oil or shortening, then add, 1 teaspoon at a time, to the melted chocolate. Whisk until the chocolate mixture is very smooth and slightly thinned out. Dip each cookie into the melted chocolate, coating halfway, then place onto a parchment lined cookie sheet. Sprinkle the chocolate with sprinkles.
- Allow the chocolate to harden completely. For best results, let cookies sit at room temperature for 24 hours to properly crisp and for the chocolate to fully cure.


Rebeca E Alvarado PAREDES
It says baking powder in ingredient list and baking soda in first set of instructions.
marie
I’m an experienced Baker. These ran all over the cookie sheet. Should they be chilled before baking? I noticed that you have not responded to the other comments so I’m not holding out too much help here.
P paider
These cookies turned exactly as advertised. Beautiful and melt in your mouth on the inside. Made them with one to one gluten free flour and they taste amazing!
Emma
This is an excellent recipe. The cookies turned out delicious. However, I did not have any luck getting the dough through a cookie press, the old conventional Mirror Press or the Oxyo brand cookie press. Please let me know what I need to do to use the press for different shapes!
Leslie
Followed the recipe to the letter. Perfect! It’s exactly the recipe I was looking for. Light and buttery. Crisp and delicious. Chocolate, jam sandwiches and circles with jam all turned out great. Thanks!